How a beginner should start
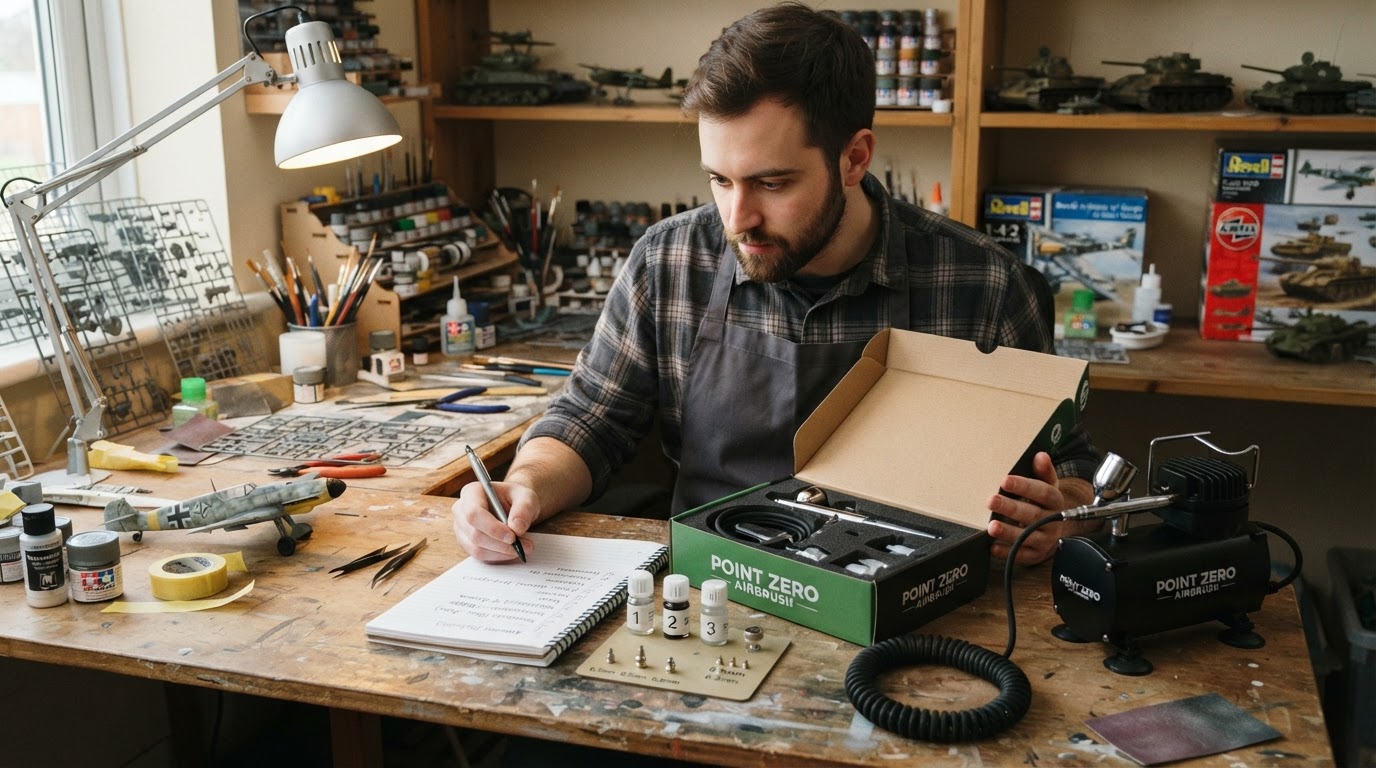
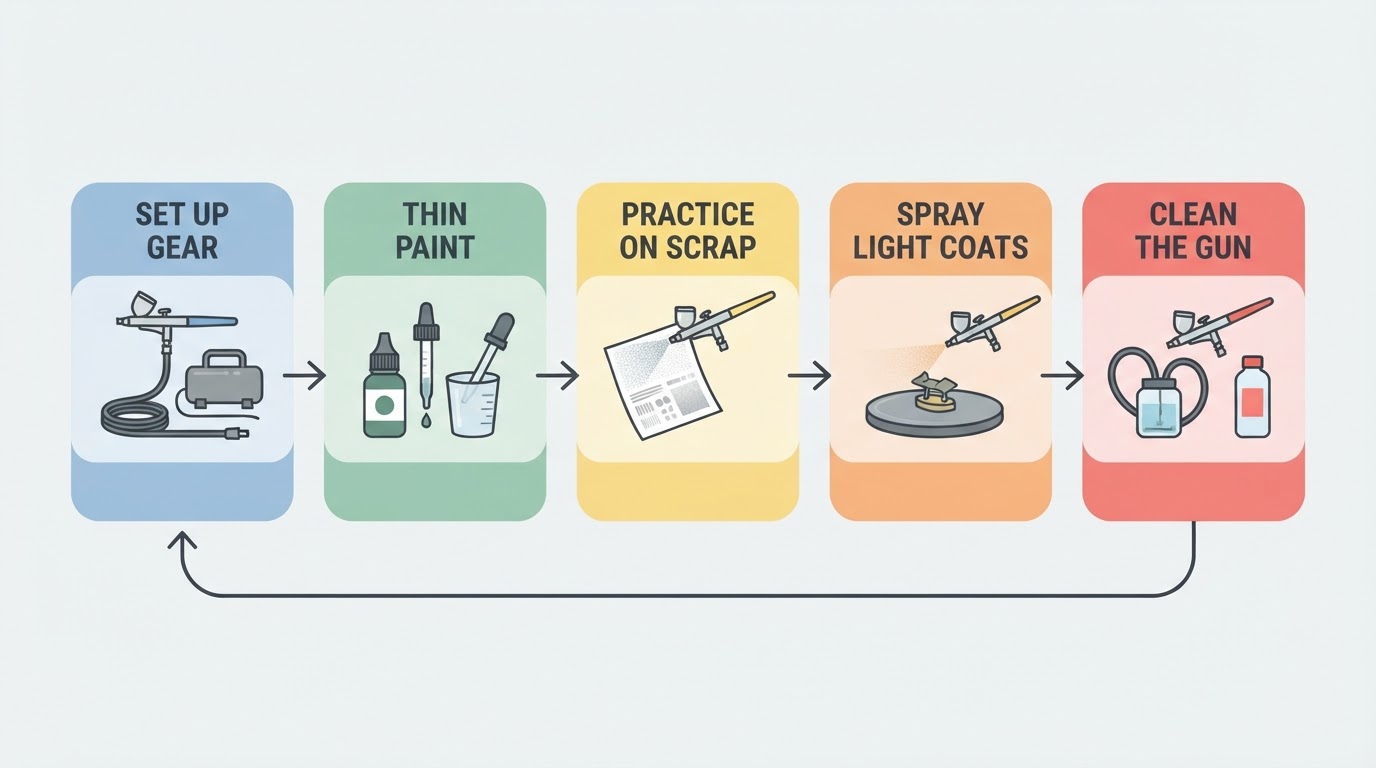
Start small: assemble a basic dual-action gravity-feed airbrush and compressor, learn one paint system, and practice thin coats on scrap before you touch a finished model.
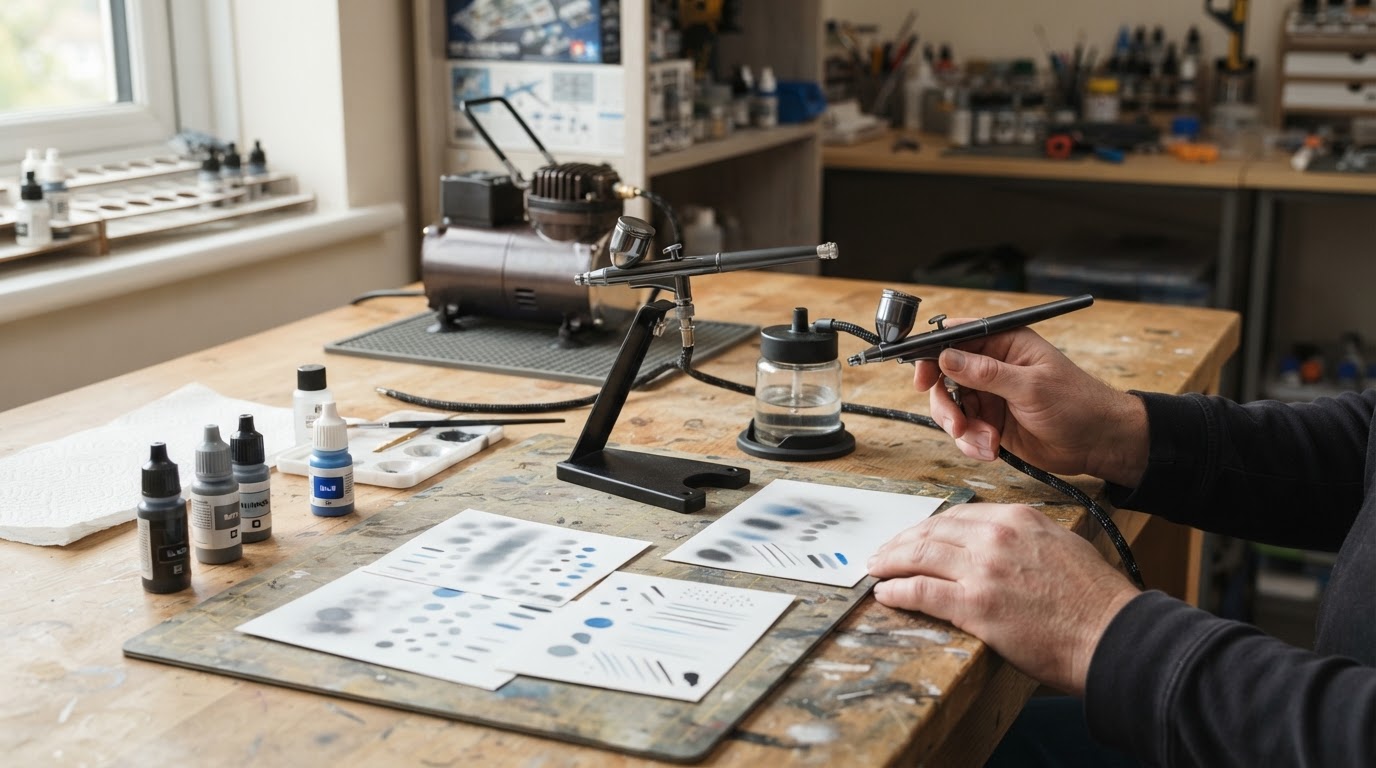
That first setup does more for your results than any fancy technique tip. A beginner who can thin paint consistently, hold a stable distance, and clean the gun will beat a beginner who owns more equipment but cannot keep a steady spray.
Use this order:
- Choose one airbrush and one compressor that work together for light hobby work.
- Pick one beginner-friendly paint family (most people start with acrylics made for airbrush or hobby use) and the matching thinner or reducer the paint brand recommends.
- Practice on cardboard, plastic spoons, or spare kit parts until the spray looks even.
- Move to a simple model panel or a flat beginner project only after the practice surface looks controlled.
- Clean the paint path every time you stop for more than a few minutes.
If you skip the practice step, you will usually learn the hard way: spatter, tip dry, and orange peel show up first on the model you care about.
Key answers at a glance
Question | Short answer |
|---|---|
What should a beginner buy first? | One dual-action gravity-feed airbrush, a compressor with a tank or stable output, thinners/cleaner for one paint system, and scrap practice surfaces. |
What paint is easiest to start with? | Acrylic hobby or airbrush-ready acrylics, thinned to a milk-like flow for your gun. |
How do you practice without ruining a kit? | Spray dots, lines, and even coats on scrap until the pattern is predictable. |
Can you airbrush plastic models? | Yes. That is one of the most common beginner uses when paint is thinned and coats stay thin. |
Can you airbrush canvas? | Yes, with different surface prep and usually more paint volume than fine model work. |
What is a good first project? | A spare body panel, a simple base color on a kit, or a small geometric practice piece. |
Do you need YouTube or a PDF first? | Use short demos for trigger feel and cleaning, then practice; printed checklists help during setup. |
What usually causes beginner spatter? | Paint that is too thin or too thick, pressure that is too high, a dirty tip, or spraying too close. |
Minimum gear for a first setup
You need air, paint control, and a cleanable gun—not a full studio.
A practical beginner kit usually includes:
- Airbrush: A dual-action, gravity-feed airbrush is the common first choice for fine control on models and small surfaces. Gravity feed puts the cup on top so less paint is needed and cleanup is simpler than many siphon-feed designs.
- Compressor: Choose a unit intended for airbrushing, preferably with a moisture trap and a way to set pressure. Stable airflow matters more than chasing maximum pressure.
- Paint and thinner: Stay inside one paint system at first. Mixing random brands, household water, and unknown reducers is a common failure path.
- Cleaning gear: Pipe cleaners or dedicated brushes, the cleaner your paint maker supports, paper towels, and a jar or cleaning pot.
- Protection: A mask rated for the solvents you use, gloves if you want less skin contact, and ventilation. Lacquers and strong solvents need stricter safety than water-based acrylics.
- Practice media: Card, plastic sheet, or junk parts.
When you compare airbrush types later, it helps to separate three buying dimensions rather than shopping by brand slogans alone: feed type (gravity, siphon, side feed), action type (single-action vs dual-action), and needle/nozzle size. On many Airbrush Modeler comparison notes, those dimensions are treated as separate decisions—for example, a finer nozzle such as about 0.2 mm is better suited to thin detail work, while a larger nozzle around 0.5 mm is better for broader coats, and a gravity-feed cup still needs a compressor because the cup only feeds paint, not pressurized air. Treat those size examples as orientation, then confirm the exact nozzle set your own airbrush supports.
Felo product screenshot.
Single-action guns are simpler (air on, then a fixed or preset paint amount). Dual-action guns let you press for air and pull for paint, which is more flexible once the trigger muscle memory settles.
Set up the bench before you spray
A clean, stable bench prevents half of beginner problems.
- Place the compressor where vibration and hose drag will not yank the airbrush.
- Drain or check the moisture trap so water does not spit into the paint stream.
- Cover the work area; overspray travels farther than most beginners expect.
- Keep cleaner and a dump/clean jar within reach before the first trigger pull.
- Strain paint if it has skin, glitter clumps, or dried bits—debris at the tip looks like a “broken” airbrush.
Do a 10-second air-only test, then a short paint test on scrap. If the pattern is already spitting, fix thinning or tip cleanliness before you “paint through it.”
First practice session: dots, lines, coats
Your first goal is a predictable spray pattern, not a masterpiece.
Work in this sequence on scrap:
- Air only: Get comfortable pressing the trigger without paint.
- Paint introduction: Pull back gradually so paint enters as a fine mist, not a blob.
- Dots: Hold distance steady and pulse short bursts.
- Lines: Move your whole arm, not only your wrist; keep speed even.
- Passes: Overlap light coats instead of flooding one heavy coat.
- Distance check: Too close often creates shine rings and runs; too far creates dry, rough texture.
Stop when the tip starts to dry or the spray turns grainy. A quick tip clean during a session is normal, especially with fast-drying acrylics.
Completion standard for this session: you can lay a smooth, even rectangle of color on scrap without heavy spatter, and you can clean the airbrush so water or cleaner runs clear through the paint path.
Paint consistency and pressure without mythology
Thin paint for the airbrush, then adjust pressure and distance together.
Beginners often chase one magic PSI number. In practice, paint viscosity, nozzle size, distance, and room temperature all move the result. Use this method instead:
- Thin a small batch toward a smooth, free-flowing consistency (many acrylic users describe it as close to milk). Start conservative; you can thin more, but you cannot easily un-thin a cup.
- Test on scrap at a modest pressure.
- If the spray spiders or floods, reduce paint flow, increase distance slightly, or lower pressure.
- If the spray is dry and sandy, the mix may be too thick, pressure too low, or distance too far.
- Change one variable at a time.
Always follow the paint maker’s thinner guidance when it exists. Some acrylics want a dedicated reducer; some tolerate water only within a narrow range. Enamels and lacquers behave differently and need compatible cleaners and stronger ventilation.
Airbrush painting for models
For plastic kits, thin coats and surface prep matter more than artistic flair.
Typical beginner model workflow:
- Wash parts to remove mold release where needed.
- Prime if the paint system expects it.
- Hold a consistent distance and build color in light passes.
- Let coats set before masking whenever possible.
- Clear coat only after the color layers are stable and clean.
Common model-specific mistakes: spraying primer like house paint, masking too early, and switching paint chemistries mid-stack without checking compatibility. If you later layer different paint types, learn a safe order for your products rather than improvising on a contest kit.
Airbrush painting on canvas and other art surfaces
Canvas is workable, but it is not the same problem as a 1/48 aircraft wing.
On canvas or board you often need:
- Surface priming suited to the paint family
- More paint volume for larger areas
- Broader nozzle choices or more passes
- Frisket, stencils, or freehand control depending on the design
A gun and pressure setup that is perfect for fine panel lines may feel slow on a large canvas field. Likewise, a broad art setup can overshoot tiny model parts. If you want both hobbies, expect to change needle/nozzle sets or at least change thinning and distance habits.
Simple beginner projects that teach real control
Pick projects that punish flooding and reward even coats.
Good first projects:
- Color charts: one paint, several thinning ratios
- Parallel lines and graded fades on card
- A single-color base coat on a spare kit part
- A two-tone blocked shape with simple masking
- A small geometric design on canvas paper or board
Avoid starting with a chrome finish, heavy freehand camouflage, or a multi-chemistry candy paint stack. Those magnify every beginner error.
Learning resources: video, PDF, and practice balance
Watch one short demonstration for trigger feel and cleaning, then practice; use a one-page checklist while you set up.
Video is excellent for seeing hand distance and cleaning motion. A PDF or printed checklist is excellent at the bench when your hands are messy. Neither replaces scrap practice. If a tutorial pushes a long shopping list before you have sprayed anything, park the list and return to the minimum kit above.
When you follow online demos, match the demo’s paint family and nozzle class as closely as you can. Copying a lacquer workflow with a water-based acrylic, or a large-nozzle mural approach on a tiny figure, creates false “my airbrush is bad” conclusions.
Common beginner failure modes and honest trade-offs
Most early failures are process failures, not proof you bought the wrong brand.
Symptom | Likely cause | First fix |
|---|---|---|
Continuous spatter | Over-thin paint, high pressure, dirty tip | Re-thin a fresh cup more carefully; clean tip; back off pressure/distance |
Tip dry / spider legs | Fast-drying paint at the nozzle | Cap cleaner, shorter sessions, slight retarder if the paint system allows |
Orange peel / rough coat | Paint too thick or sprayed too far/dry | Thin slightly; move closer with lighter passes |
Runs and puddles | Too much paint, too close, too slow | Faster passes, less pull on trigger, more distance |
Color shifts after drying | Uneven film or incompatible layers | Build thinner coats; confirm primer/paint pairing |
Trade-offs to accept early:
- Cheap incomplete kits can work for learning, but leaky nozzles and poor seatings waste paint and patience.
- Ultra-fine nozzles look attractive for detail, yet clog sooner if your thinning and cleaning habits are still forming.
- One gun for every task is possible, but needle/nozzle changes and cleaning discipline become part of the craft.
Cleaning is part of painting
If you cannot clean it, you do not own a working airbrush—you own a future clog.
Minimum clean routine:
- Empty leftover paint (do not blow large volumes of paint across the room).
- Flush with the correct cleaner until the stream runs clear.
- Remove and clean the needle and nozzle according to your airbrush manual when flow still feels off.
- Reassemble carefully; a crossed needle tip will spray forever-wrong patterns.
- Store with the cup dry and the needle protected.
Never leave acrylic sitting in the gun “for a few minutes” that become an hour. That is how beginners create emergency deep cleans.
FAQ
What is the simplest way to start airbrush painting for beginners?
Buy or borrow a dual-action gravity-feed airbrush and a suitable compressor, choose one acrylic system, thin a small cup, practice light coats on scrap, then clean immediately. Delay advanced finishes until that loop feels boringly reliable.
Do I need an expensive compressor on day one?
You need stable, adjustable airflow and moisture control more than a trophy machine. A compressor that pulses wildly or dumps water into the hose will teach bad lessons. Upgrade later if your work hours and noise needs change.
Can beginners airbrush miniatures and scale models with the same gun?
Often yes at the learning stage, especially with a medium detail nozzle and careful thinning. Very fine miniature freehand and very broad base coating may eventually want different nozzle sizes or even different guns.
Is airbrush painting for beginners on canvas harder than on models?
It is different rather than strictly harder. Canvas asks for coverage and composition; models ask for thin, controlled films and masking discipline. Learn trigger control on scrap first, then pick the surface you care about.
Where should I look for ideas without getting lost?
Start with simple shapes, single-color coverage, and small weathering or shading exercises. Idea galleries are motivating, but copy only techniques that match your current paint system and nozzle.
Are YouTube tutorials or PDF guides better?
Use both for different jobs: video for motion and cleaning habits, PDF/checklists for bench-side steps. Your scrap board is still the real teacher.
How long before I spray a real kit?
After you can produce even coats on scrap and clean without drama. For some people that is a short evening; for others it takes several short sessions. The kit does not care about your calendar—it cares about control.
What should I do when nothing sprays correctly?
Stop painting the model. Check needle seating, nozzle cleanliness, paint thickness, hose connections, and whether dried paint is blocking the tip. Fresh paint in a clean gun solves more “mystery failures” than buying a second airbrush.
A practical completion standard
You are ready to call the beginner setup successful when all of the following are true:
- You can thin one paint system to a sprayable consistency without guessing wildly each time.
- You can lay light, even coats on scrap with acceptable overspray control.
- You can explain whether a problem is likely paint, pressure/distance, or a dirty tip.
- You can fully clean the paint path so the next session starts clear.
- You have finished at least one simple project—model panel, practice card, or small canvas study—without panic repairs.
That is the whole beginner game: control, cleanliness, and thin coats. Everything else is a later chapter.