What to have within reach before you start
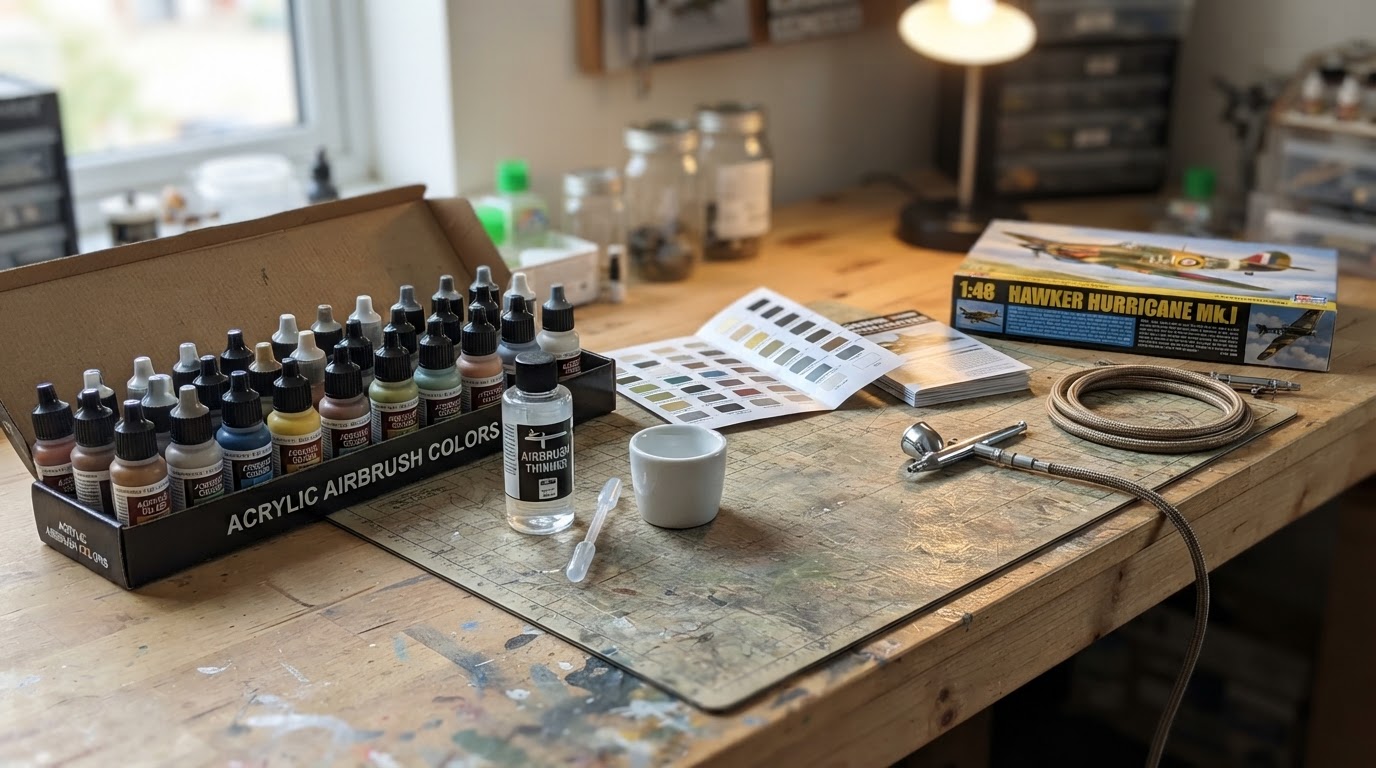
Put the thinner, a jar, and a cloth within reach before the first drop of paint goes into the cup, so you are not searching for supplies while paint dries in the passage.
You do not need a specialty kit. Most of what this routine uses is already on a modeler's bench:
- The thinner or cleaner matched to the paint in the cup. Water-based acrylics usually give up to water and a little dish soap; lacquers and enamels need their own thinner or cleaner.
- A jar or cup to spray waste into, plus a shallow dish for soaking small parts.
- Paper towel or a lint-free cloth.
- The cleaning brush that came with the airbrush, or a soft toothbrush kept for this job.
- Cotton swabs and wooden toothpicks for the cup and the dried edges around the nozzle.
Keep the nozzle wrench and any spare seals in the same place. Both matter more than they look.
Rinse between colors in about two minutes
The fastest clean is the one you do while the paint is still wet. Left to dry, the same paint becomes a much harder problem.
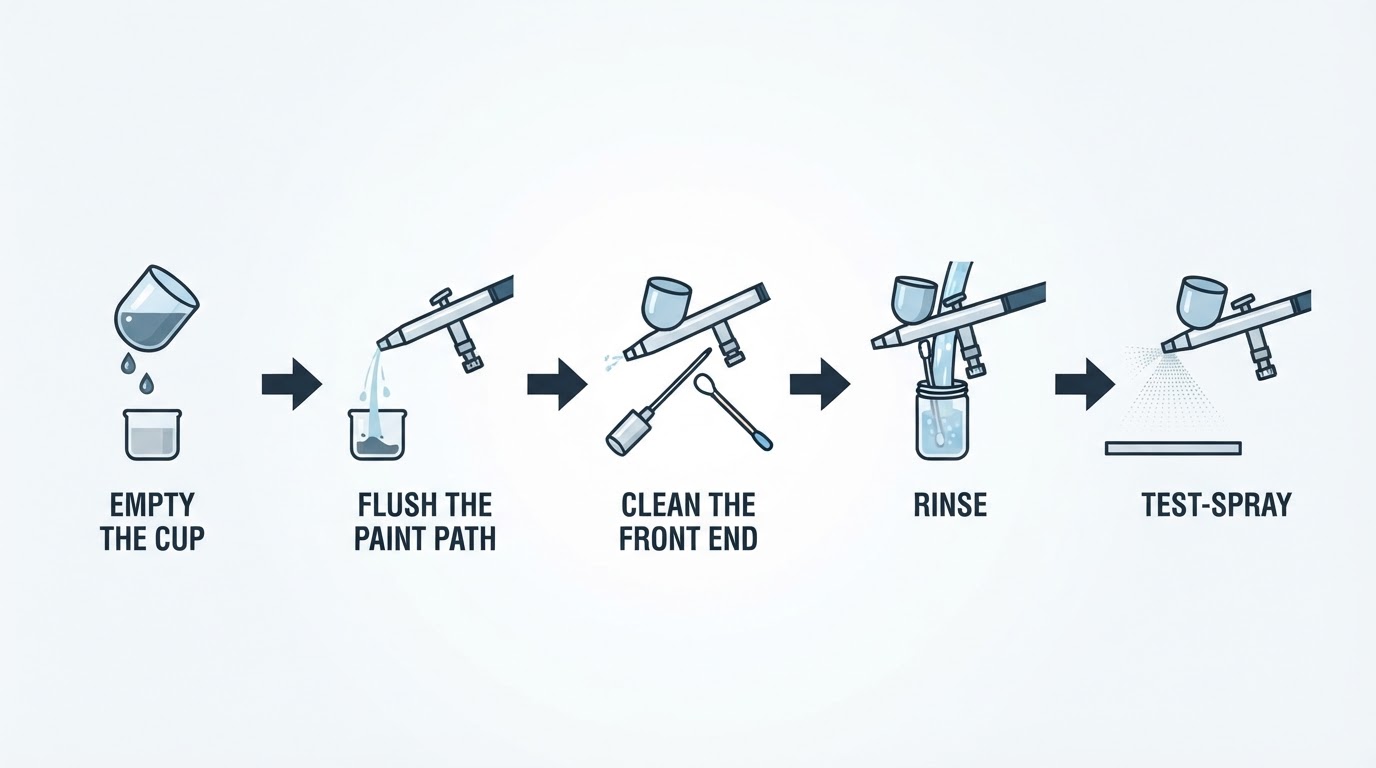
- Tip the leftover paint back into its container instead of spraying it through the brush, then wipe the cup with a paper towel.
- Pour in a small amount of thinner, swab the cup walls, and swirl so it lifts the color off the sides.
- Spray the dirty mix into the waste jar or onto scrap card until the spray runs clear. Switching from a dark color to a light one usually takes a second rinse, because pigment hides in the passage longer than it looks like it should.
- Wipe the needle tip and the outside of the nozzle cap. A thin ring of dried paint here is what makes the next color spit.
Water alone is enough for a color change with most water-based acrylics. For solvent-based paints, use the matching thinner: water will not dissolve them, and it spreads the residue instead of removing it.
If your brush feeds from a bottle under the body, start the rinse from a bottle of thinner and spray until the line and pickup tube run clear, then clean the bottle before the next color goes in.
Stop there. No soaking, no disassembly, and no scrubbing the nozzle. Those belong to the later stages.
Clean properly at the end of a session
A five-minute clean after every session is what keeps you out of deep cleaning. It is a longer version of the rinse above, with more attention to the places paint collects.
- Flush the passage with clean thinner until what comes out is clear rather than tinted.
- Clean the cup walls and the bottom of the cup. Dried film from the last color flakes into the next one.
- Pull the needle and wipe it from the back toward the tip with a thinner-damp cloth. Look at the very point for a hook that will drag paint to one side.
- Take off the nozzle cap and clean the tip with the brush. Work from the inside outward, and do not push anything harder than the brush through the opening.
- Wipe the outside of the body and the trigger area. Paint that sits around the trigger turns into a gritty feel a week later.
- Spray clean thinner or water through one last time so nothing sits in the passage overnight.
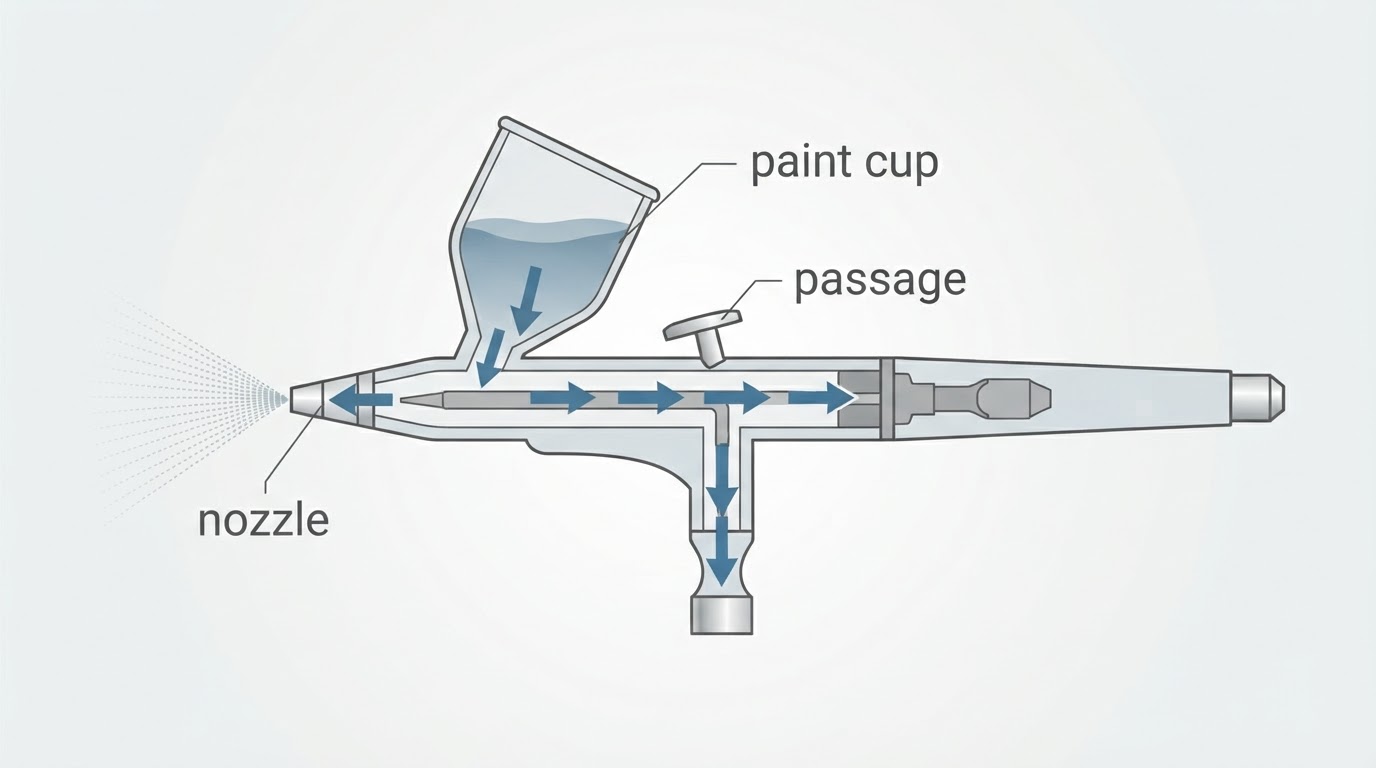
A gravity-feed brush feeds paint from the cup straight down into the nozzle passage, which is why the rinse has to travel the same route the paint did. Whatever you spray through the brush is what reaches the dried residue.
Deep clean when the spray tells you it is time
Sputtering, a pattern that pulls to one side, speckling, or a trigger that feels gritty all point the same way: dried paint is sitting somewhere the routine clean does not reach.
Reach for a deep clean when:
- The brush sat unused for weeks with paint inside it.
- You have sprayed several sessions with only quick rinses between them.
- The pattern is uneven even after a careful end-of-session clean.
- Paint weeps around the nozzle, or the needle feels sticky inside the body.
The procedure is a controlled teardown, not a soak-everything-overnight session:
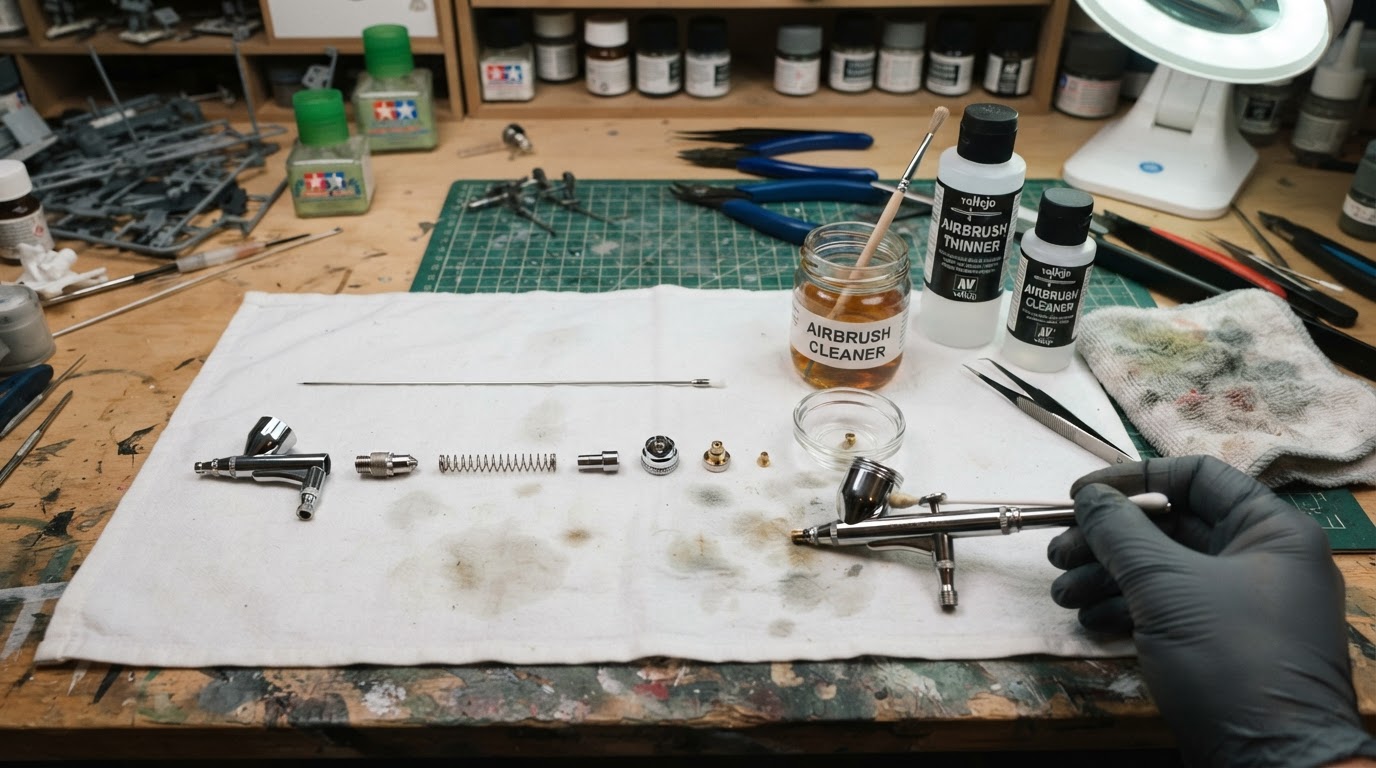
- Strip the brush down as described below and lay the parts out in the order they came off.
- Soak only the parts the cleaner is meant for, meaning metal and solvent-safe pieces. Keep O-rings, seals, and glued assemblies out of a long soak; the same solvent that lifts paint can attack rubber.
- Work the cleaning brush through the nozzle, the passage, and the cup. Dried paint responds to a longer soak far better than to more force.
- Rinse each part in clean thinner or warm soapy water, then let everything dry fully before it goes back together.
Never drop the whole assembled body into a jar of thinner to save time. Solvent finds its way into places you cannot dry, and the next session sprays it out onto the model.
The clean is complete when the parts look clean, the passages are clear when you look through them, and the seals no longer smell of solvent.
Take it apart without bending the needle
Most cleaning damage happens during disassembly, and the needle and nozzle take the worst of it. Slow hands here save parts.
- Loosen the needle chuck at the back before pulling the needle out, then draw it straight out of the body. Do not twist it against the nozzle.
- Remove the nozzle with the wrench that came with the brush. Pliers round off the flats and can crack the cone.
- Lay the parts left to right in the order they came off, with springs, seals, and the nozzle in a shallow dish where they cannot roll.
- Check the needle by rolling it across a flat surface. A wobble means it is bent. A slightly bent needle can often be straightened by drawing it across a smooth, hard surface, while a badly bent or hooked tip is better replaced.
- Hold the nozzle up to a light and look through the cone. A split or a burr will keep causing spatter no matter how clean the rest of the brush is.
Clean it with what you already have at home
No cleaning kit is not a reason to skip the job, but match the liquid to the paint and stay gentle.
- Warm water with a drop of dish soap lifts most water-based acrylics. Follow with clean water so no soap film stays behind.
- Isopropyl alcohol works on many acrylics and dries quickly. Keep it off rubber seals where you can, and do not leave parts sitting in it for hours.
- A dedicated airbrush cleaner is the safest choice for dried acrylic, and the matching thinner is the only reliable option for lacquer and enamel.
- A soft toothbrush, cotton swabs, and wooden toothpicks handle the cup and the flat surfaces. Watch cheap swabs for lint.
- The cleaning brush that came with the airbrush is the only thing that should pass through the nozzle opening. Wire, pins, and needles scratch the cone and turn a clean brush into a spitting one.
Work in a ventilated room, and do not mix cleaners together hoping the combination works faster.
Put it back together and check the spray
Reassembly is the reverse of the teardown: nozzle first, needle last, each part seated before the next one goes on. Tighten just enough to seal. Overtightening is a common way to crack a nozzle or stretch a seal.
Then run a short check on scrap card or paper:
- Fill the cup with clean water or thinner.
- Spray a short line at your normal pressure and look at the edges. They should be even, with no droplets or spatter.
- Stop and check for weeping around the nozzle and the cup. A dry joint after a minute of spraying means the seals are seated.
- Empty the cup, spray the brush dry, and store it with the needle slightly backed out or removed so it cannot stick to the nozzle seat.
If the spray is still uneven, do not keep tightening. Go back to the nozzle and the needle; that is where the answer usually sits.
What to do when cleaning does not fix it
What you see | What it usually means | What to do |
|---|---|---|
Spatter from the first second of spraying | Needle not seated, or a split nozzle cone | Reseat the needle and inspect the nozzle against a light |
Spray pulls to one side | Bent or hooked needle tip | Straighten it lightly or fit a new needle |
Gritty trigger | Dried paint in the chuck or trigger area | Deep clean the rear assembly |
Paint creeping up into the body | Over-thinned paint or too much pressure | Thin less, lower the pressure, clean the passage |
Air hissing at the nozzle | Worn nozzle seal or a loose nozzle | Replace the seal and reseat the nozzle |
Where Airbrush Modeler fits in
If you would rather read one place that treats cleaning as a subject in its own right, Airbrush Modeler covers how often to clean, whether water alone is enough, a step-based rinse sequence for gravity-feed brushes, clearing a clogged tip, and straightening or replacing a bent or dull needle.
Felo product screenshot.
The routine above stands on its own. The site is useful as a second opinion when the brush behaves in a way these steps do not explain.