Airbrush Primer Paint:
How to Choose and Spray It
Pick one primer you can thin and spray through your airbrush, and test it on a scrap of every material in your build before you prime the model.
Airbrush primer paint is a thin, sprayable primer for models and miniatures. Primer gives later color coats a surface to bond to, and it shows surface flaws before paint goes on. This guide covers how to choose a primer for plastic, resin, and photo-etched metal, how to spray it, and how to fix the problems that show up most often.
Read the model paint compatibility guideChoose primer by material
Most builds mix materials, so test first. Use the same primer across the build where you can, and check each material on a scrap piece before you spray the model.
| Material | Before you prime | Primer approach |
|---|---|---|
| Styrene plastic | Wash off dust and oils, then spray a test strip. | Spray two or three thin coats and check that the surface looks even before you paint. |
| Resin parts | Wash off mold release and let the part dry fully. | Test adhesion on a hidden area first, then spray thin coats. |
| Photo-etched metal | Degrease the sheet and handle it by the edges. | Spray a light coat and check it on a spare sheet of the same etch before you prime the model. |
| Mixed-media build | Test every material in the build, including the parts you will not paint first. | Use one primer across the build, and keep the same primer for every layer you add later. |
Spray can primer or airbrush primer
A spray can covers large parts quickly, but it gives you less control over where the primer lands. Airbrush primer lets you build thin coats on fine detail and small parts, but it only works well when the primer is thinned to a steady flow. Choose by the part in front of you, not by habit.
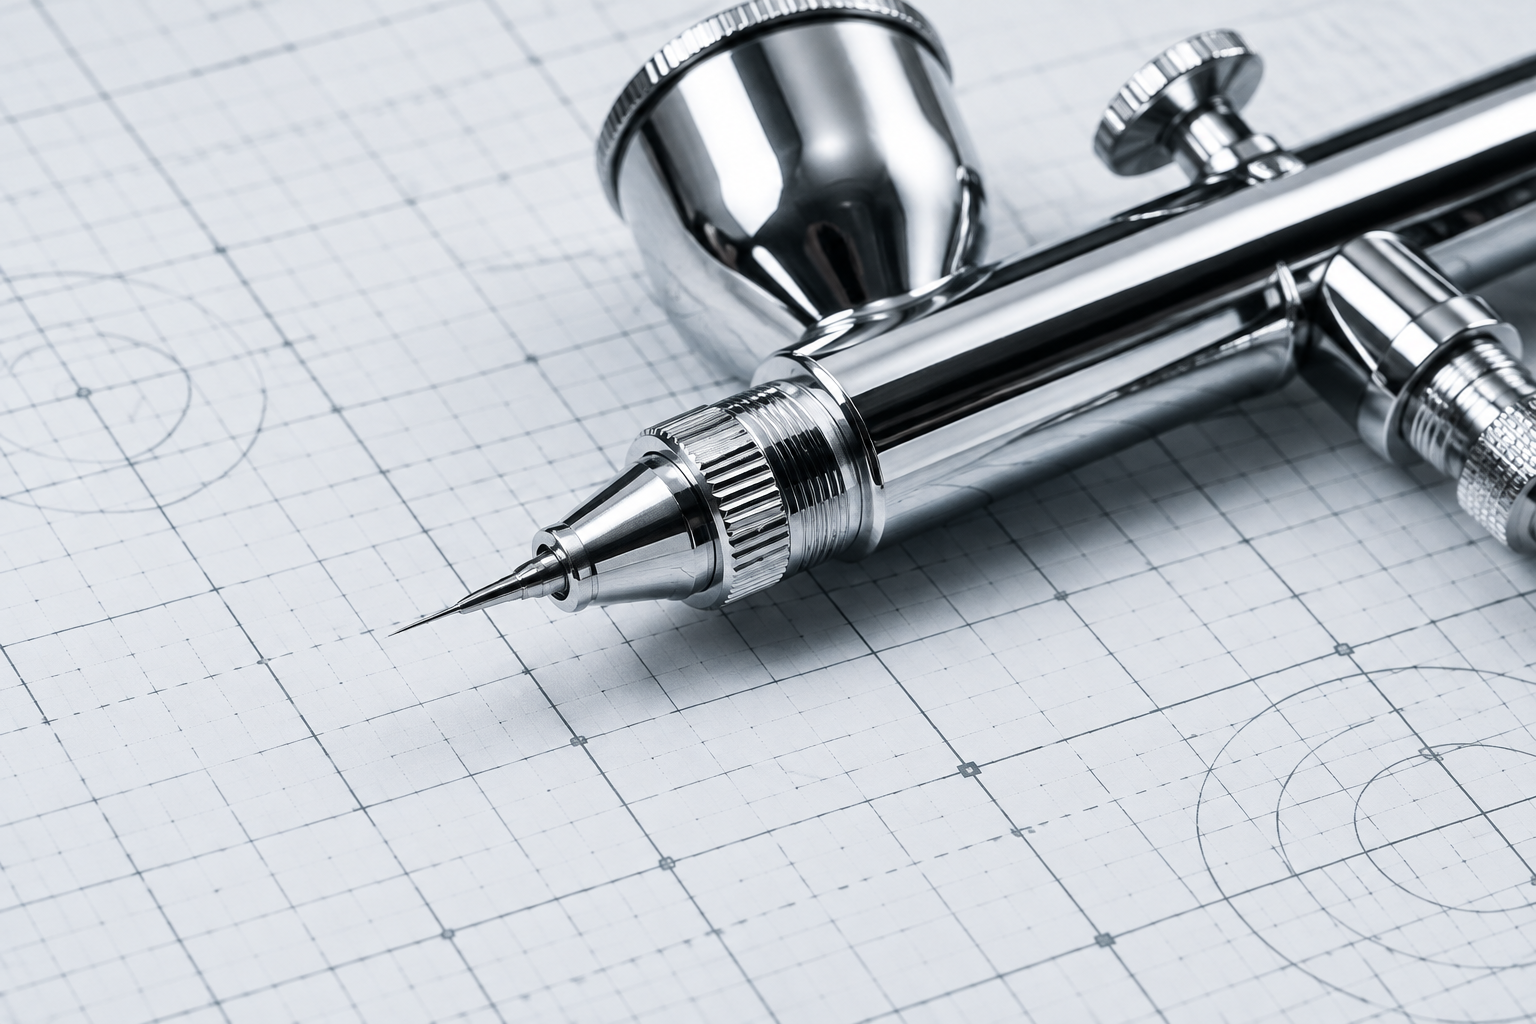
Large parts and quick coverage
A spray can is usually faster.
Detail, small parts, and controlled thin coats
An airbrush gives finer control.
Mixed builds
Use the method that gives the thinnest even coat on each material, and test both methods on scrap first.
For more on airbrushing miniatures, read the airbrush for miniature painting guide.
How to spray airbrush primer
Work through these steps in order on a scrap piece first.
Thin the primer until it sprays smoothly. It should flow like thin cream, without spitting or dry specks.
Set the airbrush to a low pressure and raise it only until the paint flows evenly.
Hold the airbrush at a steady distance from the surface and move in even passes. Test the distance on scrap before you spray the model.
Build the coat in several thin passes instead of one wet coat.
Let each coat dry fully before you add the next one or handle the part. For drying times, read the guide on how long acrylic paint takes to dry.
Check the coat under good light before you add color.
RESOURCES FOR PRECISION:
For thinning ratios, read the airbrush thinning paint guide or use the model paint thinning ratio calculator.
Fix common primer problems
| Problem | Likely cause | Fix |
|---|---|---|
| Primer flakes or peels | The surface was not clean, or the coat was too thick. | Clean the surface again, then spray a thinner coat on a test piece before you try the model. |
| Grainy or speckled finish | The primer is too thick, the pressure is too high, or the airbrush is too far from the surface. | Thin the primer, lower the pressure, and check the spray distance on scrap. |
| Primer clogs the nozzle | The primer dried in the airbrush or was not thinned enough. | Stop spraying, clean the airbrush at once, and thin the next batch of primer. |
| Coat looks uneven | Passes were too wide or too fast, or the coat was not allowed to dry. | Spray in slower, overlapping passes and let each coat dry before the next. |
If a problem persists after these fixes, change one variable at a time and test again on scrap.
Keep primer and paint compatible
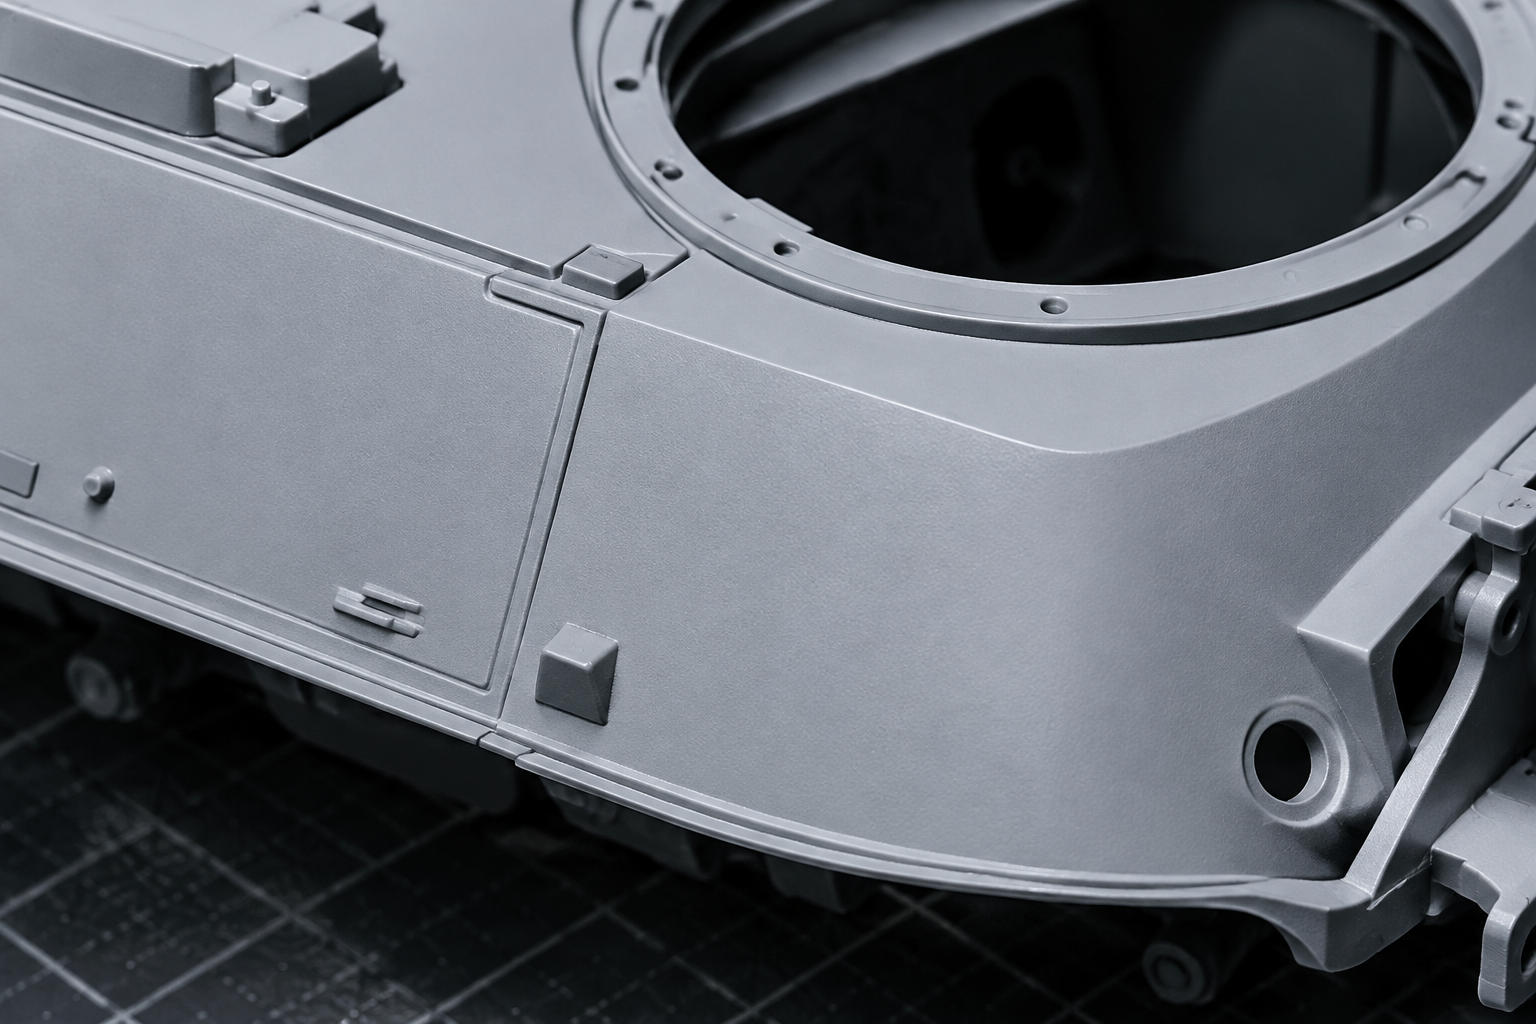
Primer choice affects every paint layer that goes on top. Before you layer color over primer, check the order and compatibility of each paint type. The site's LEA rule (Lacquer, Enamel, Acrylic) explains the safe layering order, and the compatibility guide has a reference chart.
Read the model paint compatibility guide →Frequently asked questions
Do I need primer before I airbrush a model?
Primer gives paint a surface to bond to, and it shows scratches, mold marks, and other flaws before color goes on. Skipping primer makes it harder to spot problems and can lead to peeling.
Which airbrush primer brand should I buy?
Choose the primer by how it sprays and sticks on your own materials. Vallejo describes its primers as water-based acrylic polyurethane formulas. Check the current label against your airbrush, thinner, and paint before you buy, and test any primer on scrap first.
Can I use the same primer on plastic, resin, and metal?
Often you can use one primer across a build, but test it on each material first. Resin needs mold release removed, and photo-etched metal needs a clean surface.
How do I know the primer is sticking?
Let the coat dry fully, then check a hidden area of the scrap piece. If the primer lifts or peels, clean the surface again and spray a thinner coat.
Should I thin airbrush primer?
Yes, thin it until it sprays smoothly without spitting or dry specks. The thinning guide explains how to get there.
Check your paint layers before you spray color
Use the model paint compatibility guide to confirm the layering order before you spray color over your primer.
Read the model paint compatibility guide