How to Zenithal Prime a Model:
Dark Base, Light From Above
Zenithal priming means spraying a dark base first, then a light coat from above, so the top surfaces catch the light and the recesses stay dark.
Zenithal priming gives a model its light and shadow before you paint a single color. This guide covers the method step by step, including a version that uses a spray can instead of an airbrush.
1. Dark base
Cover the whole model in black or dark grey.
2. White from above
Spray light paint from the top down in two to three passes.
3. Result check
Look for the top surfaces to read clearly lighter than the recesses.
Why the dark base comes first
Paint on a model sits in recesses, on edges, and on flat tops. A dark base sets the shadow tone everywhere at once. The light coat from above then hits only the surfaces that face up, so the lightest tones end up where light would naturally land. Because the shadows were already set by the base, the painted colors that follow keep their depth.
Airbrush method, step by step
Step 1: Prepare the model
Wash the model in warm water with a little dish soap, rinse, and let it dry completely. Oils from handling make primer bead up and leave gaps.
Step 2: Lay the dark base
Use black or dark grey primer. Spray two thin coats with the airbrush at low pressure, turning the model so every side gets covered. The aim is an even dark tone in every recess, not a heavy coat.
Step 3: Let the base cure
Wait until the dark base is fully dry and no longer tacky before you spray the light coat. A tacky base picks up the white and turns grey.
Step 4: Set your angle and distance
Hold the airbrush above the model at roughly 45 degrees, about 15 to 25 cm (6 to 10 in) away. Spray from the top down so the light lands on the upward surfaces. Test the distance on a scrap piece before the model.
Step 5: Build the white in two or three passes
Make each pass a steady sweep from top to bottom. After each pass, check the model under a bright light. Stop when the top surfaces read clearly lighter and the recesses still look dark.
Step 6: Check the result
Compare the model to the check table below before you move on to painting.
Spray can method, without an airbrush
The same layers work with spray cans. Use a black or dark grey can for the base and a white can for the light coat. The steps are the same; only the tool changes.
Step 1: Prepare and base
Clean and dry the model as in the airbrush method. Give it two light passes with the dark can, moving across every side, and let it dry completely.
Step 2: Test the pattern
Shake the white can well, then spray a short burst on a scrap piece. Hold the can about 20 to 30 cm (8 to 12 in) away. Adjust until the burst lands even and light.
Step 3: Spray from above
Hold the can above the model, angled slightly toward the front, and spray in short bursts that move across the top surfaces. Use two or three bursts in total.
Step 4: Check result
Use the check table below. A spray can usually give a coarser texture than an airbrush, so check the surface for speckle before you paint over it.
Choosing the starting color: black, grey, or white
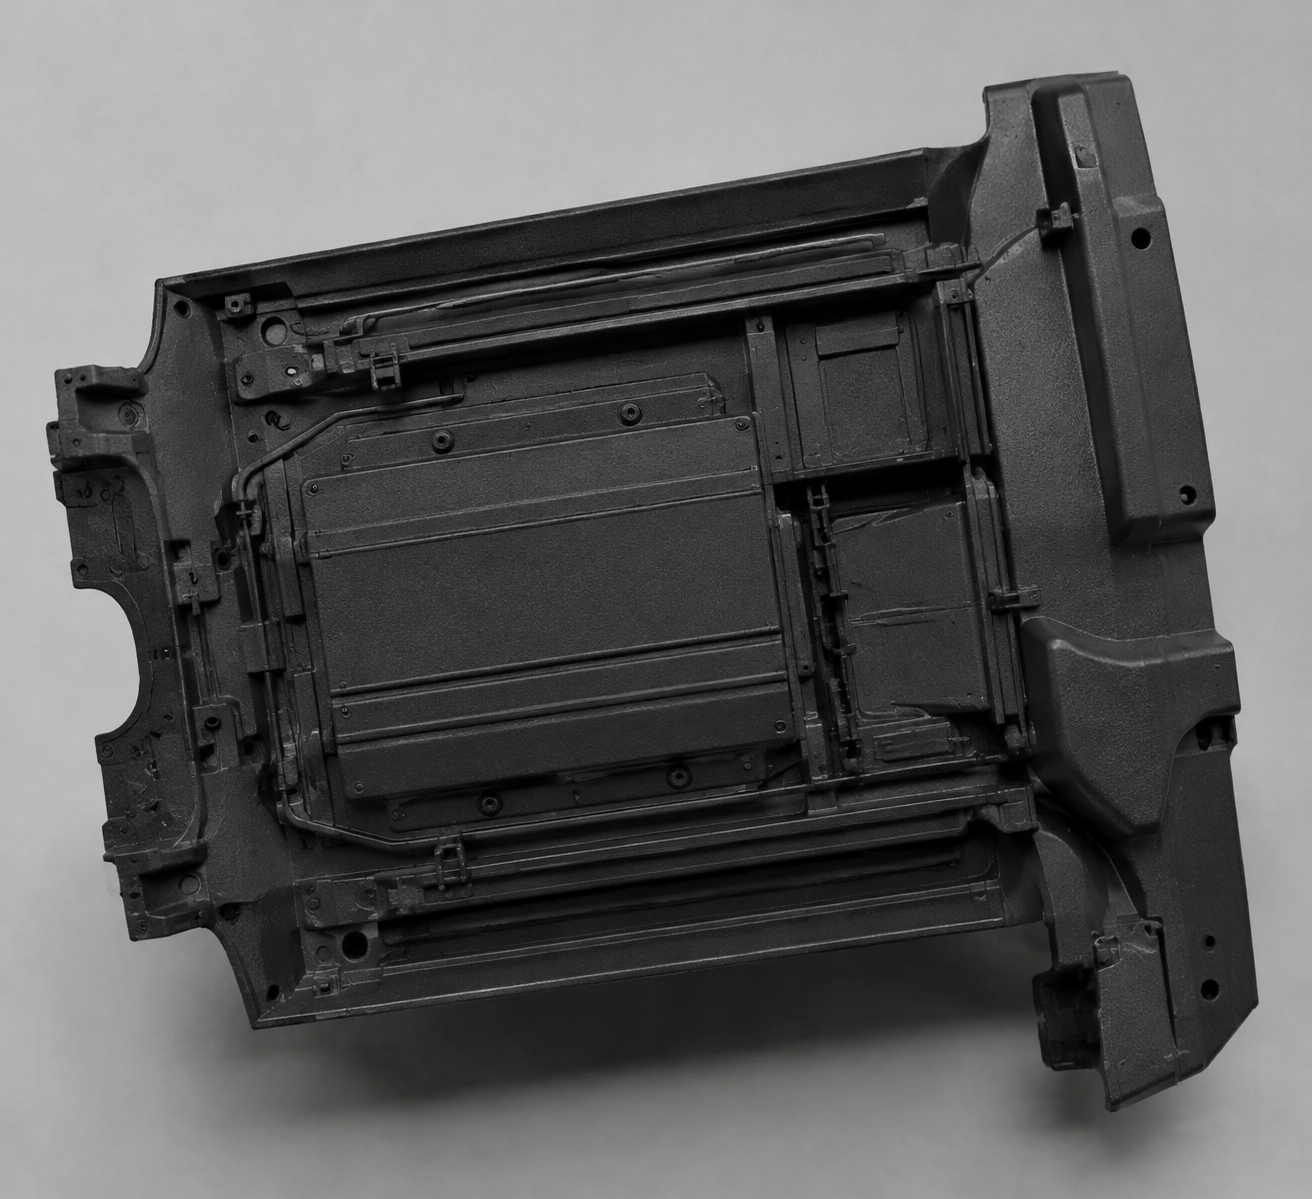
Black
Black gives the strongest contrast and the deepest recesses. It makes the white from above look brightest, but it is easy to overdo the shadows.
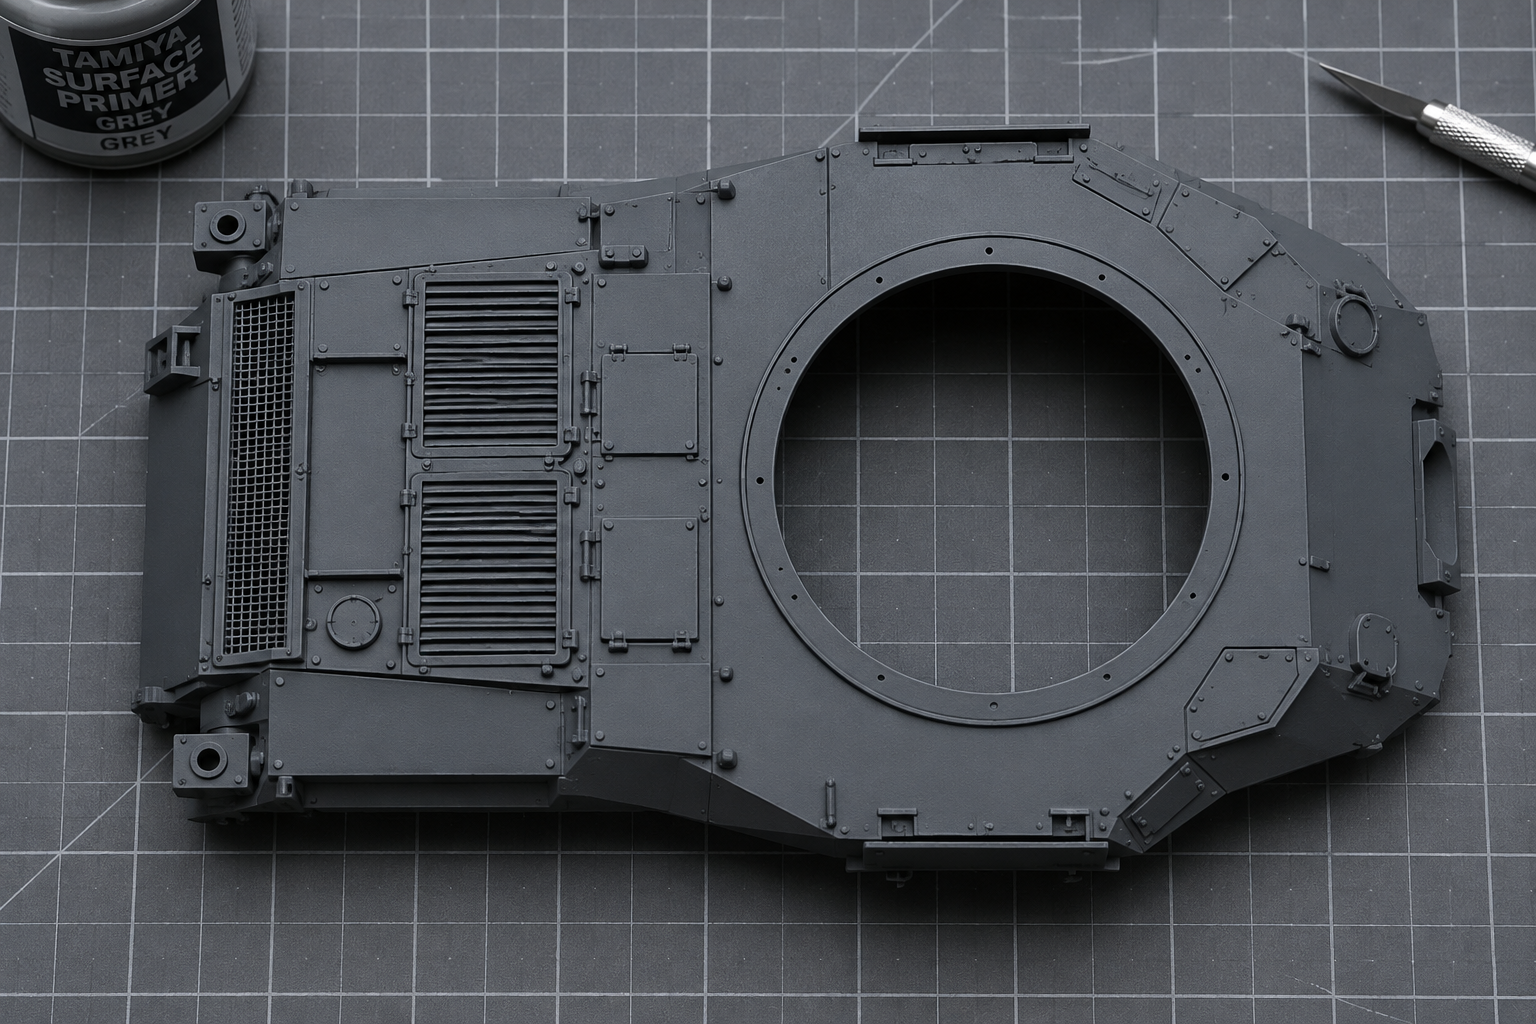
Dark grey
Dark grey is the middle ground. It is forgiving to work over, and the colors you paint on top keep their true tone more easily.
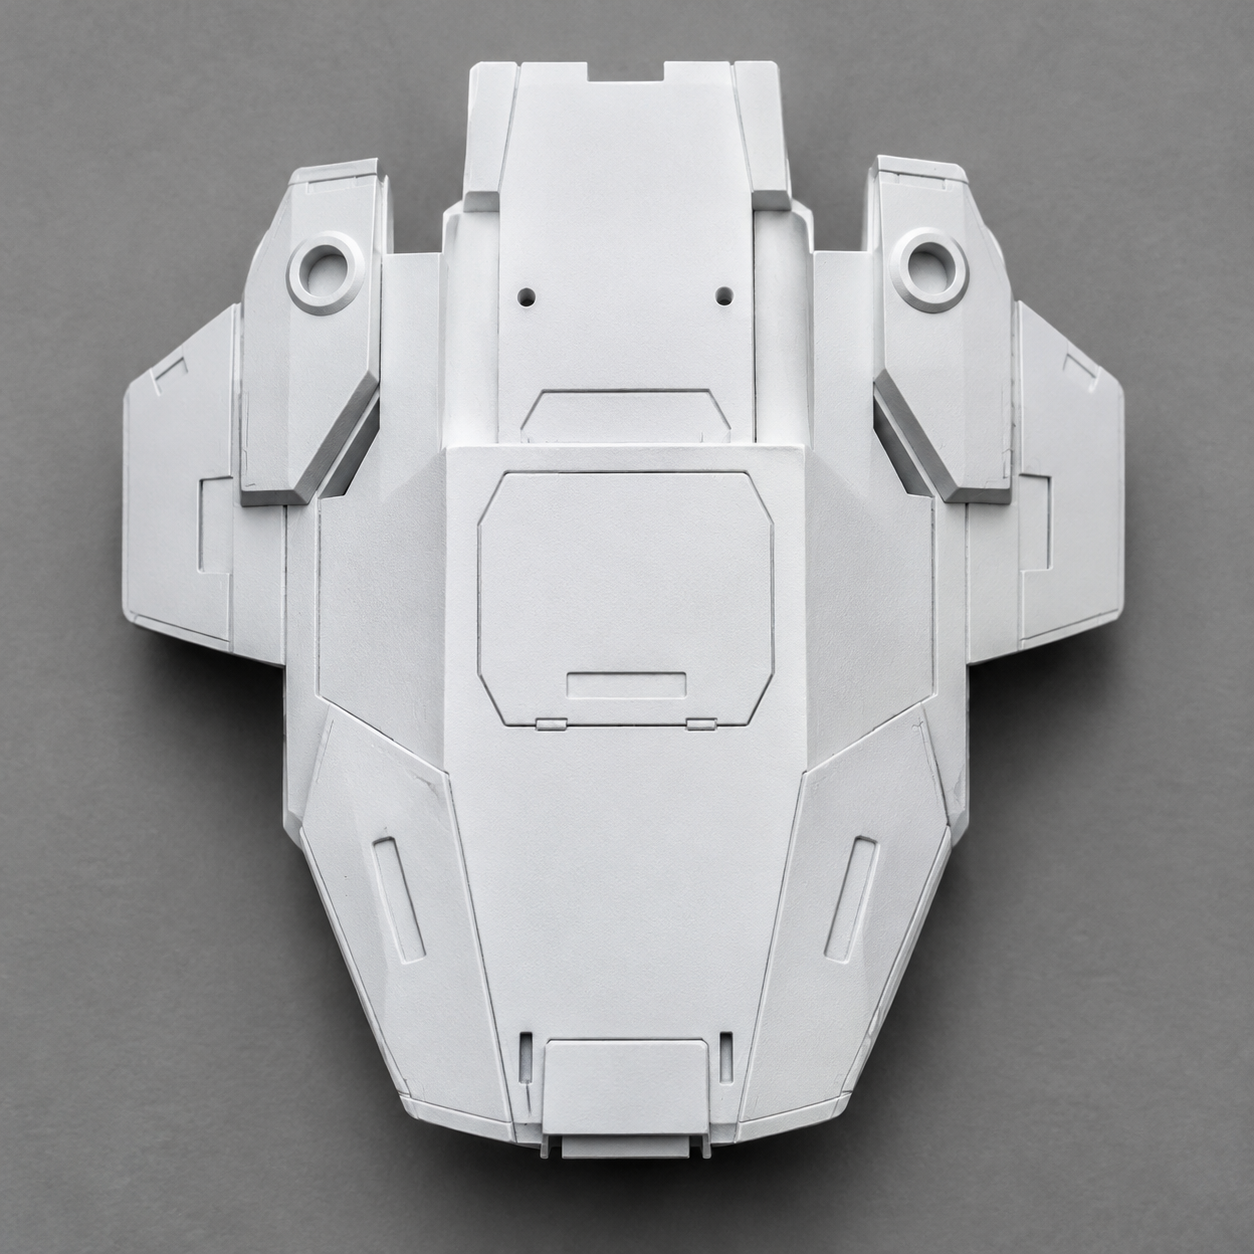
White
A white base gives a bright start. The recesses stay lighter, so the shading you paint later needs more depth to read clearly.
Check your result: what the three common outcomes look like
| Result | What you see | Usual cause | Next step |
|---|---|---|---|
| Overexposed | Top surfaces look chalky, and detail on flat areas washes out. Recesses look almost as light as the tops. | Too many white passes, or the airbrush held too close. | Spray fewer passes, or back off to a greater distance. Touch up only the top surfaces. |
| Too grey | Light and dark blur into one mid-grey. The model looks flat with little contrast. | The dark base was too light, or the white went on too thin across the whole model. | Add one thin extra coat of the dark color to the recesses, then add one pass of white on the top surfaces. |
| Dirty | Speckles, grit, or a rough texture. Streaks or an orange-peel finish may appear. | Paint too thick, dust on the model, or dried paint in the airbrush cup or nozzle. | Clean the model, thin the paint slightly, and clear the nozzle. Then apply one light dust coat before continuing. |
If the result still looks wrong
Work through the symptoms in the troubleshooting diagnostic to narrow down the cause before you spray again.
Open the troubleshooting diagnosticIndependent guide by Airbrush Model Notes
Where to go next
Zenithal priming sits in the middle of a longer build. Start with the primer guide for choosing and applying the paint, then read the guide for setting up an airbrush for miniature painting.
Questions about zenithal priming
Do I need an airbrush to zenithal prime a model?
No. A spray can with a dark color for the base and a white can for the light coat gives the same layered result. Expect a coarser texture, and check the surface for speckle before painting.
Which color should I use for the dark base?
Black gives the strongest contrast. Dark grey is easier to work over. Choose based on the colors you plan to paint and how much contrast you want the finished model to show.
How many light coats should I spray from above?
Two or three passes is the usual range. Stop when the top surfaces read clearly lighter than the recesses, and check under bright light before adding more.
Why does my zenithal primer look grey instead of bright?
The dark base may be too light, or the white may be too thin across the whole model. Add a thin extra coat of the dark color to the recesses, then add one more pass of white on the top surfaces only.