How to Thin Airbrush Paint:
Getting the Consistency Right Every Time
If your airbrush keeps clogging mid-session, or paint is spitting and splattering across a model you've spent hours preparing, paint consistency is one of the first things to check.
Getting thinning right fixes many of them, but "right" is paint-line specific. The same consistency test can pass on one product and fail on another, because binders, pigments and reducers differ. The reliable method is to start from the maker's published proportion for that exact line, then adjust in small steps on scrap.
This guide covers how to judge whether your paint is ready, a step-by-step thinning routine, published examples for acrylic, enamel and lacquer lines, and fixes for the common mistakes.
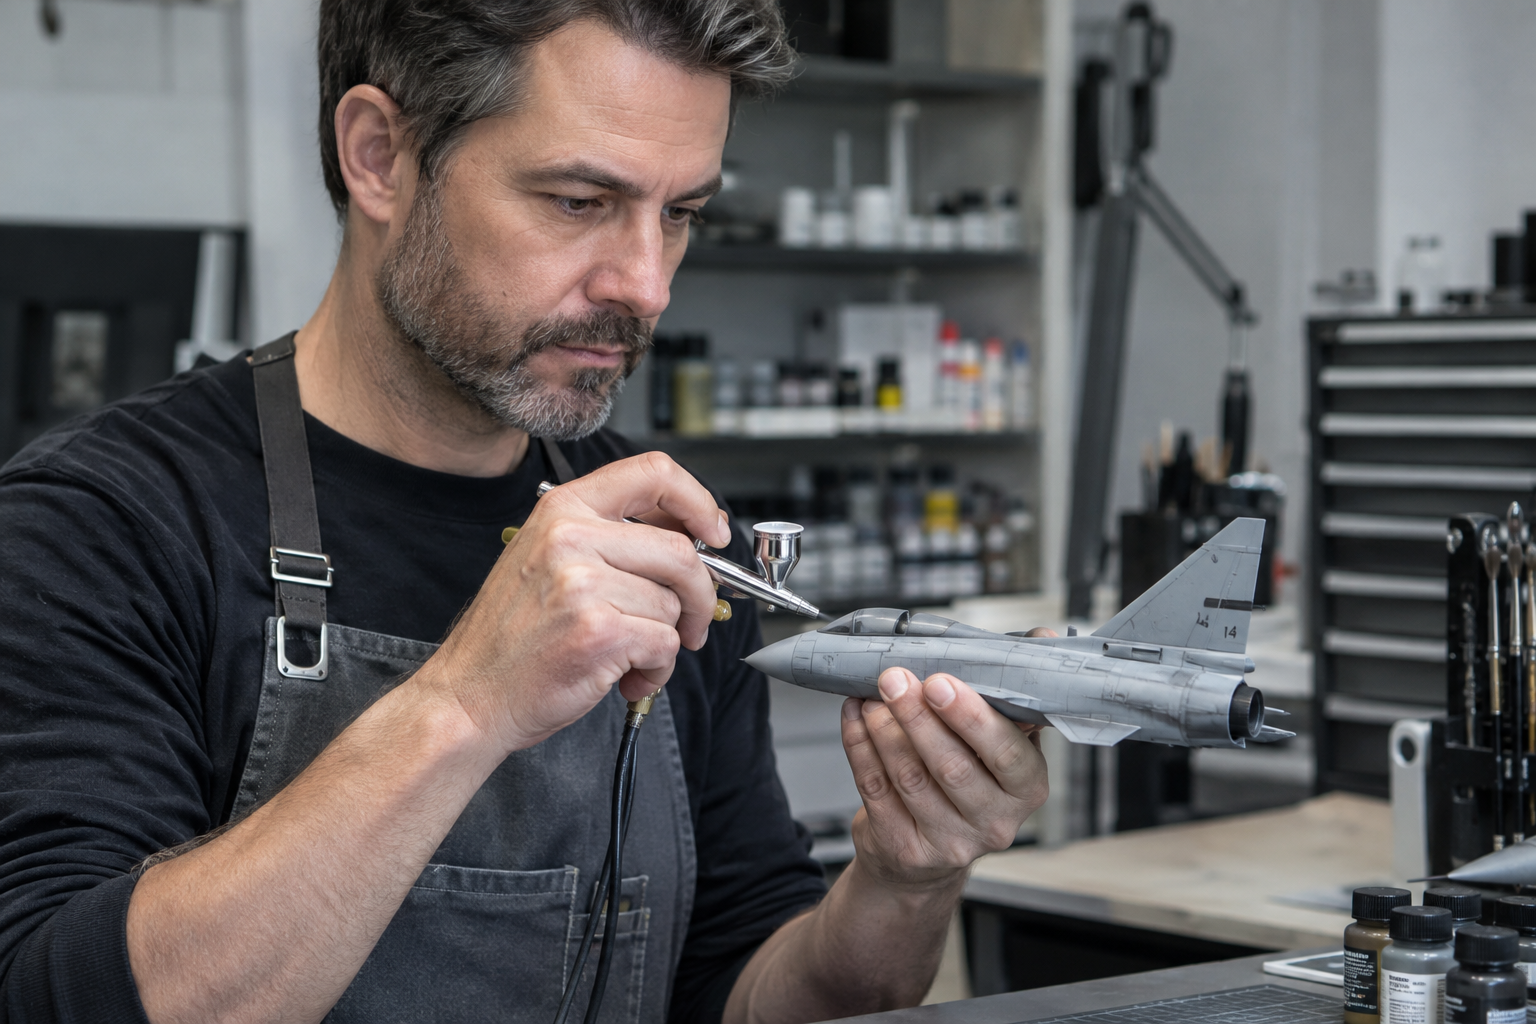
What "Thinned Enough" Actually Looks Like
A common workshop reference is the milk test: many thinned airbrush paints flow and fall in a smooth, thin stream rather than in slow thick beads or like coloured water. Treat it as a visual check, not a specification. Some pigment-heavy or metallic lines behave differently at a workable consistency, so the maker's ratio and a test spray come first.
Signs the paint is still too thick:
- Drips slowly off the stirrer in rounded beads
- Leaves an orange-peel or bumpy texture after a test spray
- The trigger needs more pull than usual before paint starts moving
Signs the paint is over-thinned:
- Runs immediately off the stirrer as near-water
- Puddles or runs on the test surface before drying
- First pass looks almost completely transparent when it shouldn't
The milk test is your calibration tool throughout the session. Check it before each cup, not just at the start.
Step 1 — Stir before you thin. Always mix the paint thoroughly before adding anything. Pigment settles to the bottom of the pot or cup over time; if you don't stir it back in first, your thinning ratio starts off wrong. Use a stirring stick, toothpick, or the blunt end of a small brush. Move it in slow circles, scraping the bottom until the colour looks completely even throughout.
Step 2 — Add thinner in small amounts. Decant a small working amount of paint into your airbrush cup — enough for the session, not the whole pot. Add thinner a few drops at a time, never a large pour. Small additions keep you in control. An over-thinned batch is much harder to rescue than a slightly thick one.
Step 3 — Stir again after each addition. Every time you add thinner, stir the cup thoroughly before checking consistency. The mix changes more than you expect from just a few drops, especially with fast-drying acrylics.
Step 4 — Do a drop test. Dip the stirrer into the cup and lift it out slowly. Watch how the paint falls. If it drips in a smooth, milk-weight stream, move to the test spray. If it drops in thick slow beads, add a few more drops and repeat.
Step 5 — Test spray on scrap material. Before touching your model, spray two or three passes on a piece of cardboard, spare sprue, or painter's tape. You are looking for: smooth coverage with no texture, no spitting at the start of each stroke, and even release as you trigger back. If the test passes, you're ready to paint.
Acrylics, Enamels, and Lacquers: Where to Start
The five-step process applies across families, but there is no universal ratio. Start from the maker's published proportion for the exact line, note the basis — thinner to paint, by volume or by drops — and adjust on scrap. A ratio that works for one line does not transfer to another.
Acrylic paints: check the carrier, not just the word
Acrylic is a binder family, not a synonym for water-based. Some acrylics are waterborne, some are alcohol-based or solvent-based, and the thinner has to match the line. Use the maker's thinner or medium where one is specified, and use water only if that product's label permits it.
Vallejo's published Model Color airbrush guide gives a worked example for one named paint: Field Blue 70.964 as a basecoat, mixed as two parts 71.261 Airbrush Thinner to two parts paint — a 1:1 thinner-to-paint ratio by volume — then three drops of 71.262 Flow Improver for every ten drops of paint. The drops are counted against the paint, not the total mix. The guide stirs to the bottom of the cup, notes that small cups may need a separate mixing bottle, and builds several thin layers where pressure and distance technique matter. Those numbers belong to that published example, not to every colour, nozzle or paint line. Vallejo Model Color airbrush guide (PDF)
Createx's Wicked Colors technical data sheet gives a different, product-specific starting point: 10–30% reducer depending on colour and tip size, with around 10% at a 0.5 mm tip; Transparent Colors are listed at 25–30 psi, and the sheet calls for at least 10 minutes' acclimation. That is the Wicked Colors line, not a universal acrylic rule. Createx Wicked Colors TDS (PDF)
GOLDEN's High Flow Acrylics sheet is another line-scoped example: it notes that some pigments are unsuited to fine nozzles or fine tips, and it separates recoat times by task. That does not make all craft acrylic unsprayable, and it does not make every High Flow colour a fine-detail paint either. GOLDEN High Flow product sheet
Enamel paints
Enamel lines are commonly oil- or solvent-based and need the maker's enamel thinner or a compatible mineral spirit; water is not the thinner. Proportions differ by line, so start from the maker's ratio and record whether it is thinner-to-paint by volume or by drops. Slow drying gives more working time in the cup, but it also means the recoat window is longer.
Lacquer paints
Lacquer lines need the dedicated lacquer thinner matched to that product; water and acrylic thinners are not substitutes. Read the maker's reduction ratio, work in a well-ventilated space, and expect fast drying and tip dry. Do not carry a ratio from one lacquer line to another.
Where a maker publishes no ratio, thin in small increments and test on scrap. That is an adjustment method, not a specification, and it does not replace the maker's thinner recommendation.
When Something Goes Wrong: Clogging, Splattering, and Thin Paint Film
Clogging
If the airbrush stops flowing mid-session, check the needle tip first. Dried paint building up at the nozzle — tip dry — is the most common cause, and it's almost always visible as a small plug or crumb at the end of the needle. Wipe it off gently with a cotton bud dampened with thinner, then test the consistency again. If clogging returns quickly, add thinner two or three drops at a time, stir, and re-test.
Splattering and spitting
Splattering at the start of each stroke usually means paint has dried in the nozzle between passes. Splattering throughout a continuous stroke can mean the mix is slightly over-thinned, or that air pressure is too high. Back off pressure by a couple of PSI and test spray again. If it persists, the paint may be over-thinned; add a small amount of fresh un-thinned paint back into the cup, stir, and re-test.
Paint film too thin or transparent
If the first pass lays down almost no visible colour, the mix is likely over-thinned. The fastest fix is to decant a small amount of the original un-thinned paint back into the cup and stir it in. Multiple thin layers are normal and desirable — but if a single pass achieves no visible coverage at all, the ratio needs correcting.
Work Out Your Starting Ratio
If you prefer a reference point rather than pure trial and error, the Airbrush Model Notes paint thinning ratio calculator gives you a starting ratio based on paint type, then lets you adjust from there.
Try the Paint Thinning Ratio CalculatorFree online tool for all modellers
Common Questions About Thinning Airbrush Paint
Can I use water to thin airbrush paint?
Only where the product's label permits it. Some waterborne acrylic makers allow water as a basic thinner, while many recommend their own thinner or medium for consistent flow and adhesion. Enamel and lacquer paints need solvent-based thinners; water is not a substitute for either.
What ratio should I use to thin acrylic paint for airbrushing?
There is no universal ratio. Vallejo's published Model Color guide, for example, uses two parts 71.261 Airbrush Thinner to two parts paint (1:1 thinner:paint) for one named Field Blue basecoat, then three drops of 71.262 Flow Improver per ten drops of paint. Createx's Wicked Colors sheet gives 10–30% reducer depending on colour and tip. Start from your own line's published figure, state the basis, and adjust on scrap.
Why does my airbrush keep clogging even after I thinned the paint?
Check for "tip dry" (paint drying on the needle tip) and ensure the airbrush was fully cleaned from previous sessions. Dried residue in the nozzle will cause clogging even with a perfectly thinned mix. Clean the airbrush thoroughly, wipe the needle tip, and test again.
How do I know if I've over-thinned my paint?
Over-thinned paint runs or puddles on a test surface, drips instantly off a raised stirrer, and lays down almost no visible colour on a first pass. The fix is to stir a small amount of un-thinned paint back into the cup until consistency returns to the working range — then re-test on scrap.
Can I thin lacquer paint the same way as acrylic?
The incremental addition, stirring and test-spray routine is similar, but the thinner must be the one specified for that lacquer line. Water and acrylic thinners are not substitutes. Lacquers also dry faster, so ventilation and tip-dry control matter.
Does thinning the paint mean I need more coats?
Usually. A thinner mix covers less per pass, which is intentional for control. Build thin layers according to the maker's guidance rather than flooding one coat; more passes are normal, but the exact number depends on the paint and the colour.