How to Use an Airbrush for Miniature Painting

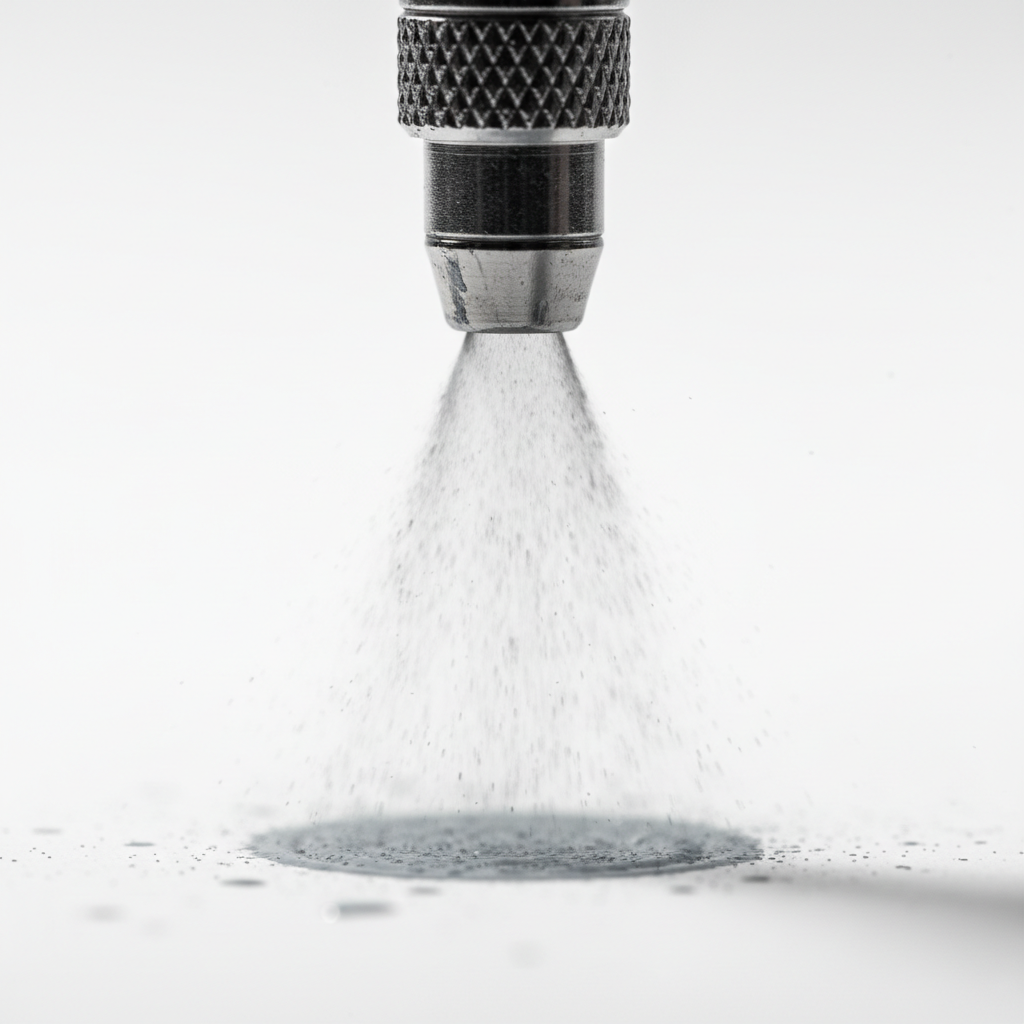
Precision airbrush nozzle macro photography

If you're painting miniatures in batches — ten figures, thirty figures, an entire army — an airbrush changes the time equation.

Thin primer coats can be laid quickly, base coats can cover a whole batch in one pass, and shading or zenithal highlights can be applied in quick passes per model. Actual drying and recoat times still depend on the product label and conditions.

This guide walks through the full batch-painting sequence from primer to varnish, the setup decisions that matter most for small-scale figures, and how to keep your airbrush running cleanly so a session doesn't end in a clog.

Note: This guide focuses on miniature and board-game figures. It does not cover airbrush selection for plastic scale models such as aircraft, armor, or car kits.

Browse Airbrush Guides

The Four-Stage Batch-Painting Sequence

This is a workable starting sequence at any batch size; adjust it to your products and conditions. Each stage serves a specific purpose. The steps are: primer → base color → shading and highlights → protective varnish.

Stage 01

Step 1 — Primer

Prime every figure in the batch before any color goes down. Primer creates the surface the paint grips to. With an airbrush you can prime a full batch in one pass, rotating each figure as you go. A light grey or black primer is common for miniatures. Follow the primer’s recoat and handling guidance before moving to the next stage; recoat windows vary by product, film thickness and conditions.

Stage 02

Step 2 — Base Color

Apply the main body color or colors across the entire batch before picking out any details. Thin according to the paint maker’s guidance and test the consistency on scrap before committing a batch. Published examples are product-specific: Vallejo’s Model Color airbrush guide mixes two parts Airbrush Thinner with two parts paint (1:1) for its Field Blue basecoat example, then adds three drops of Flow Improver per ten drops of paint. Those numbers belong to that named paint example, not to every acrylic.

Stage 03

Step 3 — Zenithal Highlighting

A zenithal highlight — spraying a lighter color from directly above — takes only a quick pass per figure and creates depth. The raised surfaces catch the lighter tone and the recesses stay in shadow. It is one of the places an airbrush saves the most time over brushwork on a batch.

Stage 04

Step 4 — Protective Varnish

A varnish pass seals all the work underneath. Matte or satin varnish is typical for miniatures. With an airbrush you can varnish an entire batch in one pass, and the coverage can be more even than a rattle can on highly textured surfaces. Follow the varnish label for recoat and handling times; “dry to touch” is not the same as full cure.


Airbrush Setup Choices That Matter for Miniatures

Most of the setup decisions that matter for miniature painting come down to three things: nozzle size, feed type, and pressure.

Nozzle Size

Nozzle/needle choice depends on paint and job. Fine setups suit thin paint and detail; a mid-size setup is more forgiving for primer and base coats. Check the maker’s sizes and spares rather than assuming one diameter.

Feed Type

Gravity-feed is common for miniature work: the top cup feeds paint to the nozzle and is quick to rinse between colours. Siphon and side feed remain valid for volume or angle access.

Pressure Range

Working pressure depends on the airbrush, paint and airflow. Many miniature setups run at low pressure, but treat any range as a starting point to test — check the maker’s guidance and your air supply’s documented output.


Loading, Flushing, and Avoiding Clogs

Most airbrush problems—spitting, clogging, tip dry—come from one of three things: paint thickness, dried paint on the needle, or inadequate flushing.

Thinning to "Skim Milk"

Add paint, then thin it until it flows freely. A working consistency is often described as "skim milk"—thin enough to flow without resistance when you tilt the cup, but not so thin it has no coverage. This is an analogy, not a fixed ratio; follow the paint maker’s thinner guidance.

The Working Flush

When switching colors, spray cleaner through until it runs clear, then wipe the needle tip. This working flush is usually quick. Deep cleaning follows the maker’s instructions; not every brand permits the same soak or disassembly.

Preventing Tip Dry

Paint dries on the needle tip during sessions. Wipe the tip with a damp cloth every few minutes to keep the spray pattern centered and consistent, following the maker’s cleaning guidance for the needle and nozzle.


Batch-Painting Comparison

Without an Airbrush

  • Priming: Rattle-can works well but lacks fine control.
  • Base coats: Flat brushes cover areas quickly but leave marks.
  • Zenithal: Difficult to replicate precisely with a brush.
  • Varnish: Rattle-cans are sensitive to local humidity.
  • Cleanup: Instant — no tool maintenance.

With an Airbrush

  • Priming: Fast, even coverage; less weather-sensitive than spray cans, but still check label conditions.
  • Base coats: Sweeps can cover a batch evenly with practice.
  • Zenithal: Quick passes per figure for added depth.
  • Varnish: Repeatable finish across a batch with practice.
  • Cleanup: Real end-of-session cleaning time; follow the maker’s steps.

"For batches of ten or more, primer and base coats are usually where an airbrush saves the most time — but the trade-off is setup and cleaning time, so judge it against your own batch size and workspace."


The LEA Layering Rule

Order matters when using multiple paint chemistries. The rule is LEA: Lacquer first, then Enamel, then Acrylic.

LEA is a common ordering convention, not a guarantee: compatibility depends on the specific products and cure. Reversing the order can lift or craze some layers, so test on scrap and follow each label. Never use water to thin lacquers.

→ Model Paint Layering Order Checker


Common Questions

What nozzle size is best for painting miniatures?

There is no universal best size. A mid-size nozzle/needle is a flexible starting point for primer and base coats; a finer setup suits thin paint and detail. Check the maker’s sizes, spares and the paint’s guidance.

What pressure should I use?

Working pressure varies with airbrush, paint and airflow. Use the maker’s guidance as a starting point, then test at the brush; adjust one variable at a time.

Is an airbrush worth it for miniatures?

It depends on batch size and how much setup and cleaning you are willing to do. For larger batches, primer and base coats are usually where it saves the most time; for a handful of figures, brushwork may be quicker overall.

Ready to master your miniature painting workflow?

Trusted advice for miniature and scale modelers. Dial in your settings and start saving time today.

Browse Best Airbrush Picks