MODEL GLUE: WHICH GLUE TO USE FOR EACH JOINT
Plastic model cement welds styrene parts together by softening their surfaces. CA glue sets quickly and fills small gaps and detail work. The joint you are gluing decides which one to use.
READ THE AIRBRUSH PRIMER GUIDEPICK YOUR GLUE BY JOINT
Use this table before you open the tube.
| Part or joint | Glue to use | Why |
|---|---|---|
| Plastic-to-plastic seams on styrene kit parts | Plastic model cement | It fuses the two surfaces, so the joint is part of the plastic. |
| Structural joints that carry stress, such as fuselage halves or chassis parts | Plastic model cement | A fused seam holds better than a glue sitting on the surface. |
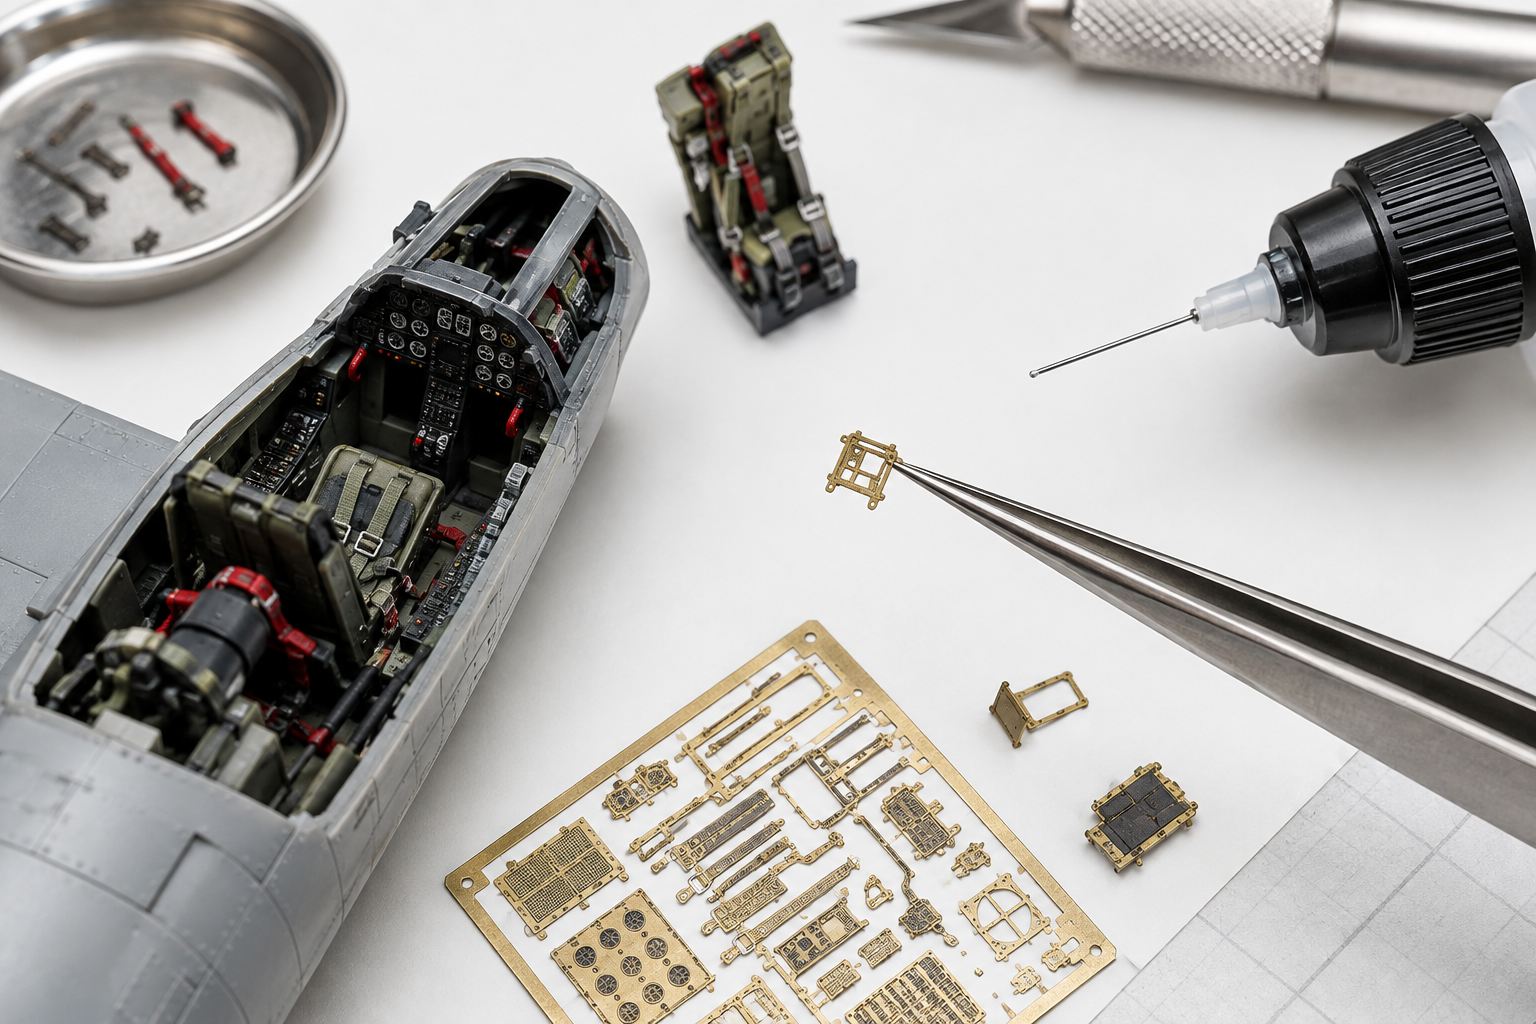
| Small detail parts, grab handles, and tiny attachments | CA glue | It sets quickly, so you can hold a part in place without clamps. |
| Loose-fitting joints and small gaps | CA glue, higher-viscosity grade | Thicker CA fills gaps that thin glue would run out of. |
| Photo-etched metal parts | CA glue | Plastic model cement does not bond metal. |
| Resin parts | CA glue | Plastic model cement is not made for resin; check the glue label before use. |
| Clear parts and windshields | CA glue or a glue labeled for clear parts | Both glue types can fog clear plastic, so test on a scrap piece first. |
| Painted surfaces | Glue only at bare joints | Both glue types can mar fresh paint; keep glue off the finish and let paint cure fully. |
*Glue labels and product formulas vary. Read the label on the bottle you buy.
HOW THE TWO GLUES WORK
Plastic model cement is a solvent. It softens the plastic where the two parts touch, and as the solvent evaporates the surfaces bond together. Capillary action pulls the thin liquid into the seam, so a small amount does most of the work.
CA glue is cyanoacrylate. It cures when it meets moisture in the air and on the surface, and an accelerator can speed that up. It bonds surfaces to each other rather than fusing them, which makes it useful for mixed materials and small parts.
CONTROL THE AMOUNT TO AVOID FOGGING AND SQUEEZE-OUT
Use a small brush or a needle-tip applicator and work in small amounts. Too much plastic model cement leaves a white haze, often called frosting, as it dries. Too much CA glue spreads onto the surface, where it can cloud clear parts and leave a film that accepts paint poorly.
- Dry-fit every part before you apply glue.
- Apply glue to one side of the seam, then press the parts together.
- Hold the joint still until the glue sets.
- Wipe fresh squeeze-out right away with a dry cloth or cotton swab.
- Cured CA glue can be trimmed off with a hobby knife once it is fully set.
WORK SAFELY WITH BOTH GLUE TYPES
Both glue types give off vapors that can irritate the eyes, nose, and throat. Work in a ventilated area, keep glue away from children, and avoid skin contact. CA glue can bond skin quickly; if it bonds your skin or gets in your eyes, follow the first-aid instructions on the label and seek medical advice when needed.
COMMON QUESTIONS ABOUT MODEL GLUE
Can I use CA glue on styrene?
Yes. CA glue bonds styrene well for small parts and detail work. It does not fuse the plastic, so for long seams plastic model cement usually gives a cleaner, stronger joint.
Is plastic model cement the same as super glue?
No. Plastic model cement is a solvent that welds plastic. Super glue is CA glue, which bonds surfaces by curing on contact with moisture.
Why did my plastic joint turn white?
A white haze usually comes from too much solvent cement, poor ventilation, or moisture while the joint dries. Use less glue, work in a dry area, and let the joint dry before you handle it.
Can I glue parts after I have painted them?
You can, but glue can mar fresh paint. Let the paint cure fully and glue only bare joints where you can, and test on a scrap piece first.
BEFORE YOU PAINT
Once the glue has set and the kit is ready for paint, the airbrush primer guide covers the next step.
READ THE AIRBRUSH PRIMER GUIDE