The short answer
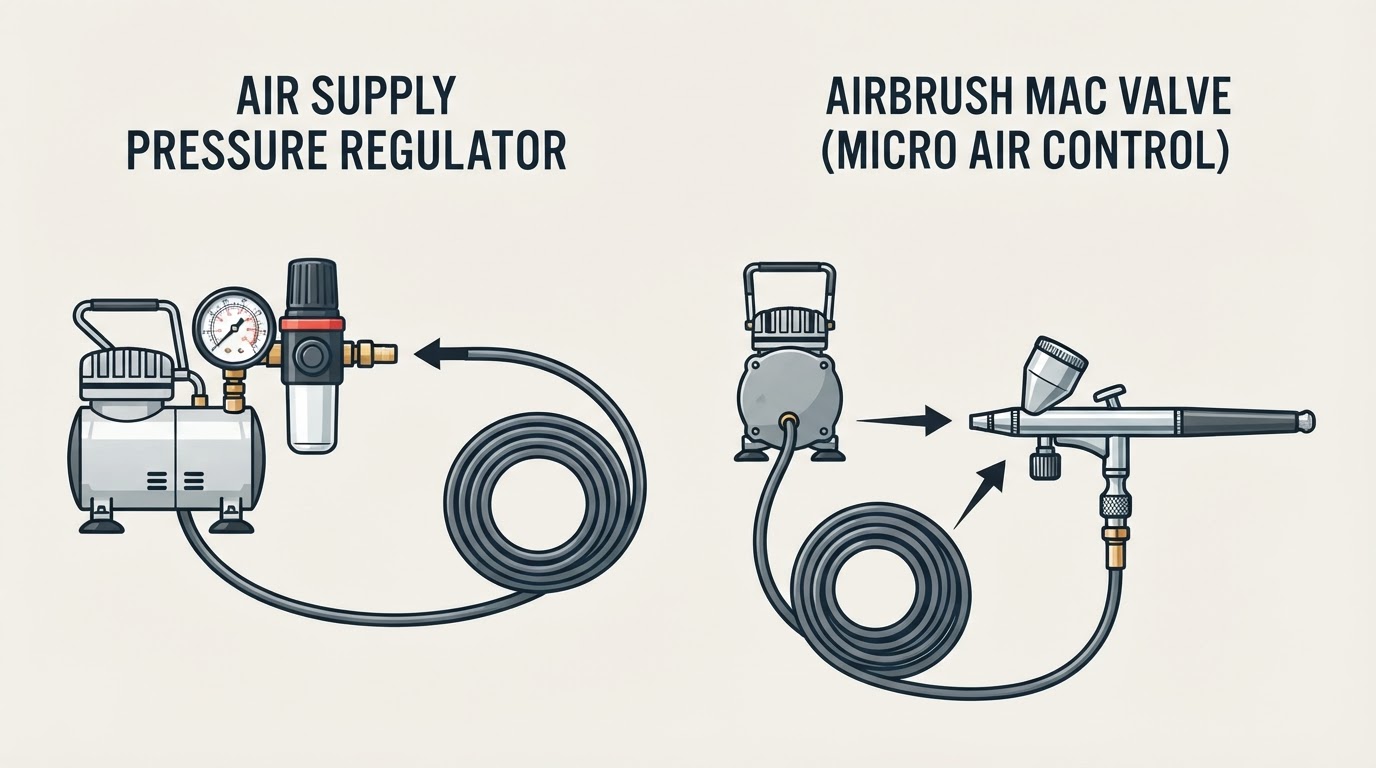
A regulator on the compressor or air line decides the pressure the whole setup works from. A MAC (micro air control) valve at the airbrush decides how much of that air gets through to the nozzle on the current pass. Set the supply first, because that is the pressure your hose, moisture trap, valve and airbrush are working with, and trim afterwards.
The two controls can feel similar at the trigger, but they hold different kinds of information. A regulator holds a pressure you can set and return to. A MAC knob holds a position you judge by the spray, and that position belongs to one airbrush.
| Compressor regulator | MAC valve |
|---|---|---|
Typical placement | At the compressor outlet or in the air line; bench setups often mount it within reach | At the airbrush, between the hose and the nozzle |
Role | Sets the supply pressure for everything downstream | Restricts airflow locally, for the pass in hand |
Readout | A gauge on many regulators, though not all | None; knob position only |
Best for | Establishing a working pressure you can repeat | Fine adjustment while spraying |
Limits | Reads at the regulator, not at the nozzle | Cannot add airflow, show pressure or clear a blockage |
What the regulator sets
A regulator is a pressure-reducing valve between the compressor and the hose. You turn it until the air delivered to the brush matches what your airbrush and compressor manuals specify for that model, then confirm the result on a test card. The setting applies to everything downstream: hose, moisture trap, quick disconnect, MAC valve and airbrush.
The gauge shows pressure at the regulator, so check it the way the manual tells you to. A reading taken with the trigger closed is not always the same as one taken with air flowing. A regulator mounted on the bench or on a manifold beside you can be turned mid-session, which means changing supply pressure does not have to mean walking to the compressor.
If the gauge holds its setting and the spray still fades away, check the air and paint path rather than assuming another regulator adjustment will fix it. That symptom belongs to what is happening between the tank and the nozzle, and the checks for it sit in a separate diagnostic, airbrush pressure drops when spraying.
What the MAC valve changes at the brush
Iwata's airbrush basics page describes Micro Air Control as incremental control of airflow for fine to medium spray and for stipple effects, and notes that the Hi-Line series carries the valve as part of the brush. The company's K250 External MAC valve sits between the airbrush and the hose and is listed as fitting Iwata airbrushes.
What the knob changes is how much air passes to the nozzle. The air still arrives at the pressure the regulator set, and the restriction costs some of that pressure on the way to the tip, so the gauge upstream keeps showing the supply while the nozzle sees less. There is no dial and no psi scale, which makes the test card more useful than the knob as a reference point.
How a given position behaves depends on the nozzle, the paint mix, the supply pressure and your technique, so the setting is not a number you can copy from one brush to another. The practical way to find it is to start from fully open and close the valve in small steps until the spray does what the job needs.
Set the supply, then trim
- Use the limits in your own manuals. Set the regulator to the working pressure the airbrush manufacturer gives for your model, and take the reading the way that manual describes; some specify checking with air flowing rather than at rest.
- Spray on scrap at the distance, mix and trigger rhythm of the real job. A change that looks minor on the model can be obvious on a flat card.
- Fix the supply at the regulator when the spray is wrong for the job as a whole. A MAC is not a way to compensate for a supply that is set outside the range the paint and nozzle need.
- Trim with the MAC in small steps between passes, then retest. This is the control for a local change once the supply is already right.
- Change one control at a time, so you know which one produced the result.
- Note the gauge reading and roughly where the knob sat when a pass worked, so you can return to it next session.
If opening a partly closed MAC brings the spray back, the restriction was the limit for that pass. If it does not, that alone does not identify the fault: check the valve as well as the compressor, hose, moisture trap and paint path. No knob position will supply air that never arrives.
Stipple and quick local changes
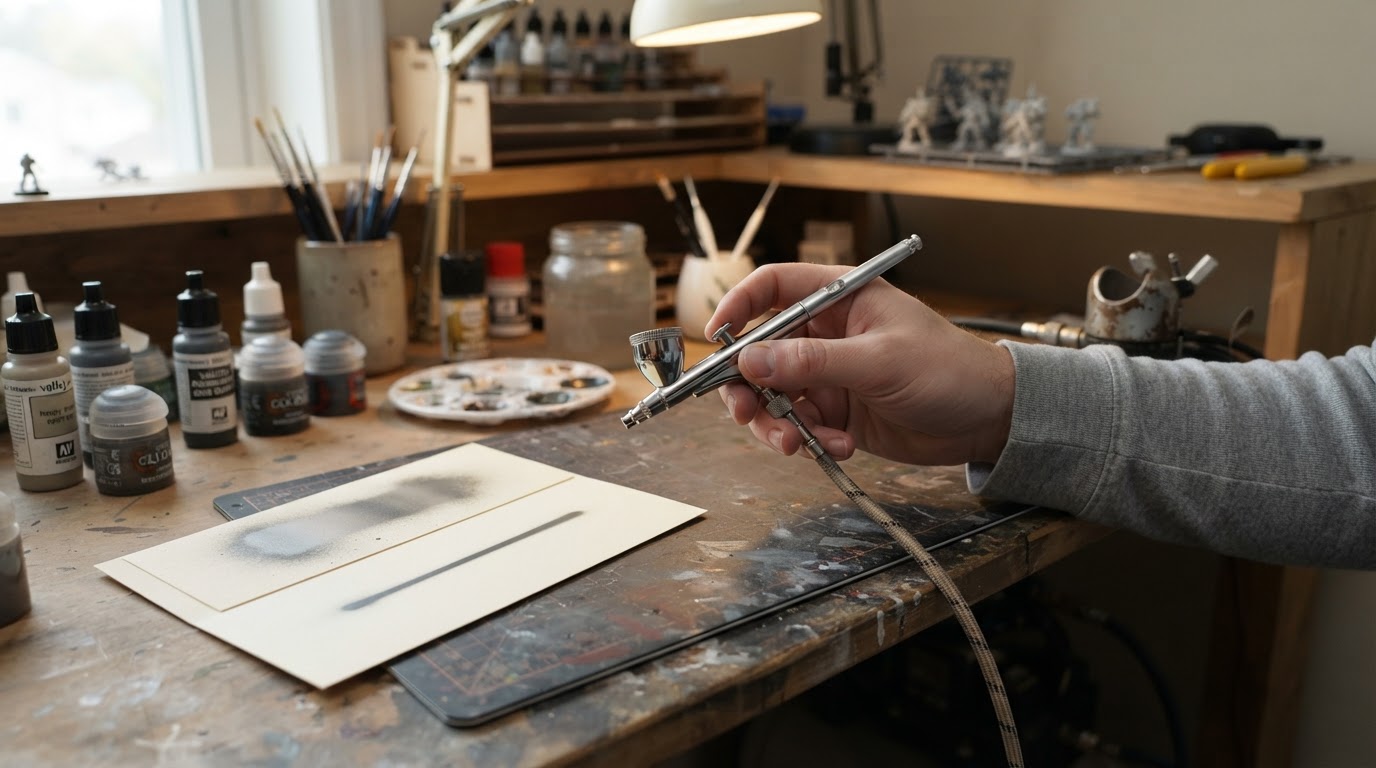
Stipple shows the split most clearly. The regulator provides a supply the brush can work from; the MAC lets you close the airflow down for coarse texture and open it again for finer work without leaving the bench. Iwata's December 2020 article on stocking stuffers makes the same point about adjusting at the brush instead of reaching back to the compressor or regulator, and about restricting airflow to build a stipple texture.
What a MAC valve cannot do
- Add air. It only reduces what reaches the nozzle, and once it is fully open there is nothing further to gain.
- Report pressure. No gauge and no calibration, so a setting is a position rather than a number you can share.
- Clear a blockage or thin the paint. Those need their own checks.
- Replace a regulator. Without a pressure-limited supply there is no set working pressure to trim from.
Is it worth having?
If your regulator already gives a spray you can control, a MAC valve is optional convenience. It earns its place when a session alternates between broad coverage and close work or stipple, or when the regulator sits out of reach while you paint. The adjustment is small, local and easy to undo, which is why Iwata's own guidance puts this control at the brush.