The tape step belongs to a compressor air leak
Iwata's troubleshooting page keeps the front of the airbrush and the air supply in separate rows. For bubbles in the color cup or bottle, it lists a loose nozzle cap or air cap on the Eclipse series, checked by making the nozzle cap finger tight or tightening the air cap with a wrench, and an improper nozzle-to-body connection, handled by removing and reinserting the nozzle; for older airbrushes it suggests applying Medea Thread Sealer to the nozzle threads if there are scratches where the nozzle meets the body (Iwata troubleshooting). Thread sealant tape appears in neither of those rows.
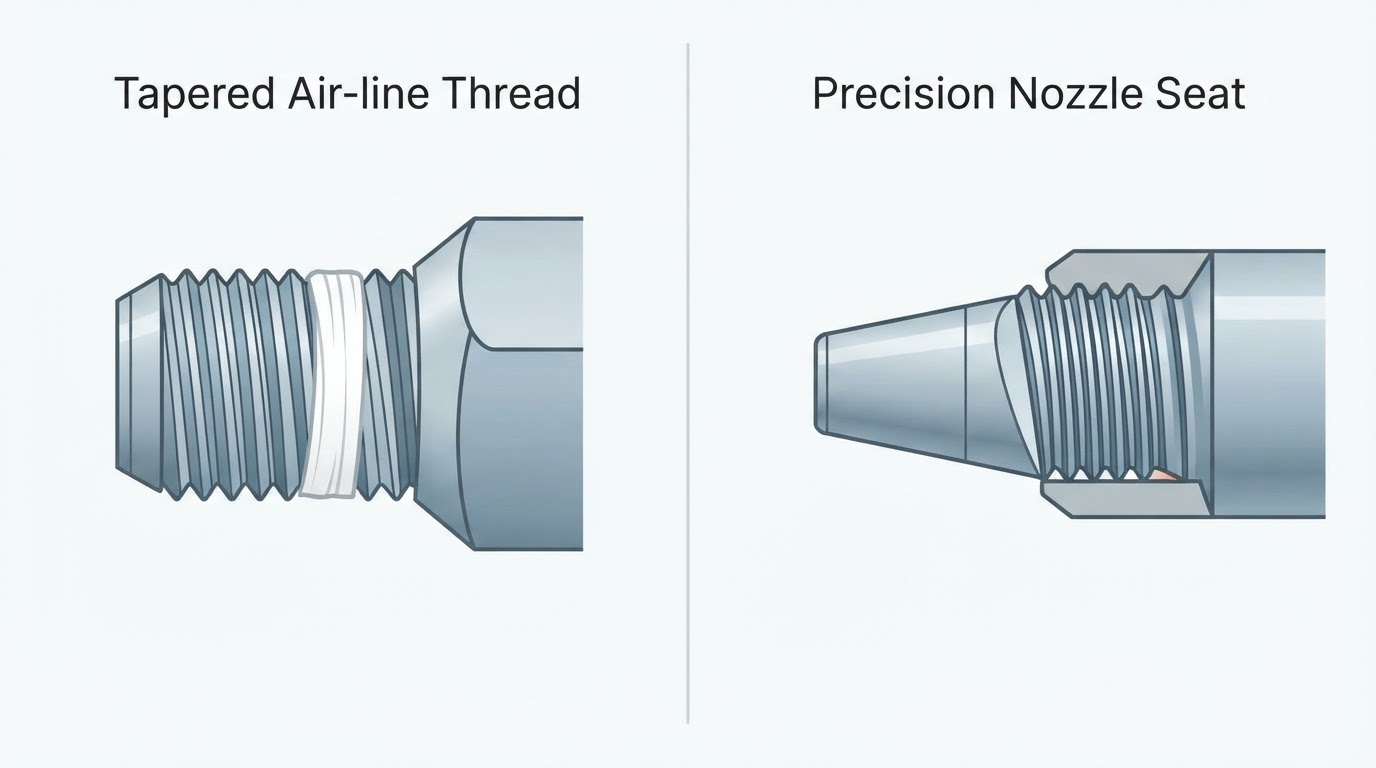
It appears in the row for a compressor that switches on and off while the airbrush is not moving air. That entry starts with a soapy-water check on all the connections, then tightening them. If the bubbling continues, the page offers thread sealant tape on those threads, no more than three wraps, or Medea Thread Sealer instead, and it adds that a leak in the middle of an air hose means the hose has to be replaced. Every step in that sequence concerns the supply side of the airbrush.
Fittings differ, too. Some air-line joints close on an O-ring or a flat face rather than on a thread that has to be filled, which is one reason that page starts with bubbles instead of a wrap count. Whatever seal a given fitting uses, the instruction that applies to it comes from the fitting, the compressor documentation or the manual for the airbrush.
What Iwata documents on a threaded nozzle
Step 8 of Iwata's cleaning guide covers reassembly and splits threaded-nozzle airbrushes from the Eclipse. For a threaded nozzle it asks for a light dab of Medea Thread Sealer on two opposite sides of the threads, with none of it allowed into the nozzle interior, and the nozzle then screwed back on with the Iwata Nozzle Wrench until it is snug rather than over-tightened. The nozzle cap threads on the body get four light dabs of the same sealer, kept out of the head interior, before the nozzle cap and needle cap go back on finger tight.
Those counts belong to the specific threads the guide names. Step 8 uses four dabs in different places for the Eclipse, so neither number is a general rule for any part that unscrews, and neither is a reason to put sealer on a thread your own manual does not name. If a manual is silent on a thread, there is no documented amount to apply to it.
The sealer is Iwata's Medea Thread Sealer, a beeswax formula made with Portland Bee Balm. Its product page describes a balance of organic beeswax and oils that sets up for air-tight metal-to-metal connections, names nozzle threads and nozzle or head cap threads as its uses after deep cleaning and as needed, and repeats the caution to keep it away from the air and paint passageways (Medea Thread Sealer). That page describes the same light application before the parts are gently tightened, and the tools come from the cleaning guide: the Iwata Nozzle Wrench for the nozzle, finger tight for the nozzle cap and needle cap. The guide also warns that the nozzle is delicate and that over-tightening can break it (Iwata cleaning guide).
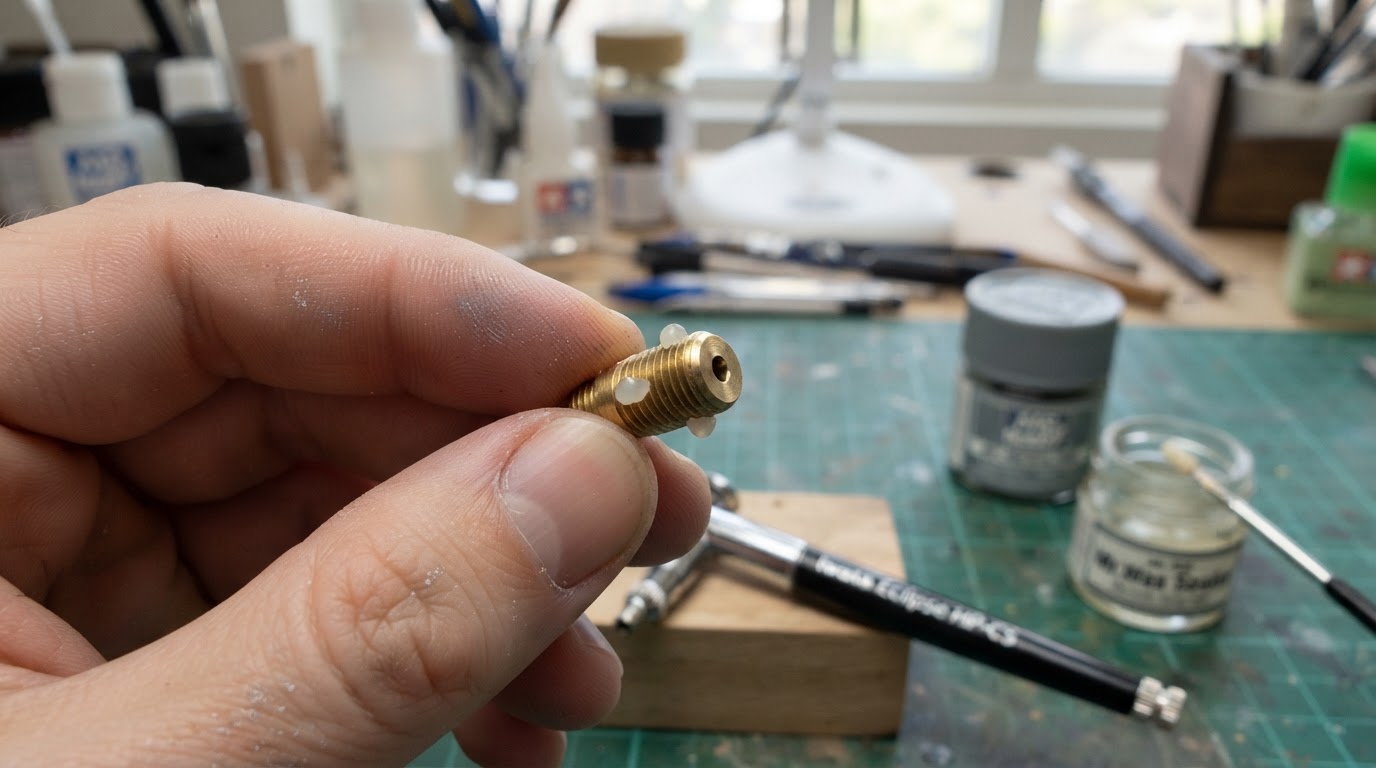
An Eclipse nozzle has no threads of its own
The Eclipse BS, SBS and CS use a compression-fit nozzle, so the nozzle itself carries no thread. Iwata's cleaning guide treats that nozzle as a set that should never be separated and keeps the Iwata Nozzle Wrench off compression-fit nozzles; the head cap comes off with its own head cap wrench instead. The threads present on those models are on the parts around the nozzle — the head cap threads on the body, then the nozzle cap threads on the head cap — and the guide's sealer dabs go on those named threads only, not on the nozzle.
Nothing in that procedure converts a compression-fit nozzle into a threaded one, and nothing in it calls for tape. If you are not certain which part you are holding, our guide to the nozzle cap versus the needle cap shows where each one sits.
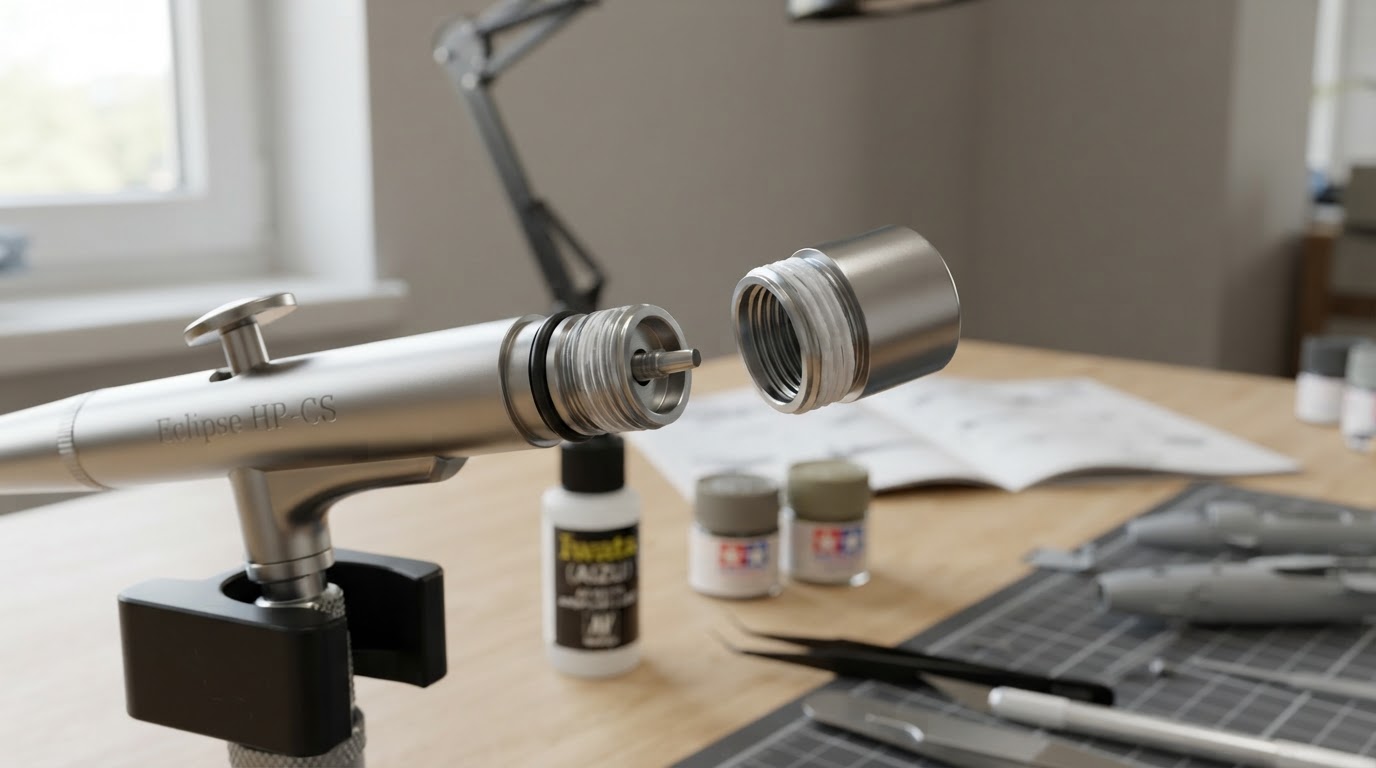
A leak does not identify a cracked nozzle
Before reassembly, Iwata's cleaning guide asks you to look at the nozzle under magnification and to reorder that specific part if it is cracked, dented or distorted. Its troubleshooting page answers a color cup that still bubbles after the cap check and the nozzle reseat by saying the nozzle may need to be replaced (Iwata troubleshooting). A leak or a bubble on its own does not establish a crack, so inspect the nozzle or follow your model's guidance before putting anything on a thread; a damaged nozzle, or one that no longer seats properly, takes the correct replacement part rather than another application of sealer. Your airbrush's manual and the correct part number control that decision.
Exact reassembly order, the wrench for each part and Iwata's water test after reassembly are set out in the full cleaning guide; work from that page rather than from a summary of it.