The cap and cover numbers for each model
Iwata's parts table for the two airbrushes lists six numbers: a fan cap, a round cap and a cap cover for each model.
Airbrush | Fan pattern air cap | Round pattern air cap | Air cap cover |
|---|---|---|---|
Iwata HP-TH | I1105 | I1106 | I1107 |
Iwata HP-TH2 | I1109 | I1108 | I1110 |
Those numbers come from the HP-TH/HP-TH2 instruction manual parts table. Iwata's individual parts pages keep the same split by model: the fan pattern air cap I1105 and the round pattern air cap I1106 are listed for the HP-TH, and the fan pattern air cap I1109 is listed for the HP-TH2.
The numbering does not run in a matching order. The fan cap carries the lower number on the HP-TH (I1105 against round I1106) and the higher number on the HP-TH2 (I1109 against round I1108), and the cover has its own number in both rows. Two things have to agree before an order is right: the model row and the part itself.
What each pattern does to the paint
A fan cap replaces the round footprint with a wide strip; a round cap keeps a compact, concentrated circle. Iwata's HP-TH Hi-Line Airbrush and HP-TH2 Gravity Feed Dual Action Trigger Airbrush pages both list fan and round pattern air caps, the HP-TH2 page places them alongside the micro air control (MAC) valve and describes the airbrush for area coverage.
The choice is about the area in front of you. Work sized to a few centimeters, such as a chip repair edge, a small panel detail or a stipple patch, is easier to keep inside its masking when the footprint is a compact circle. A large surface rewards the opposite, because overlapping strips cover more ground per pass than a row of circles. Neither cap is the more precise one in general; each one suits a different shape of work.
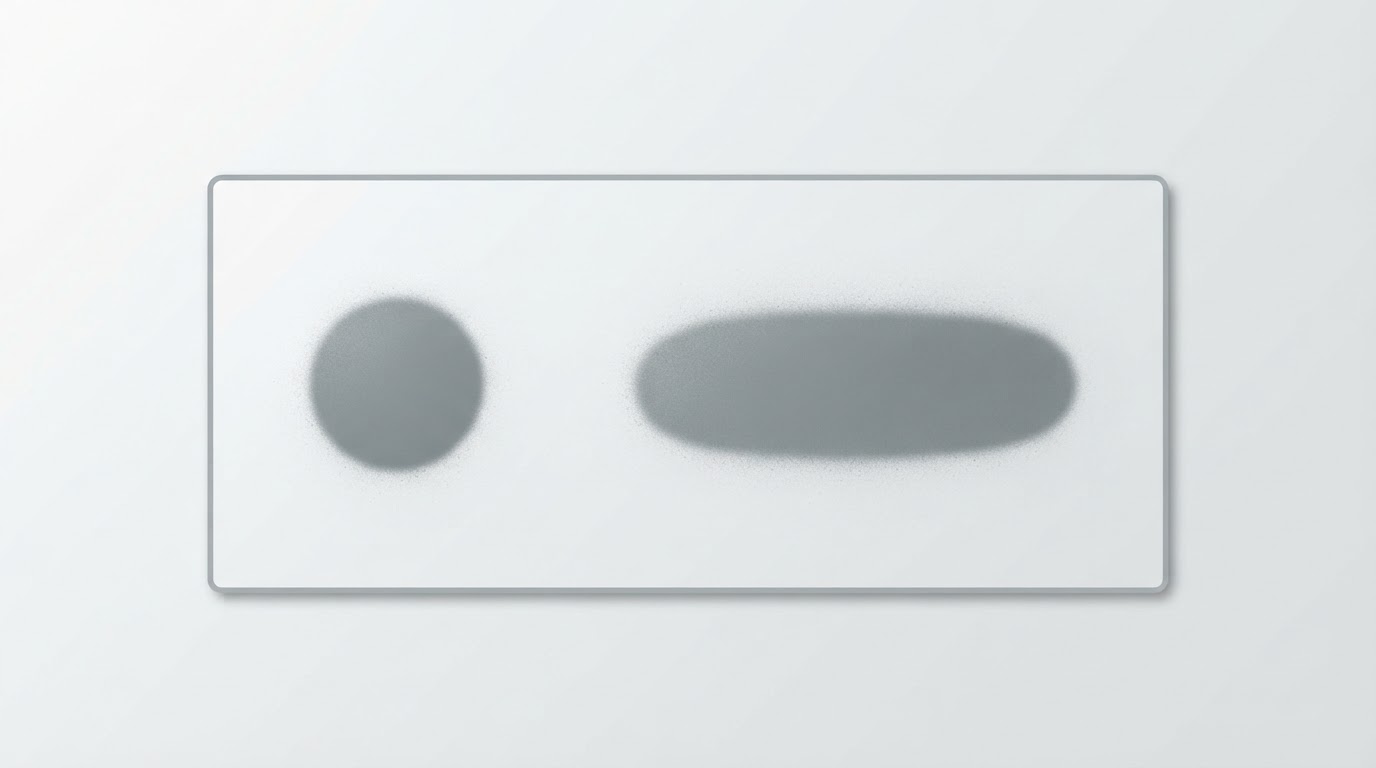
The footprint you get is not fixed by the part number. Paint mix, distance from the surface and trigger position all change the strip or circle that lands on the model, so the first fan pass belongs on scrap with the medium you intend to spray. That test settles what no figure on a box can: whether the strip edges stay soft enough to blend, and whether a strip covers your part in one pass or three. Treat any published size or pressure as a starting point for that test rather than a promise for your own setup.
Why a TH2 cap is not a TH cap in a new box
The manual rows that list the caps also list the parts behind them, and the two models do not share those either. The HP-TH row gives nozzle I0811 with head I0821; the HP-TH2 row gives nozzle I0812 with head I0822. Two caps can look alike where they meet the front of the airbrush and still belong to different heads, so similarity is not evidence of a shared part.
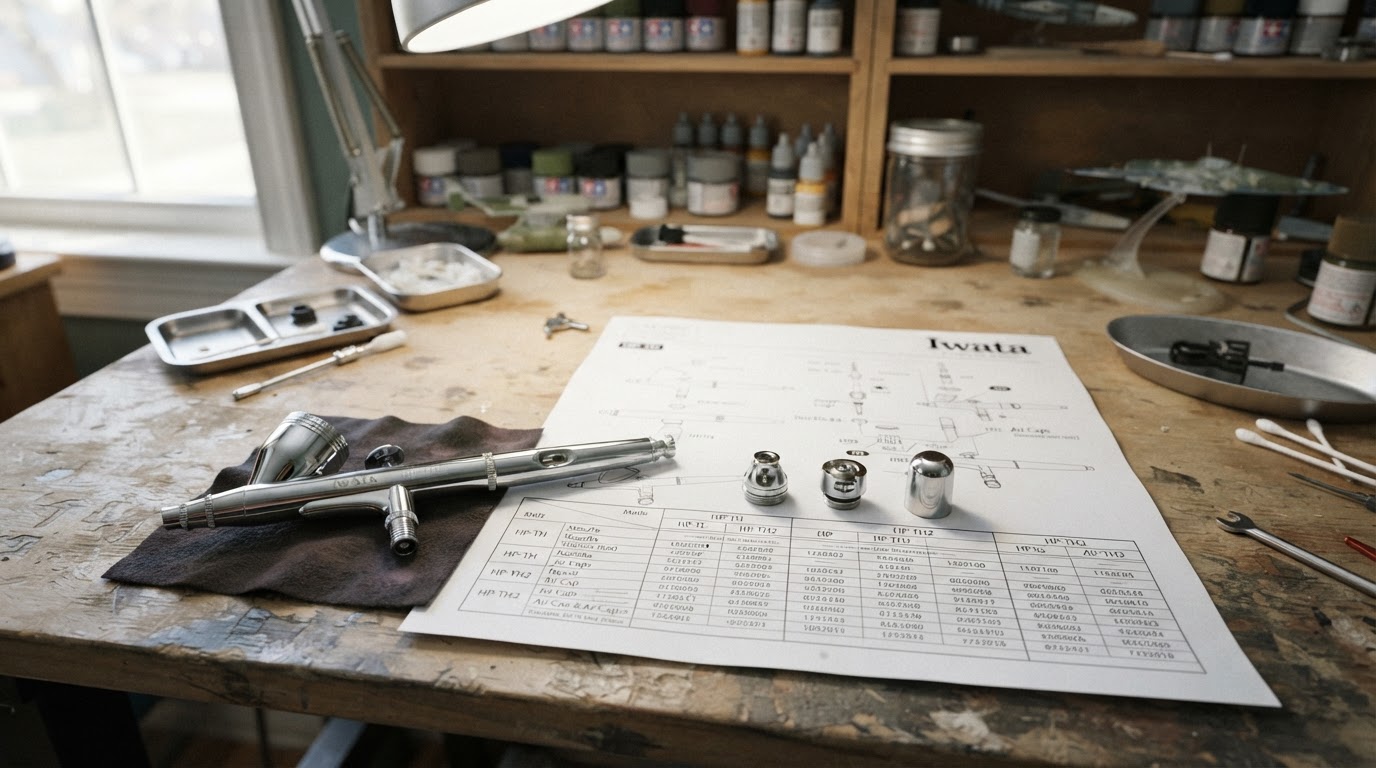
That is why the model row decides an order rather than a photograph. If a parts diagram does not match the airbrush in front of you, ask Iwata or a specialist dealer to identify the current part for that model instead of ordering on appearance.
Three checks before the cap goes in a cart
- Read the model marking on the airbrush body. The HP-TH and HP-TH2 rows share no cap or cover number, so the marking is what tells you which row applies.
- Match the part's function as well as the model. I1106 is the HP-TH round cap and I1110 is the HP-TH2 cap cover, so a number that looks like the next one up can be a different part for a different job. The terminology is worth keeping straight too: an air cap shapes the airflow around the nozzle, while a needle cap is a protective guard, and makers do not use those names consistently. Airbrush Model Notes covers that distinction and why the model marking comes first.
- Take the cap and cover from one row of the current diagram. A revision sheet or the official parts finder shows what is in production for your airbrush; the table above is a starting point, and mixing a cap from one row with a cover from another is how a part arrives that almost fits.
Removing and refitting the cap
Disconnect the air hose and release the pressure in the airbrush before any part at the front comes off. Follow the manual's order for the front assembly, including the cover, rather than working from a video of a different model or version.
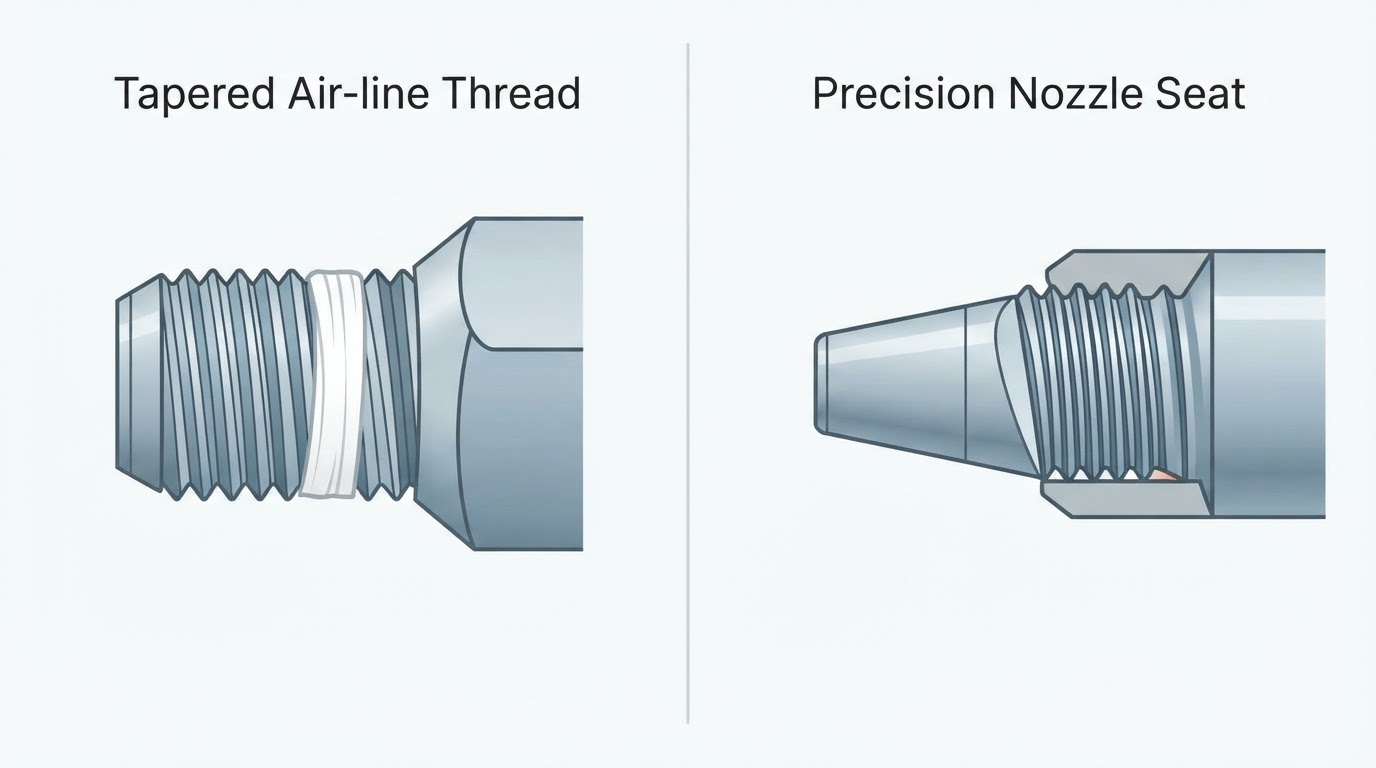
If a cap binds or will not seat, stop and check four things against the exact manual for your airbrush: that the cap is the right part for that model, that the threads and seat are clean, that the front assembly is in the manual's order, and that no thread or sealing surface is damaged. Do not force it into place.
If the pattern is still uneven with the correct cap and cover fitted, the nozzle and needle are separate numbered parts in the same table, so look behind the cap before ordering another one.