Key answers at a glance
Match the symptom to the most likely cause, then follow the fix.
- Spitting or sputtering. The paint is usually too thin, the pressure is too high, or dried paint has built up at the nozzle tip; water in the air line can produce the same effect.
- Air flows but no paint comes out. The paint path is blocked, the paint is too thick to feed, or the needle has stopped moving with the trigger.
- Bubbles in the color cup. Air is leaking into the paint passage, most often at a loose nozzle, a tired seal, or a loose head assembly.
- The trigger does nothing. The needle is no longer gripped by the chucking nut, or dried paint has locked the needle or trigger in place.
- A blocked or damaged nozzle. Soak it before you clean it, ream it gently, and replace it if it is cracked, oval, or misshapen.
- Poor thinning or pressure. Match the thinner to the paint type, mix to a smooth, milky consistency, and tune the pressure against a test pattern.
Diagnose the fault in five minutes
The fastest diagnosis moves from the cheapest explanation to the most expensive one: check the paint mix, then the settings, then the paint path, then the air path.
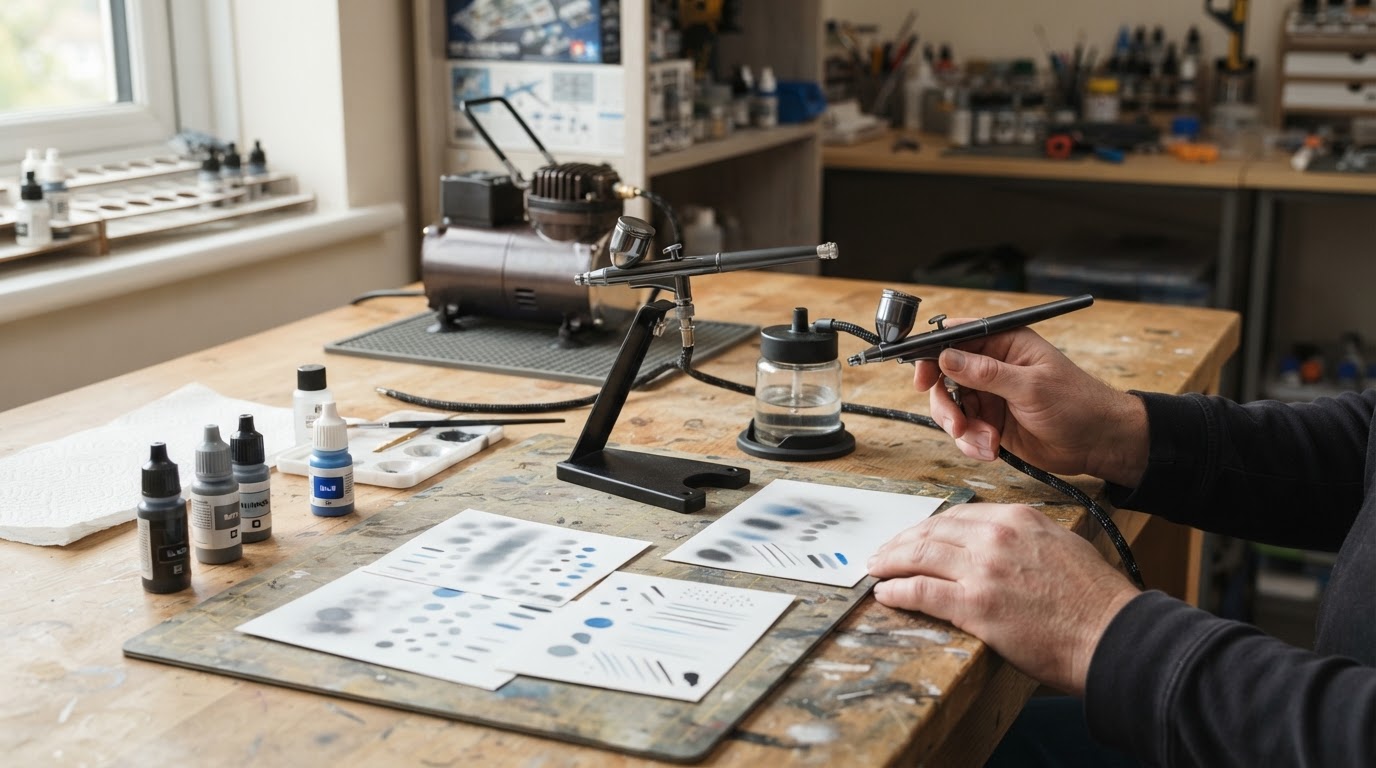
- Spray a test pattern first. A short line on paper tells you more than any guess. An even line with crisp edges means the brush is healthy and the fault is in how you are spraying; speckling, spitting, or a line that breaks up points to one of the four suspects below.
- Check the paint mix. Paint that is too thick will not feed, and paint that is too thin will spit, so confirm the consistency before you touch the airbrush. Lift your stirring stick out of the cup: the paint should run off in a thin, even thread, not drop off in a blob or run off like water.
- Check the pressure. Set the regulator to the pressure you normally use for the job, then adjust in small steps while spraying a test pattern. If you have no starting point, a common window for general model coverage is roughly 15 to 25 psi; treat that as a starting window and tune from the paper, not the gauge.
- Check the paint path. With the cup empty of paint, spray clean water or cleaner through the brush. A weak, wandering, or absent spray means dried paint is narrowing the nozzle, tip, or needle, even if the brush was cleaned last week.
- Check the air path. Look for bubbles in the cup, listen for a hiss at the head when the trigger is pulled back, and drain the water trap before you spray. Any of these means air is escaping where it should not.
You are done when a test spray lays down an even, unbroken line with no spitting, no bubbles in the cup, and the same pattern holds for a full minute of spraying.
Spitting or sputtering
Continuous spitting almost always means paint is reaching the tip unevenly or air is being pushed into the paint channel.
- Paint thinned too far. Over-thinned paint cannot hold a clean stream, so the spray arrives as droplets rather than mist. Add a little more paint, or mix the next batch with less thinner, and retest.
- Pressure set too high. Too much air drags the paint out of the nozzle in bursts. Lower the pressure a few steps at a time until the pattern smooths out.
- Dried paint at the tip or in the needle cap. A ring of dried paint breaks the airflow around the needle and disturbs the spray. Wipe the tip, then do a proper clean rather than adding thinner and carrying on.
- An air leak at the head. A loose or damaged nozzle, head, or seal lets air into the paint passage, which shows up as spitting and often as bubbles in the cup. Snug the head by hand, then inspect the seal and nozzle for damage.
- Moisture in the air line. Water that reaches the nozzle turns into droplets that land on the model alongside the paint. Drain the water trap and keep it drained as a habit.
Air flows but no paint comes out
A steady hiss with nothing on the model means the paint path is blocked or the paint cannot reach the tip.
- Dried or hardened paint in the nozzle. This is the most common cause. Soak the nozzle and tip in the thinner that matches the paint, give it time to soften, then clean it and backflush if your brush and its instructions allow it.
- Paint mixed too thick. Thick paint moves slowly and dries as it travels. Thin it in small increments, stirring as you go, until the dribble from the stick forms a thin thread.
- A needle that no longer follows the trigger. If the needle stays put while the trigger moves, the chucking nut has come loose. Seat the needle fully forward, then snug the nut according to the manufacturer's instructions.
- A feed problem. Check that the cup or jar can breathe: a blocked vent hole or a sealed jar lid stops paint flowing. On a siphon brush, also check the tube and jar for dried paint.
- A blocked or bent needle tip. A bent tip cannot lift paint cleanly and may seal the nozzle. Inspect the point against a light and straighten or replace the needle.
Bubbles in the color cup
Bubbles in the cup mean air is escaping into the paint channel instead of leaving only at the tip.
- The nozzle is not seated. Remove it, clean the threads and the seat, then refit it by hand until it seats, without forcing it.
- The head assembly is loose. A loose head opens a gap between the air and paint channels. Snug it up, but stop before you strain the threads.
- A damaged nozzle or seal. A cracked nozzle or flattened seal cannot close the air channel. Inspect both under a light and replace the part that is damaged.
- Mismatched or worn needle and nozzle. A worn nozzle, the wrong needle size, or a needle that is not fully forward lets air push back into the paint. Make sure the parts are the right size and correctly seated.
The trigger does nothing, or sticks
A trigger that moves without spraying has usually lost its grip on the needle, or dried paint is holding the needle in place.
- A loose needle chucking nut. This is the first thing to check: push the needle gently forward until it seats, then tighten the nut and test.
- Dried paint on the needle or in the trigger slot. Paint that dries behind the trigger can stop the needle from moving. Clean the needle and the trigger area as part of every deep clean.
- A bent needle. A bent needle drags in the nozzle and can feel like a stuck trigger. Straighten it if you can do so accurately, otherwise replace it.
- A sticky air valve or trigger mechanism. If the fault is in the valve or linkage, use only the lubricant your manufacturer recommends, in the smallest amount, and keep paint out of the mechanism.
Blocked or damaged nozzle
The nozzle is the smallest and most fragile part of the airbrush, so clean it gently and replace it when it is damaged.
- Soak before you clean. Soften dried paint in the matching thinner, then wipe the nozzle clean. Poking at hard paint is how nozzles get scratched.
- Ream with the right tool. Use the nozzle reamer or cleaning needle that came with the brush. A hardened wire or a needle tip enlarges the bore and ruins the spray pattern.
- Never jam the needle into the seat. Forcing the needle forward chips the nozzle seat and causes bubbles, spitting, and paint leaks at the same time.
- Inspect for cracks and wear. Hold the nozzle up to a light and check the bore for chips, cracks, or an oval opening. A damaged nozzle cannot be repaired, only replaced.
- Fit and tighten with care. Use the correct size for your brush, support the nozzle properly, and tighten only until it seats. Over-tightening cracks nozzles.
Thinning and pressure cause most faults
Most "broken" airbrushes are really mis-mixed paint or a pressure setting that does not match the job.
- Mix to a milky consistency. Model paint should flow like milk: thin enough to move, thick enough to cover. Add thinner a few drops at a time and stir instead of pouring.
- Use the right thinner. Acrylic, enamel, and lacquer paints need their own thinner. The wrong thinner can turn paint into jelly or dry it into crumbs inside the brush.
- Tune the pressure to the job. Higher pressure suits broad coverage and thicker paint; lower pressure gives you control for fine detail. Change one step at a time and check the test pattern after each adjustment.
- Control the trigger. Press down for air first, then pull back for paint. Release the paint before you release the air. That order alone prevents many spitting and tip-dry problems.
Clean at the end of every session
A two-minute clean after each session prevents most of the faults on this page.
- Dump leftover paint and wipe the cup while the paint is still wet.
- Rinse with the cleaner that matches the paint, then backflush if your brush and instructions allow it.
- Clean the needle and nozzle, soaking them if any paint has dried.
- Wipe the needle with a soft cloth and lay it down where it cannot be bent.
- Reassemble the brush, then finish with a test spray before you put it away.
You have finished when the brush sprays clean water in an even pattern, the cup stays free of bubbles, and no paint appears at the tip after a short burst. If any of those checks fail, clean the nozzle once more before the paint has a chance to harden.
FAQ
Does spitting mean my airbrush is broken?
Usually not. Thin paint, high pressure, a dirty tip, or water in the line cause most spitting, and all four are fixable in minutes. Work through the causes above before you assume the brush is worn out.
Can I repair a cracked nozzle?
No. A cracked nozzle has to be replaced with the correct size for your airbrush. Running a cracked nozzle usually makes the symptoms worse by letting air into the paint channel.
Why does the spray start and stop while I am working?
Paint is usually drying at the tip and partially blocking the nozzle. Clean the tip, thin the paint slightly if it is heavy, and keep the tip wet by wiping it between passes.
How do I know when the paint is thinned correctly?
Lift your stirring stick: the paint should run off in a thin, even thread. If it falls in a blob, add thinner; if it runs off like water, add paint. Confirm the final mix with a test spray on paper.
Should I store the airbrush with paint in it?
No. Paint left in the brush dries in the nozzle and needle path, which is where most hard-to-clean clogs begin. Clean the brush at the end of every session, even when you plan to spray again tomorrow.
Air comes out, but pulling the trigger changes nothing. What now?
The needle is probably not moving with the trigger. Check the chucking nut, make sure the needle is seated fully forward, and clean any dried paint out of the trigger area before you tighten anything.