The four controls that decide the finish
Every airbrush problem comes back to four settings: how much air pressure reaches the nozzle, how far the brush sits from the surface, how far back you pull the trigger, and how thin the paint is. They interact, so change one at a time and spray a test line before you change another. That single habit removes most of the guesswork.
Set up the airbrush and compressor
Connect the air hose to the compressor and the airbrush, then check that both joints are snug. A leak at either end costs pressure and makes the brush behave inconsistently, which is a miserable way to learn.
Set the regulator to your starting pressure before you load paint. If the compressor has a tank, let it fill and settle first, because pressure drops slightly as the tank drains.
Drain the water trap. Moisture sitting in the trap or traveling down the hose will spatter through a job, and it is the one setup fault that looks exactly like a paint problem. Get into the habit of emptying it at the start of each session.
Load only a few drops of paint into the color cup to begin with. You can always mix more, and small batches are easier to control and quicker to clean out while you are testing.
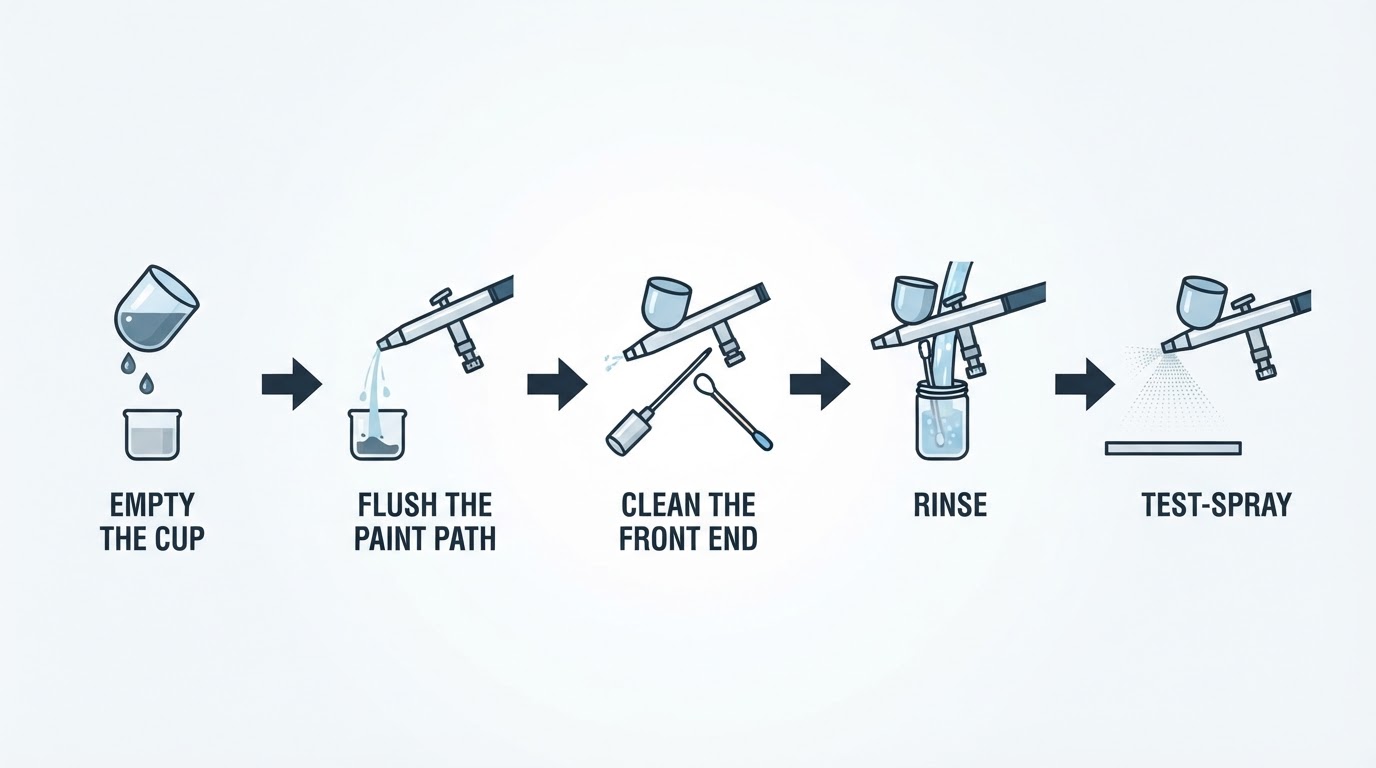
Keep a little cleaner and some tissue within reach. A nozzle that dries out mid-session is far easier to wipe than to strip and soak.
Trigger control: air first, then paint
On a double-action airbrush, pressing straight down releases air and pulling back releases paint. Those are two separate movements on the same trigger, and keeping them separate is the core skill.
The habit to build is: air on, paint on, paint off, air off. Press down, pull back to start the paint, release the paint while the air is still running, then lift. Running the air for a moment after the paint stops clears the nozzle and prevents the small blob that appears when paint sits on the tip.
A single-action airbrush works differently. The trigger only turns air and paint on together, and the paint volume is set with a screw at the back or side of the body. You control coverage by adjusting that screw, then by pressure and distance. The air-first rhythm still applies: press, spray, release, and keep the tip clean between passes.
Practice the full sequence dry, without paint, until your hand does it without thinking. Ten minutes of trigger drills at the start pays for itself the first time you spray a thin coat over detail you do not want to flood.
Starting pressure and distance
A common starting point for model work is roughly 20 psi, which is about 1.5 to 1.8 bar, sprayed from 3 to 10 cm away with the trigger pulled back only about 30 to 50 percent. Treat those numbers as starting points, not universal rules. Your airbrush, needle size, paint, and thinner all shift what works.
Lower pressure gives you more control and a slower build-up of color. Higher pressure atomizes paint better but can dry it in the air before it lands, which leaves a grainy surface. When the finish looks gritty or dusty, the first thing to try is less pressure and a slightly closer distance, not more paint.
Distance changes coverage as much as pressure does. Close in for detail and thin lines; pull back for broad, even coats. When you move one, keep the other two steady so you can see what actually changed.
The trigger travel matters too. The first part of the pull releases air; paint arrives gradually after that. Learning to work inside that narrow band, rather than yanking the trigger to full, is what separates a controlled line from a flood.
Get the paint consistency right
Paint straight from the jar is usually too thick for an airbrush. Thin it in small increments with the thinner made for that paint line, stirring as you go, until it looks like skimmed milk. Then test it on paper before it goes anywhere near a model.
A useful test is to spray a quick line and watch what happens. If the paint splatters or runs, it is too thin or the pressure is too high. If it stutters, clogs, or comes out in coarse specks, it is too thick or the tip is dry. A smooth, even line with no spatter means you are close.
Different paint types behave differently. Acrylics, enamels, and lacquers need different thinners and dry at different speeds, so follow the guidance for the paint you own instead of assuming one ratio fits everything. Numbers passed around on a forum are a starting point at best.
Write down what you mixed. Two lines on a scrap of paper, listing paint, thinner, pressure, and distance, turn a lucky result into something you can repeat.
Practice strokes that build control
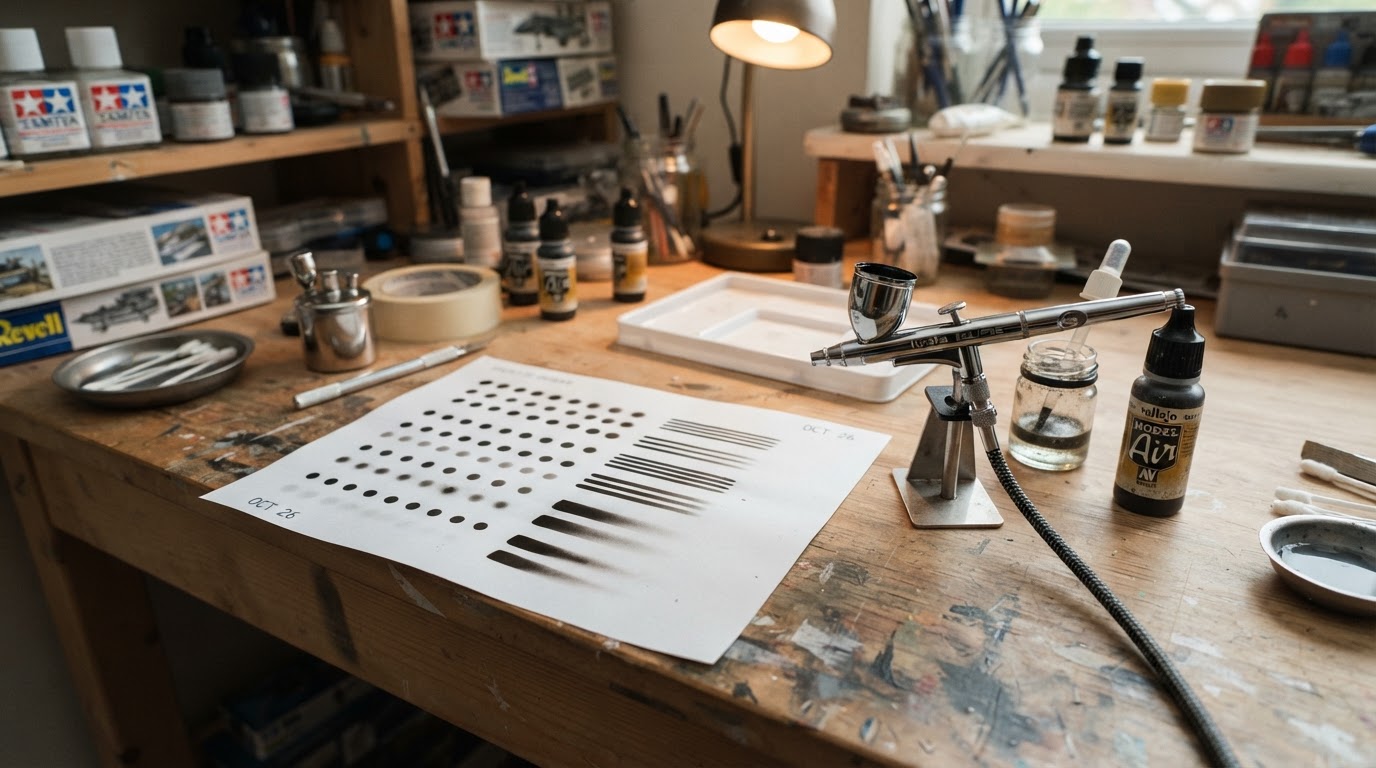
Start with dots. Spray a row of them, keeping each the same size and the spaces even. The exercise forces you to start and stop the paint cleanly instead of dragging the trigger.
Then draw parallel lines across the page, keeping the width constant from end to end. Speed, distance, and pressure all have to stay steady for the line to stay even, which is exactly the discipline model work needs.
Move on to loops and curves drawn with the wrist rather than the fingers. Then try a dagger stroke: start wide and fade to a point by easing the trigger forward as you move. Fades and blends are the same skill with a looser shape.
A cheap stack of paper and an old kit or two are enough to build real control. You do not need a course, a training card, or a special rig. What you need is a routine: pick one drill, spray it for fifteen or twenty minutes, and write the date on the sheet so you can see the difference a week makes.
Primed plastic spoons and scrap wings are worth keeping in a box. They behave more like a model surface than paper does, so they are the right place to check a color or a coverage pass before you commit it to a finished kit.
How to tell you are getting it right
Keep a test sheet going at the start of every session. A quick dot, a line, and a fade tell you whether the brush, paint, and pressure are behaving before you spray anything that matters.
You are ready to move to the model when the dots are even, the lines hold their width, the fades have no hard edge, and there are no blobs where a pass started or stopped. If the sheet is clean, the setup is clean.
Then keep the first model simple: broad coats on large panels, a single color, and a pause to check the surface between passes. Detail work gets easier once the basics are automatic, and the basics become automatic faster than most beginners expect.
The problems you will hit first
Spatter usually means paint that is too thin, pressure that is too high, or moisture in the line. Thin a little less, drop the pressure, and drain the trap before you blame the brush.
Tip dry is paint drying on the needle while you work. Wipe the tip, keep the nozzle clean as you go, and if it keeps happening, thin the paint slightly or slow the drying with a compatible retarder.
Spidering, where paint spreads out in thin legs from a line, means you are too close or pushing too much paint. Back off a few centimeters and pull the trigger less.
A grainy, dusty finish usually comes from spraying too far away or at too much pressure, so the paint dries before it lands. Move closer, lower the pressure, and build the color in light passes.
Where Airbrush Modeler fits in
If you would rather follow the method through worked examples than assemble it from scratch, Airbrush Modeler is an educational resource for scale model builders that covers the same ground. Its step-by-step technique tutorials walk through the complete single-action workflow, from connecting the air source through loading paint to trigger control, and also cover double-action operation and pulling fine lines for panel lines and small-scale work. The examples come from the author's own builds, including a 1/20 and a 1/144 scale project, and the pressure guidance is built from long experience at the bench rather than a spec sheet. Use any settings you find there as starting points for your own setup, the same way you would use the numbers above.
Felo product screenshot.
What to practice next
Rotate the drills rather than repeating your favorite one: dots, lines, fades, dagger strokes, then back to dots. A short warm-up on paper before every session keeps trigger control sharp and shows you when the paint or the air is off before it reaches a model.
Save your test sheets. A dated stack is a record of what your hand can do, and it is the most honest progress check you will get.