What an airbrush cleaner removes
An airbrush cleaner is not the same thing as a thinner, even though the two bottles often sit side by side on a hobby shop shelf. A thinner changes the viscosity of paint so it can be sprayed. A cleaner dissolves and lifts what the paint leaves behind after it has already passed through the brush. Some fluids do both jobs, and some thinners double as a flush, but the two purposes are different enough that it pays to know which one you are reaching for.
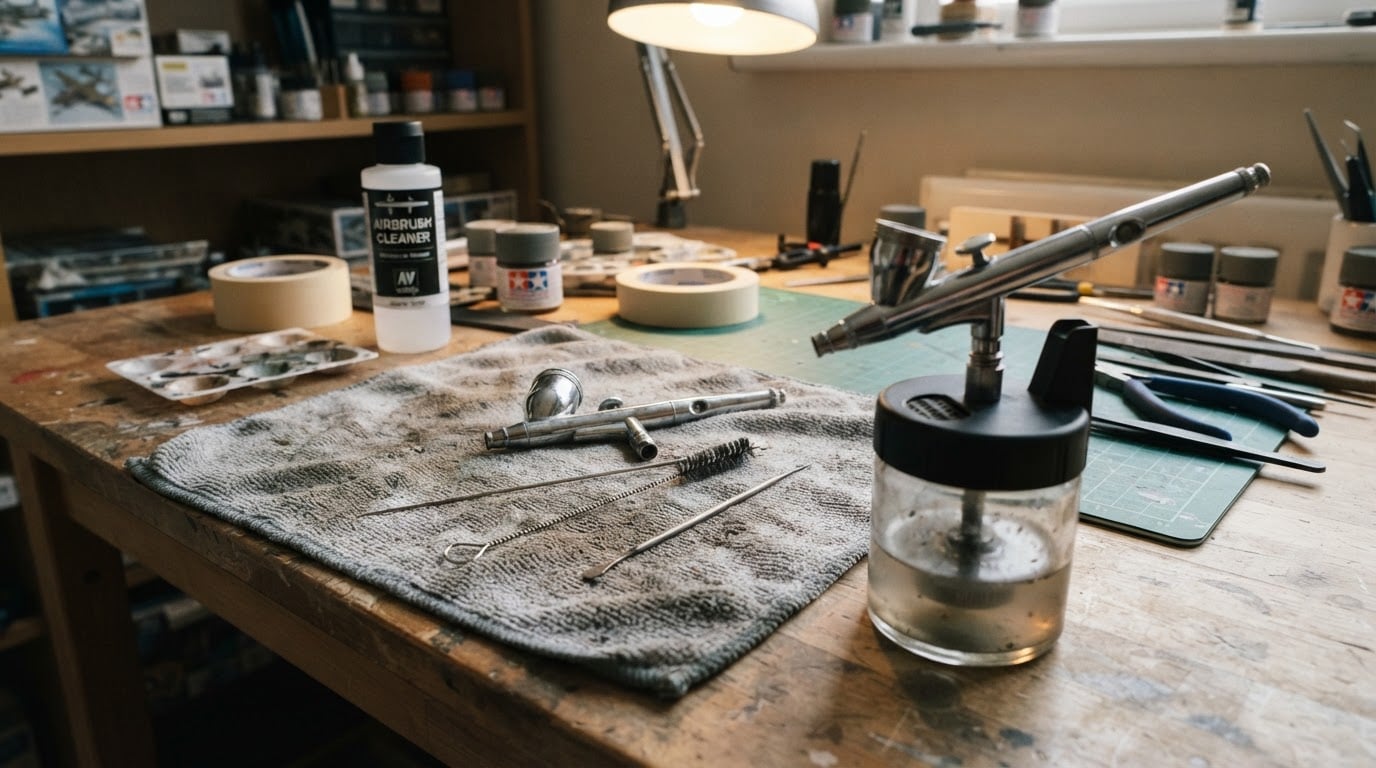
The residue itself is a mixture of pigment particles and the binder that holds them, plus the film that forms as the solvent in the paint flashes off. It collects in a predictable set of places:
- the paint cup and its threads, where a ring of dried paint can drop flakes into the next color
- the nozzle and the tip of the needle, the two tightest clearances in the brush
- the paint channel running from the cup down to the nozzle
- the air cap, which collects paint mist and can be soaked and wiped on most brushes
Fresh paint wipes away with almost no effort. Cured paint is a different problem. Once the film has hardened, it needs a solvent that genuinely dissolves that chemistry, plus time to soak, and it usually means taking the brush apart. That is the practical reason to clean at the end of a session instead of leaving it for the next one.
Match the cleaner to the paint
The safest rule is to clean with the chemistry that matches what you sprayed. Three broad families cover almost everything on a modeler's bench.
Paint family | What cleans it | What to watch |
|---|---|---|
Water-based acrylics | Water while wet, plus a mild water-based cleaner for residue | Water stops working once the paint has cured |
Solvent- and alcohol-based acrylics | A solvent-type airbrush cleaner or the matching thinner | Stronger fluids can attack seals and plating |
Lacquers | A dedicated solvent cleaner or lacquer thinner | Dried film resists a water flush completely |
Enamels and oil-based paints | Mineral-spirit-type thinner or cleaner | Residue goes tacky, so flush, wipe, and repeat |
Water-based acrylics are the easiest paints to keep a brush clean around, which is one reason they are a common starting point for new airbrush users. Flush with water while the paint is wet, then use a mild cleaner to handle the dried ring that forms in the cup and around the nozzle.
Solvent- and alcohol-based acrylics and lacquers need a solvent cleaner, and usually a stronger one. Lacquer-based paints dry to a hard film that water will not touch, so lifting them takes a dedicated solvent or the same lacquer thinner used to reduce the paint. These are also the fluids that can do damage. Strong solvents can soften rubber O-rings, attack some seals and packing, and strip plating or printed markings, so check what the brush's manufacturer says about the parts that stay in contact with the fluid, and keep solvent away from any part you cannot replace.
Enamels sit in between. Mineral-spirit-type thinners and cleaners dissolve them, but the residue goes tacky rather than disappearing, so one quick squirt is rarely enough.
A few checks are worth making before you commit to a bottle:
- Does it match the paint on your shelf, not just the brush in your hand?
- Can it sit in the cup and the paint channel without harming the seals and the finish?
- Does it need ventilation and gloves? Most solvent cleaners do, and a ventilated bench is part of using them properly.
- Is it economical enough to flush freely? A cleaner you ration is one you stop using halfway through the job.
A routine flush that takes under a minute
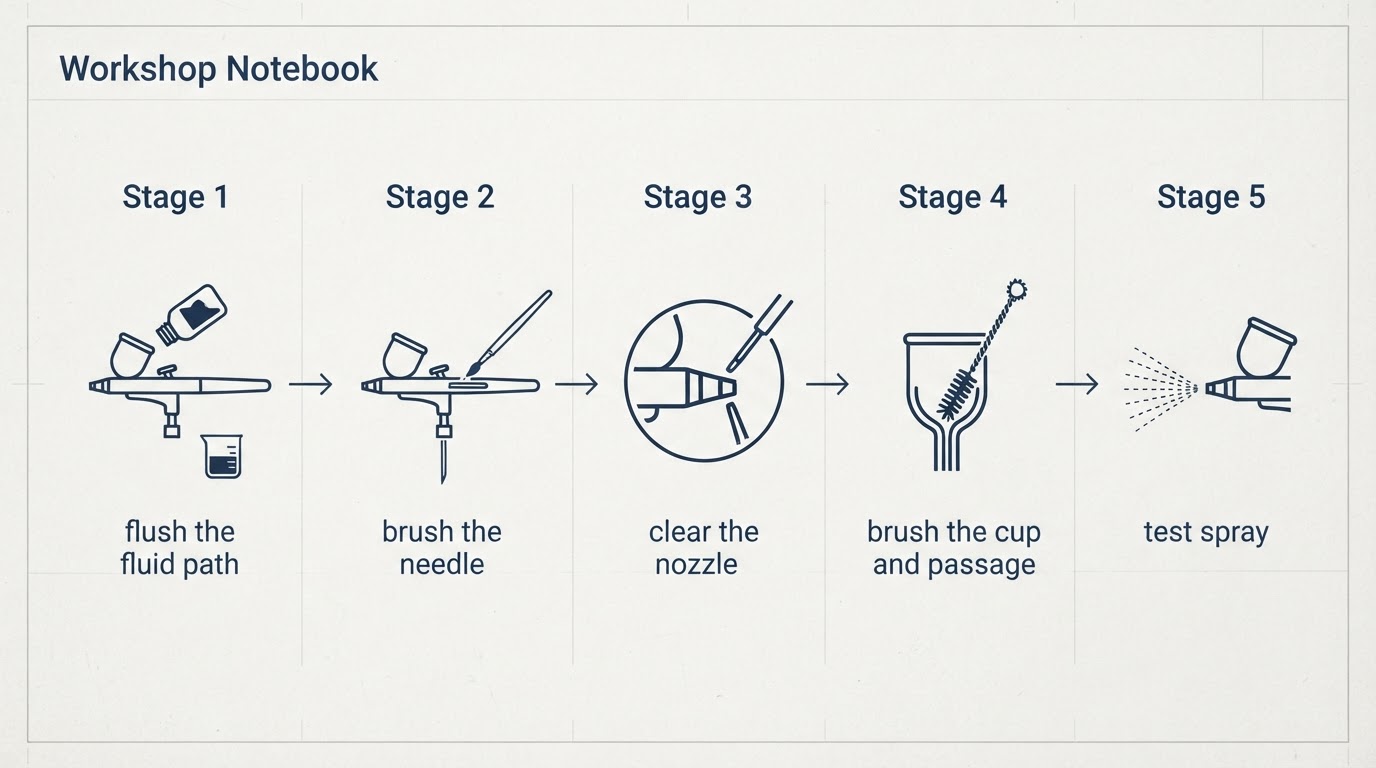
Most airbrush problems that look like equipment failure are actually a cleaning schedule that slipped. A flush at each color change, and a slightly longer clean at the end of the session, keeps the brush out of the spitting and clogging category. Here is a four-step routine that works on a gravity-feed brush, the type with the paint cup on top.
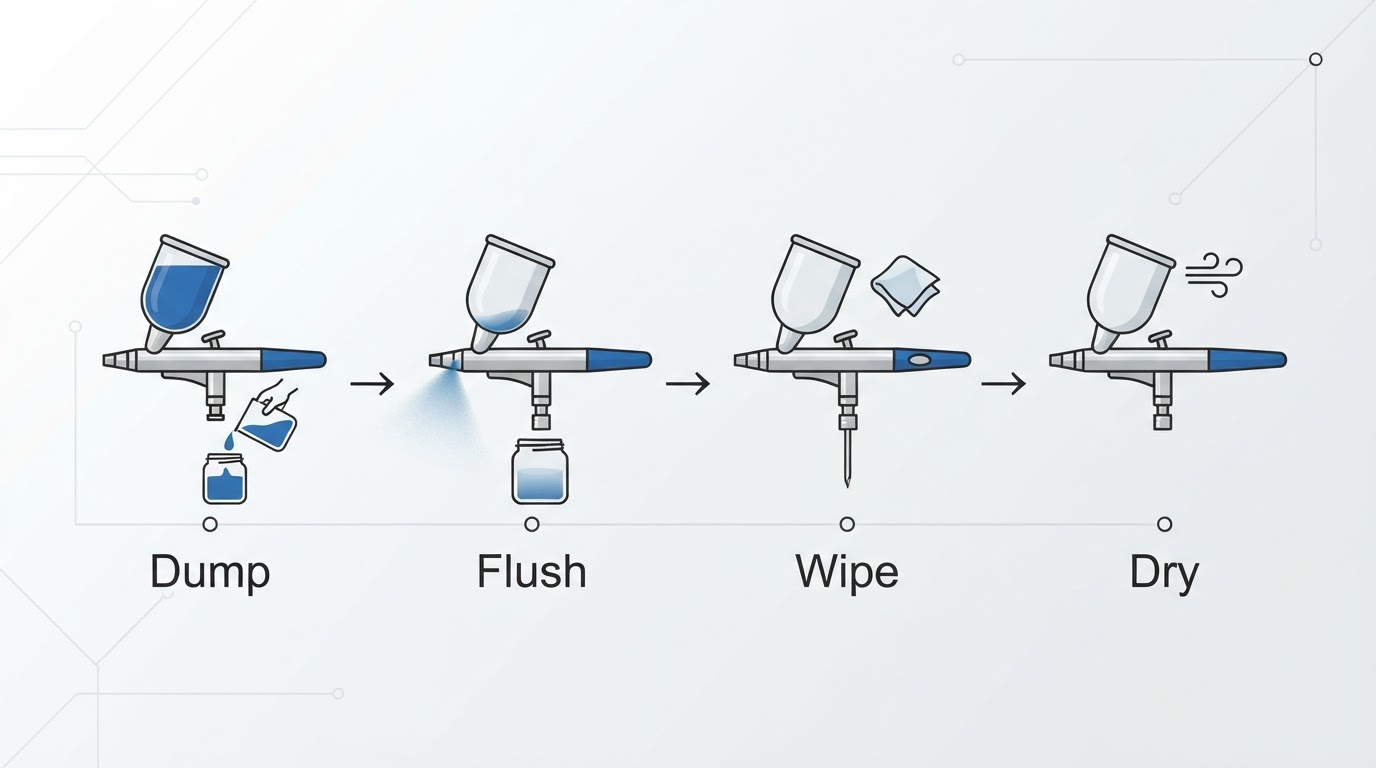
- Dump and wipe. Empty the cup into a waste jar, then wipe the cup walls and the bottom with a rag or a cotton bud. Removing most of the paint before you add cleaner means the cleaner dissolves a thin film instead of a full cup of color.
- Flush. Add a small amount of cleaner and spray it through into a waste jar or a covered rag until it runs clear. Color should stop appearing in the spray within a few seconds of fresh cleaner.
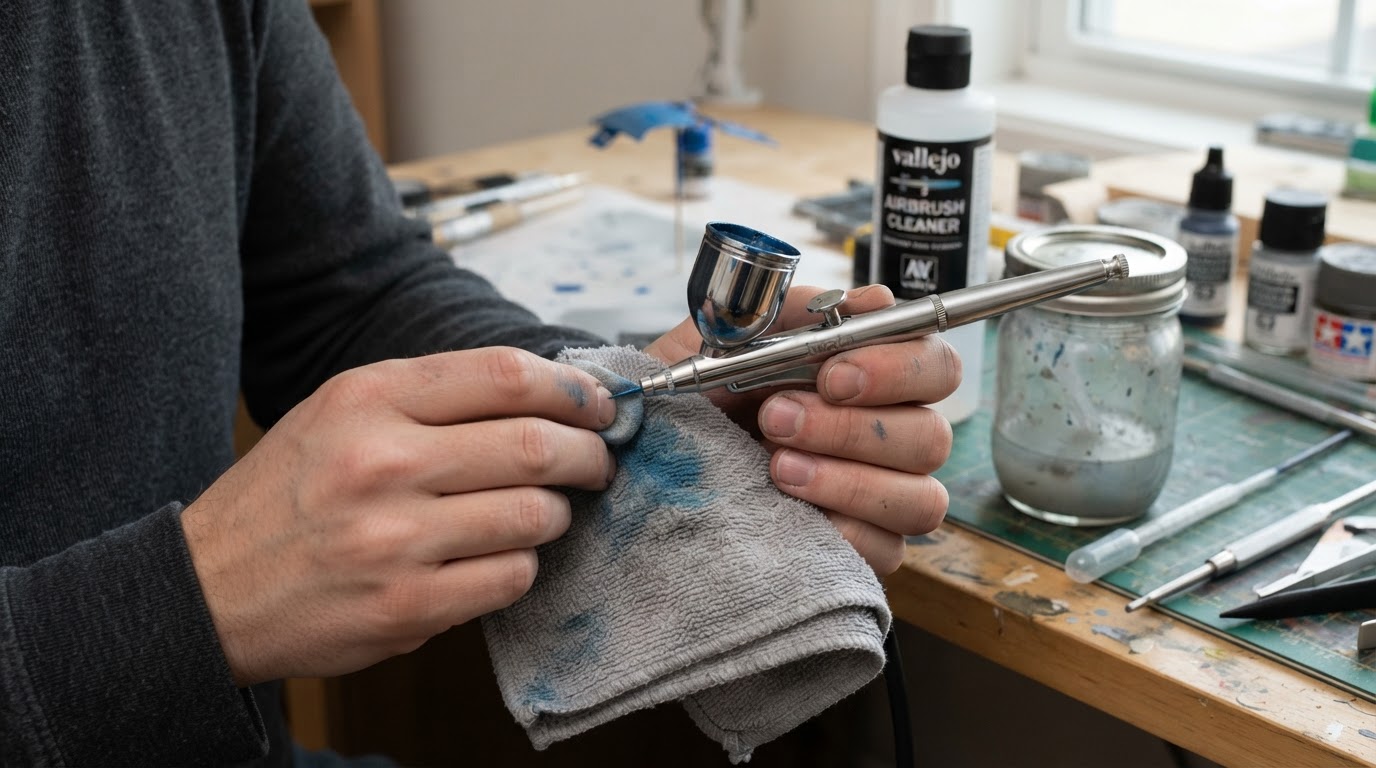
- Wipe the needle and the tip. With the cleaner still wet, pull the needle back and wipe the exposed length, then wipe the nozzle and the air cap. This is where dried rings and paint crumbs actually sit, and a flush alone will not move them.
- Dry and check. Spray a burst of clean air, or a little water or thinner, until nothing but air comes through. Look at the tip. A clean brush shows bare metal, not a color ring.
A back-flush, where you cover the nozzle with a rag and spray so the cleaner bubbles back into the cup, is a common extra step for lifting paint out of the channel. It should never replace steps two and three, and it is the wrong tool when the brush has been sitting with dried paint inside it, because the air will push that residue further into the passages rather than out of them.
Signs the routine is working, and signs it is not
Routine cleaning is working when the brush behaves at the end of a session the way it did at the start:
- the spray is even, with no spitting or speckling that cannot be traced to thinning or air pressure
- the first pass of a new color comes out clean, with no trace of the previous one
- the trigger stays smooth and the needle returns without sticking
- nothing builds up at the nozzle tip during a long spray session
- the cup rinses clear with one short flush instead of several
The warning signs point the other way:
- paint appears at the nozzle right after a flush, or the spray turns spattery mid-job
- the brush needs more pressure or a longer trigger pull to move the same amount of paint
- the needle feels gritty or sticky when it moves
- color from an earlier session shows up in the first spray of a new one
- the cup threads and the outside of the nozzle carry a hard ring that wiping no longer removes
Those are the moments for a deeper clean: a proper soak of the nozzle, air cap, and needle in the right solvent, a full strip-down if paint has cured inside the channel, and a careful look at the needle tip for a bent point or a burr. A bent needle is not automatically a write-off. Whether to straighten it or replace it is a decision worth making deliberately rather than reaching for the parts bin by reflex.
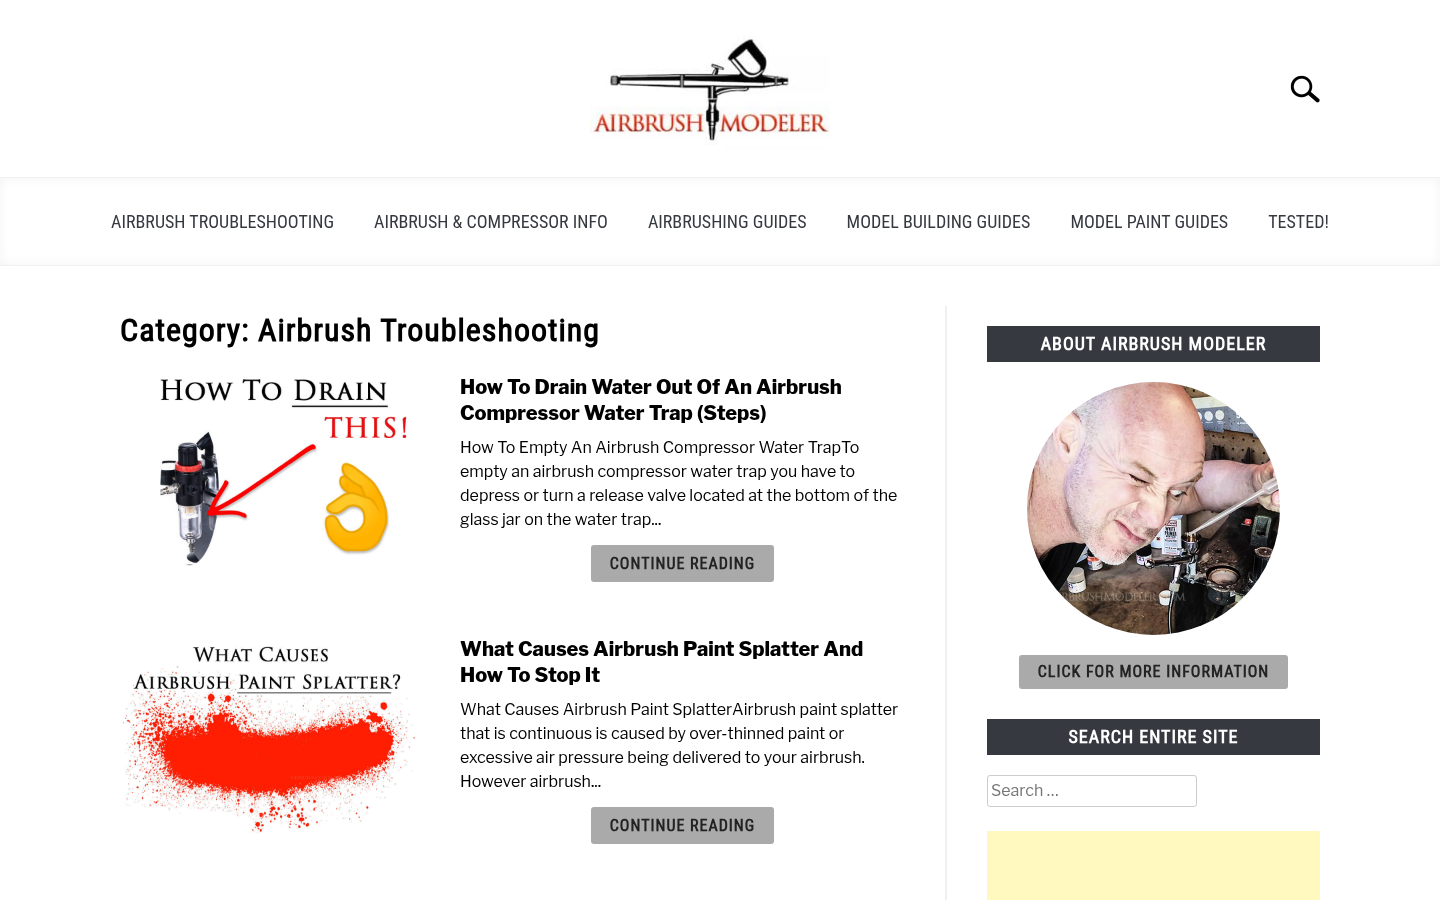
This is where a bench reference helps, too. Airbrush Modeler treats cleaning and maintenance as its own subject rather than an afterthought, and sets out to answer the two questions that come up most often: how often you actually need to clean, and whether water alone is enough. Its material includes a step-based rinse workflow written specifically for gravity-feed brushes, procedures for clearing a clogged tip and cleaning the exterior body, and guidance on needle repair, straightening a bent needle or sharpening a dull one instead of replacing it, along with the compressor water-trap drainage routine that belongs in the same upkeep habit. If you are unsure whether a full teardown is needed after every session, that question is answered there directly instead of being left as a judgment call.
Felo product screenshot.
Keep the rest of the kit in the same habit
Cleaning the brush is the visible half of the job. Two other things on the bench matter just as much.
The water trap on the compressor collects moisture out of the air line. Once it fills, water travels downstream, and the pattern it produces, sputtering and uneven coverage, looks exactly like a dirty nozzle. Draining the trap on a regular schedule removes one of the two usual suspects before you start taking the brush apart.
The cleaning fluids themselves need handling that matches what they are. They are solvents, they evaporate, and their fumes do not belong in a closed room. Keep the containers closed, keep a covered waste jar for the dirty flush, and keep the strongest fluids away from the parts your manufacturer warns about. A cleaner that is safe for both the paint and the brush is the whole point. One that quietly softens a seal costs more than the fluid it saves.
The short version
An airbrush cleaner is the fluid that keeps paint from setting inside the brush. Match it to the paint chemistry, flush at every color change, wipe the needle and tip while the residue is still wet, and read a spitting, sticking, slow-feeding brush as a signal to clean deeper rather than to spray harder. Get the routine right and the brush keeps working long after the bottle is empty.