What airbrush cleaning brushes are for
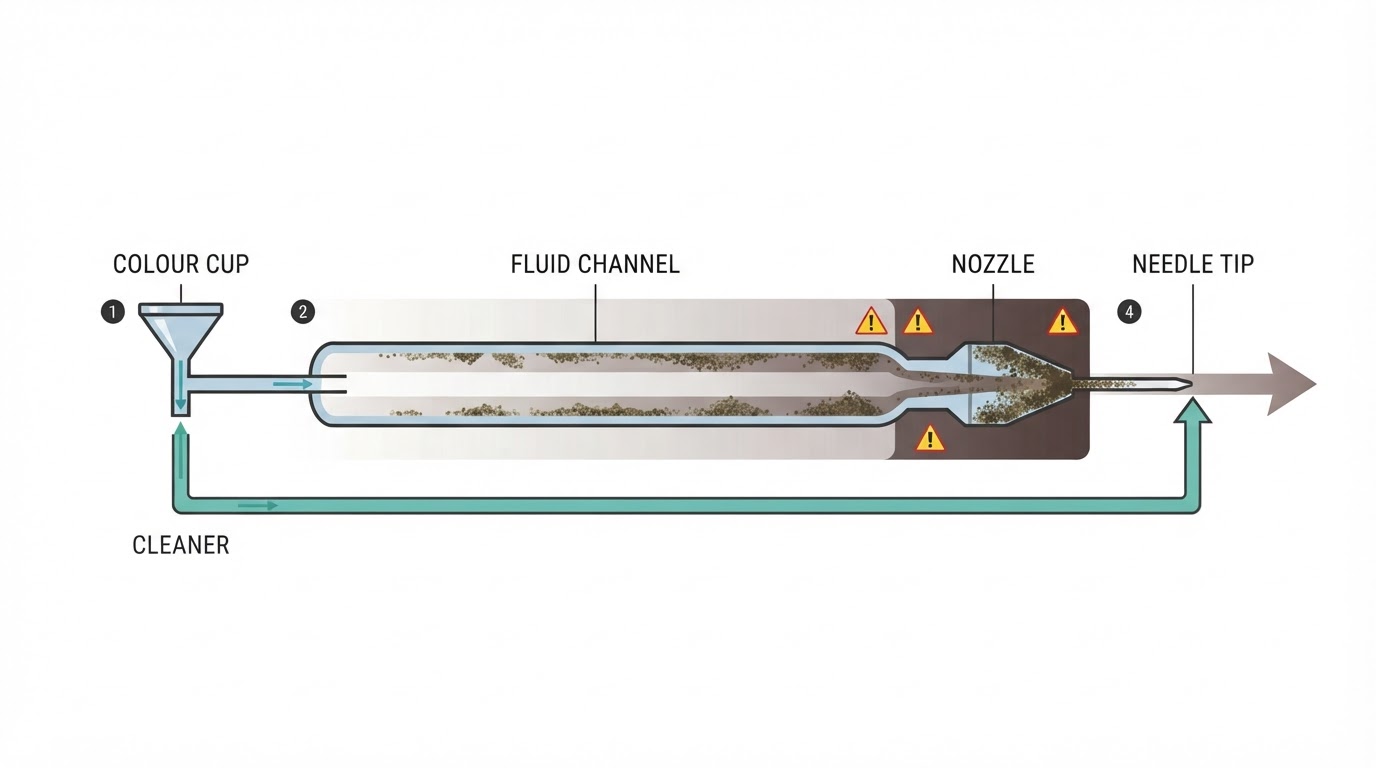
Flushing thinner through an airbrush moves wet paint out of the fluid path. It does not scrub anything. Paint that has begun to set inside the nozzle cone, along the needle, in the threads of the color cup, or in the narrow passage that feeds the nozzle stays where it is, and it does not announce itself. The first sign is usually a spray pattern that has quietly gone off — a little spitting, a little drift to one side, a tip that keeps drying out.
Cleaning brushes are the scrubbing part of the job. They are small and deliberately soft, so they can lift softened paint without changing the shape of a polished needle or the machined cone of a nozzle. That point matters more than the price of the brush: a nozzle is a precision part, and the tool that cleans it should be the least aggressive thing on the bench, not the most.
Used in the right order, brushes also cut time. A flush plus one brush pass after each session is often enough to avoid a full teardown, and a teardown goes faster because there is less dried paint to chase.
The cleaning brushes worth having on the bench
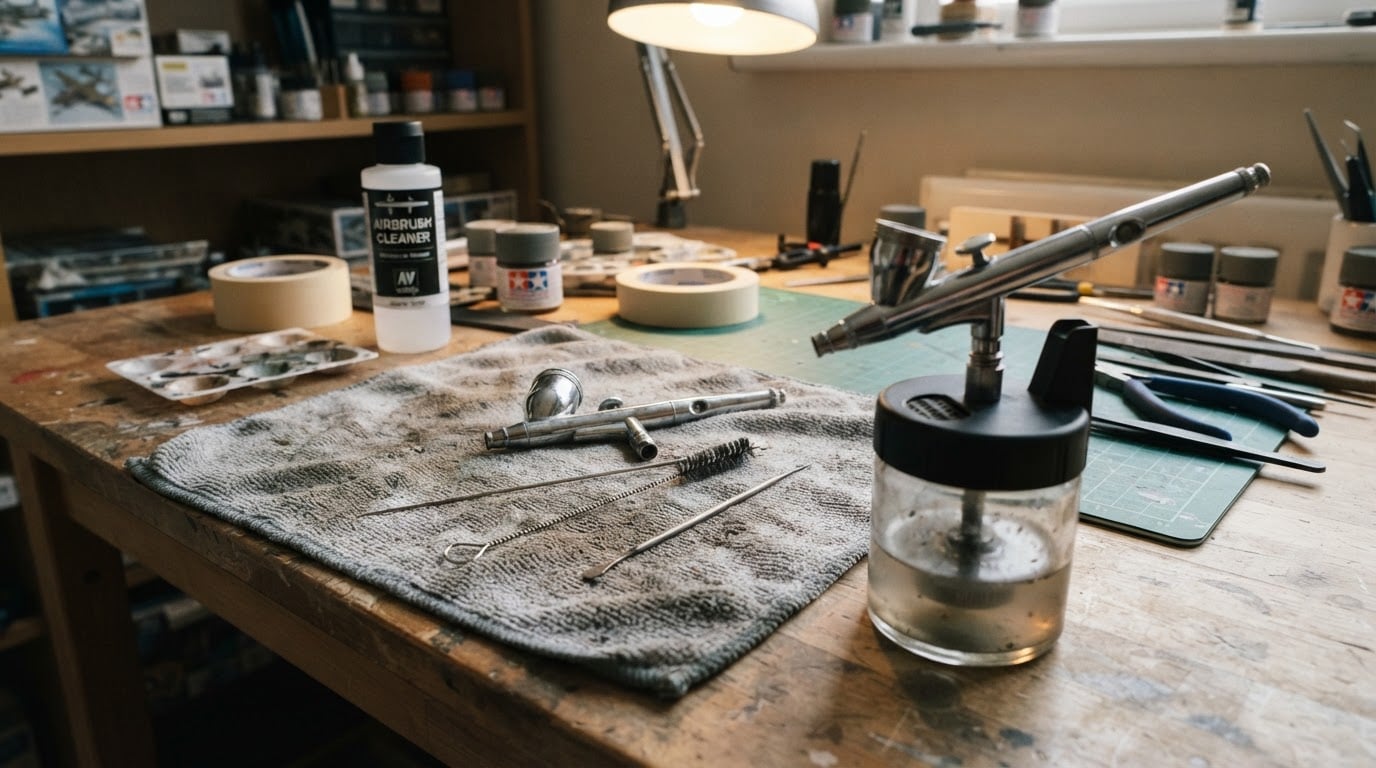
Most cleaning brushes sold for airbrush work fall into three functional groups. You do not need a large collection, but you do want at least one tool for each job below.
Fine bristle brushes
These look like small paintbrushes with short, tightly packed bristles. They carry solvent to the part, work softened paint loose from the needle and the cup, and reach into corners a cloth cannot. The bristles should be flexible enough to bend against the needle without scratching it, and dense enough that they do not simply smear thinned paint around.
A set of two or three sizes covers most work: a larger one for the cup and the body, and a finer one for tight areas around the nozzle.
Micro brushes for passages and threads
The passage between the cup and the nozzle, the nozzle threads, and the small openings around the nozzle are too narrow for an ordinary bristle brush. Micro brushes — the small twisted-wire brushes sold for cleaning between teeth are often the same idea — fit into those openings and pull softened paint out instead of pushing it through. Twist them gently as you withdraw; the rotation is what lifts the residue.
Check the brush before you use it. If the wire core is exposed at the tip, it can scratch a soft brass passage. If the bristles shed, you are adding debris to the exact place you are trying to clean.
Reamers and soft-tip nozzle tools
A reamer or nozzle needle is a tapered tool used to push a softened plug of paint out of a nozzle and to open the fluid passage. The important rule is material: use the soft-tipped tool that came with the airbrush, or one made for nozzle work, rather than a steel pin, a drill bit, or a sewing needle. Hard tools enlarge the nozzle opening, scratch the cone, and leave a burr that no amount of cleaning will fix.
Some kits include a nozzle wrench as well. That is not a brush, but it is the tool that lets you remove the nozzle for a proper clean without gripping it with pliers — worth keeping in the same case.
Where the paint hides | What reaches it | What to avoid |
|---|---|---|
Needle | Fine bristle brush, worked from the tip backward | Dragging loosened paint into the needle bearing |
Nozzle cone | Soft-tip reamer or nozzle needle, plus a soak | Steel pins, drill bits, and force |
Nozzle threads | Micro brush, twisted gently | Bristles that shed or expose the wire core |
Color cup and paint passage | Larger bristle brush for the cup, micro brush for the passage | Letting pigment dry in the passage between sessions |
Sizes and materials: match the brush to the airbrush
Brush size is not something you can guess from a photograph of an airbrush. What you are matching is the inside diameter of a fluid passage and the width of a nozzle cone, and those vary between models. The practical approach is to buy a cleaning set with several diameters rather than one fixed size, then use the largest brush that slides in without resistance and the smallest that still touches the surface you are cleaning.
Two fit rules prevent most damage. First, if a brush has to be pushed, it is too big — forcing it wedges bristles in the passage and drives softened paint deeper. Second, if the brush touches only the middle of a surface, it is too small to be useful; add solvent and let it soften the residue rather than scrub harder.
Material matters for two separate reasons. The bristles have to survive the solvent you use: a brush that softens, curls, or sheds in lacquer thinner is a liability, so it is worth keeping one brush reserved for the harshest thinner you use. The core of the brush also has to be softer than the part it touches. Metal wire cores, abrasive tips, and stiff brushes sold for household cleaning belong nowhere near a nozzle.
How to clean the needle, nozzle, cup, and paint passage
Flush first, brush second
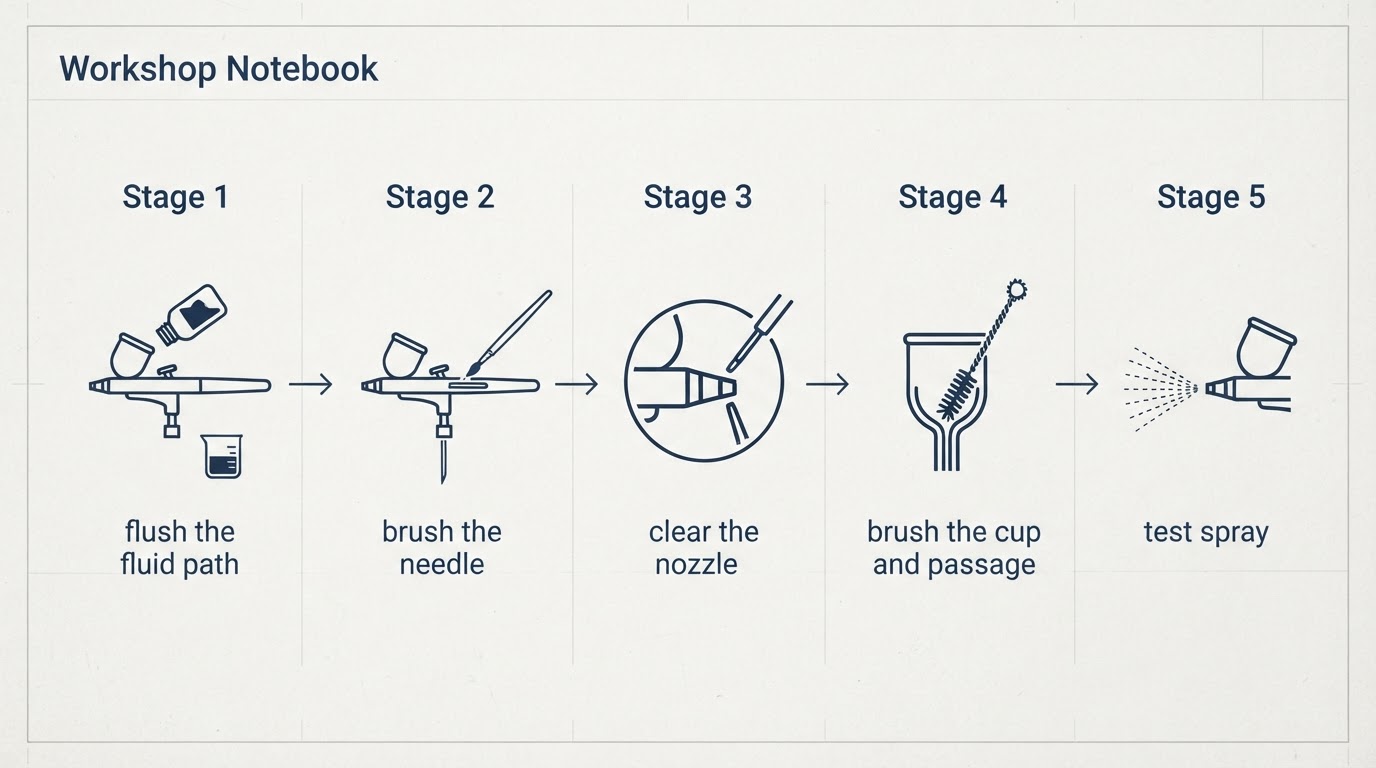
Spray or drain the leftover paint, then flush the fluid path with the thinner or cleaner that matches the paint you were using. The flush removes the bulk of the color while it is still wet, which is the easiest it will ever be to remove. Brushing comes after that, and it should be a short pass rather than a long scrub: the solvent does the softening, and the brush removes what the solvent has already loosened.
The needle
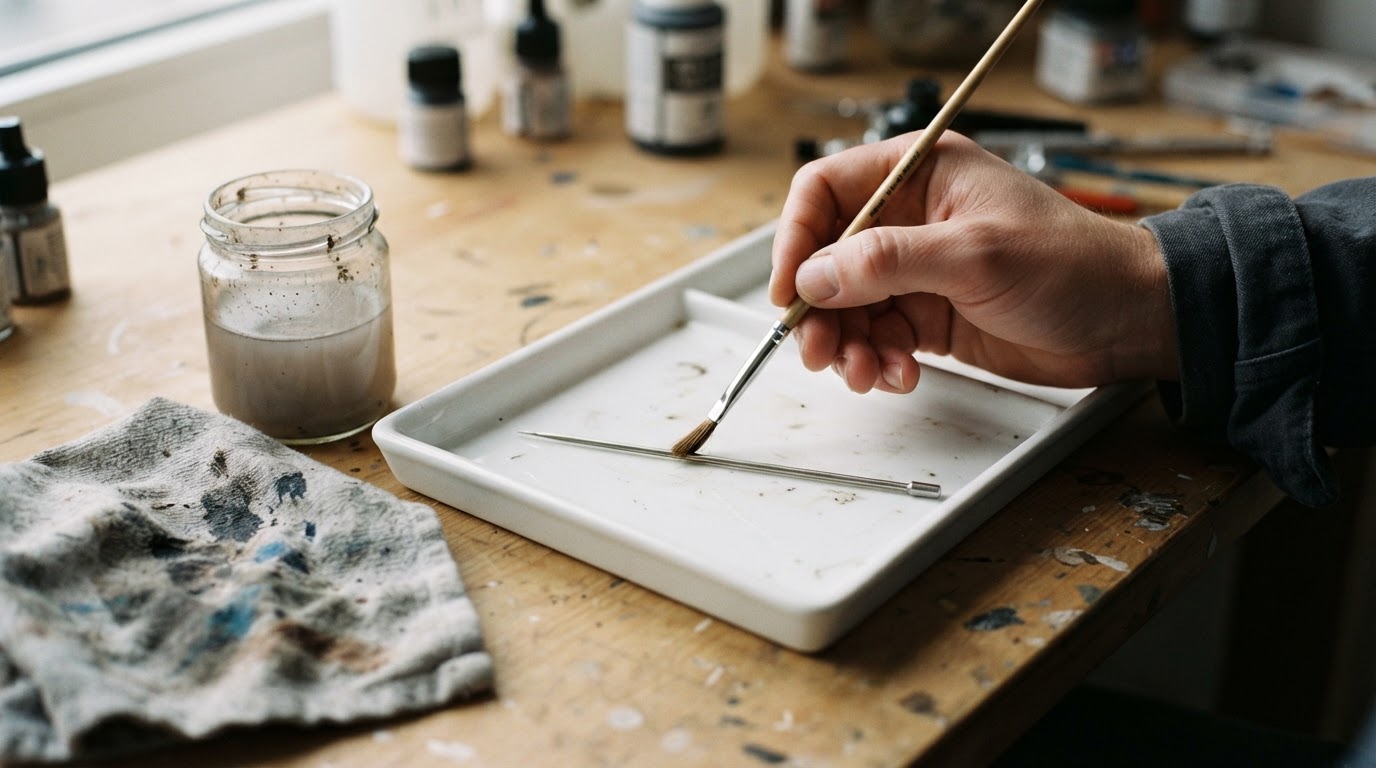
Take the needle out the way your airbrush manual describes, usually from the back after removing the rear handle. Wipe it with a soft cloth and thinner first. Then use a fine bristle brush along the needle, working from the tip back toward the shank, never the other way. That direction keeps loosened paint away from the needle bearing and packing at the back of the airbrush, where dried paint is hard to see and harder to remove. If the needle tip is bent, or feels rough when you run a fingernail along it, stop cleaning and deal with the needle: a damaged tip will spray badly no matter how clean the rest of the airbrush is.
The nozzle
The outside of the nozzle collects dried paint around the cone and the threads. Brush it with solvent and a soft brush, and use a micro brush on the threads. For the inside of the nozzle, remove it if your airbrush allows it and soak it in the appropriate thinner until the paint softens, then clear the opening with a soft-tipped reamer. Do not push a bristle brush through the nozzle opening from the front: the bristles flare against the cone, and the debris they break loose is pushed further into the fluid path instead of out of it.
The color cup and paint passage
Brush the cup with a larger brush and plenty of thinner, including the threads and the lip where paint collects in a ring. Then run a micro brush down through the passage from the cup toward the nozzle, twisting gently as it comes back out. Repeat with clean thinner until the brush comes out clean. Watch for the obvious mistake here: pushing a dry brush through a dry passage simply moves the pigment plug deeper.
Reassembly and the test spray
Reassemble in the reverse order, following the manual, and tighten the nozzle only as much as it needs — over-tightening cracks nozzles and deforms seals. The completion standard is a test spray of clean thinner or water: it should leave the airbrush as an even, centered mist with no spitting, no wandering to one side, and no bubbles in the cup. If the pattern is still uneven, the problem is usually residue you cannot see, not the brush you just used.
Keeping the cleaning brushes clean and storing them
A cleaning brush that is left dirty becomes a paint source. Rinse the bristles in the matching thinner as soon as you finish, then wash them with warm water and a little dish soap if they were used with acrylics. Work the bristles against the palm of your hand so the paint comes out from between them, then reshape them with your fingers.
Storage is where most brushes die. Do not leave them standing in thinner for days; solvent attacks bristles and the glue that holds them in the ferrule. Let them dry bristles-down or flat on a paper towel, then store them in the case with the airbrush, bristles protected rather than crushed. If the case has a separate needle and nozzle compartment, keep the cleaning tools out of it so a loose reamer cannot knock against a needle tip in transit.
Replace a brush when the bristles splay permanently, shed, or harden. A stiff, splayed brush scratches more than it cleans.
When a brush alone will not clear the clog
Cleaning brushes reach surfaces. They cannot repair a mechanical fault, and they cannot always remove paint that has cured into a hard plug, so it helps to know when to stop and change the approach.
- Hardened paint inside the nozzle. Soak the nozzle in the correct thinner for longer than feels reasonable, then use the soft reamer. Some dried paint needs an overnight soak, and some needs an ultrasonic cleaner.
- Paint inside the needle packing or bearing. This sits behind the point a brush can reach, and it shows up as a needle that is stiff to move, a leaking airbrush, or paint appearing in the air path. It usually needs the airbrush to be taken apart further, and sometimes a replacement packing.
- A bent or blunt needle. No amount of cleaning will restore the spray pattern. Straightening or replacing the needle is the fix.
- A blocked air passage. If air comes out weak or not at all, the blockage is on the air side, not the paint side, and a paint brush will not touch it.
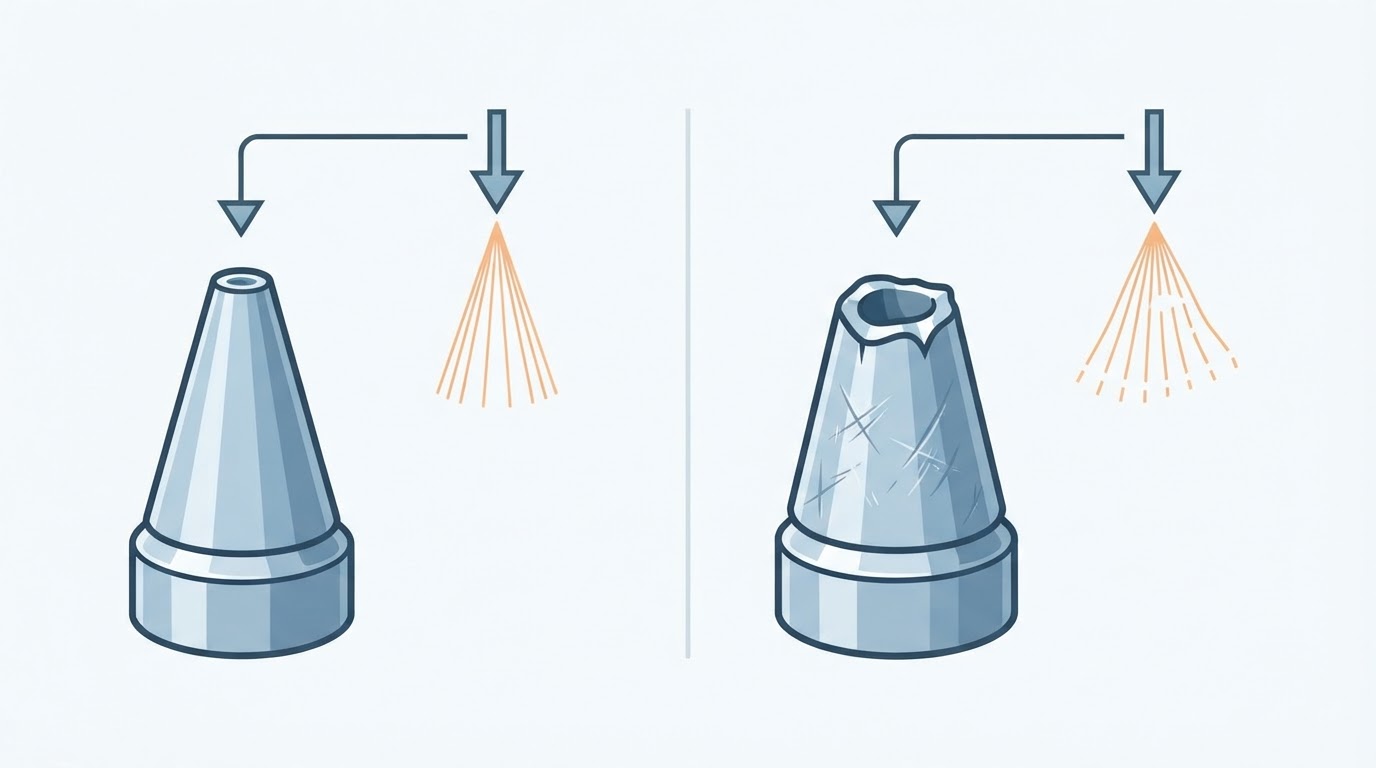
- A damaged nozzle. If the cone is scratched, out of round, or stretched, the airbrush will keep spitting and spraying off-center no matter how clean everything looks. Replace the nozzle.
Mistakes that cost you a nozzle
The expensive mistakes in airbrush cleaning are not about forgetting to clean. They are about using the wrong thing at the wrong moment.
- Using a hard tool to clear a nozzle. Wire, pins, and drill bits remove metal along with paint. The opening widens, the spray turns coarse and off-center, and the nozzle is done.
- Brushing a dry airbrush. Solvent softens paint; bristles do not. A dry brush grinds pigment into the passage and can leave the blockage worse than it found it.
- Cleaning only the cup. The cup is the visible part. The passage and the nozzle are where the problems start.
- Leaving brushes soaking. It saves a minute and costs a brush, and the solvent residue that stays in the bristles ends up in the next color.
- Waiting until the paint is dry. The cheapest cleaning habit is the earliest one: flush while the paint is wet, brush once, and the deep clean becomes a rare job instead of a weekly one.
If you keep one rule from all of this, make it the direction of travel: work from the inside out, from the tip backward, and never push debris deeper than you found it.