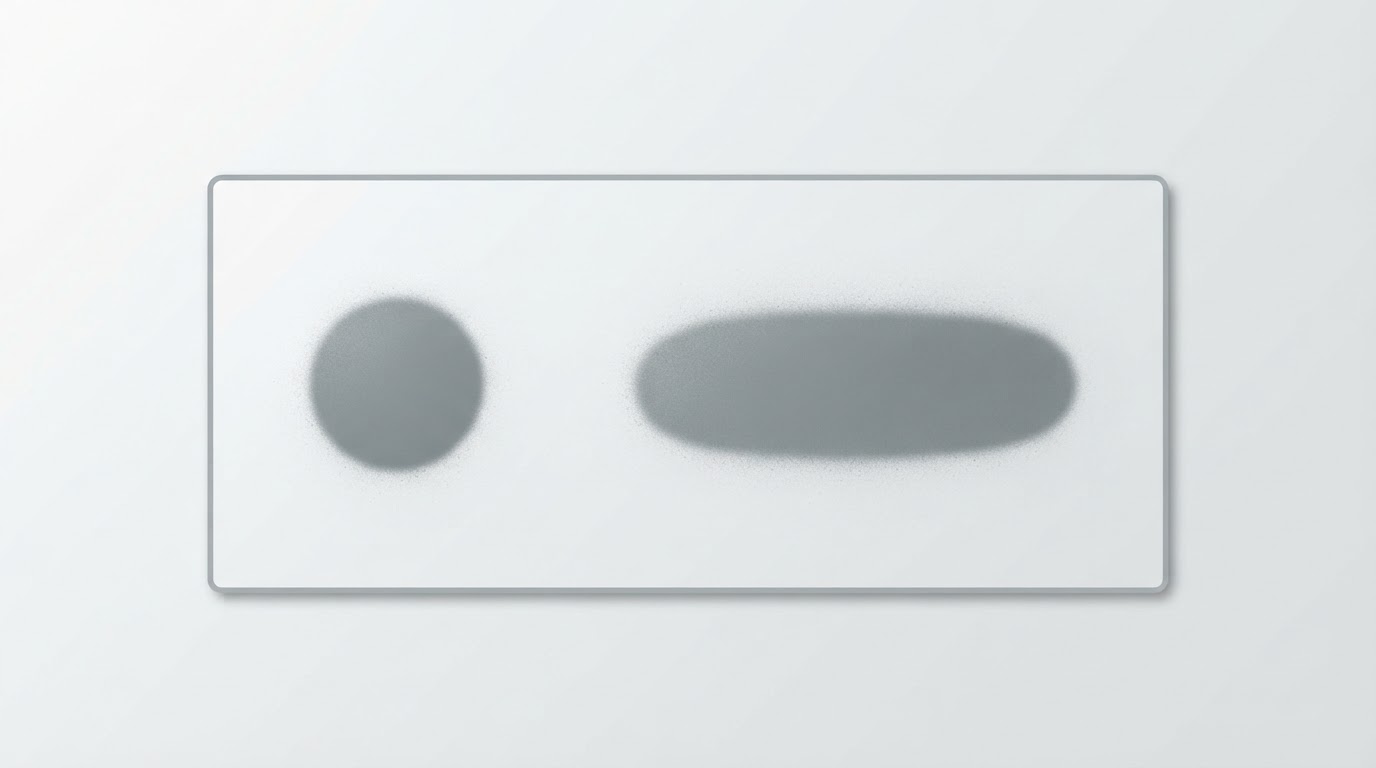
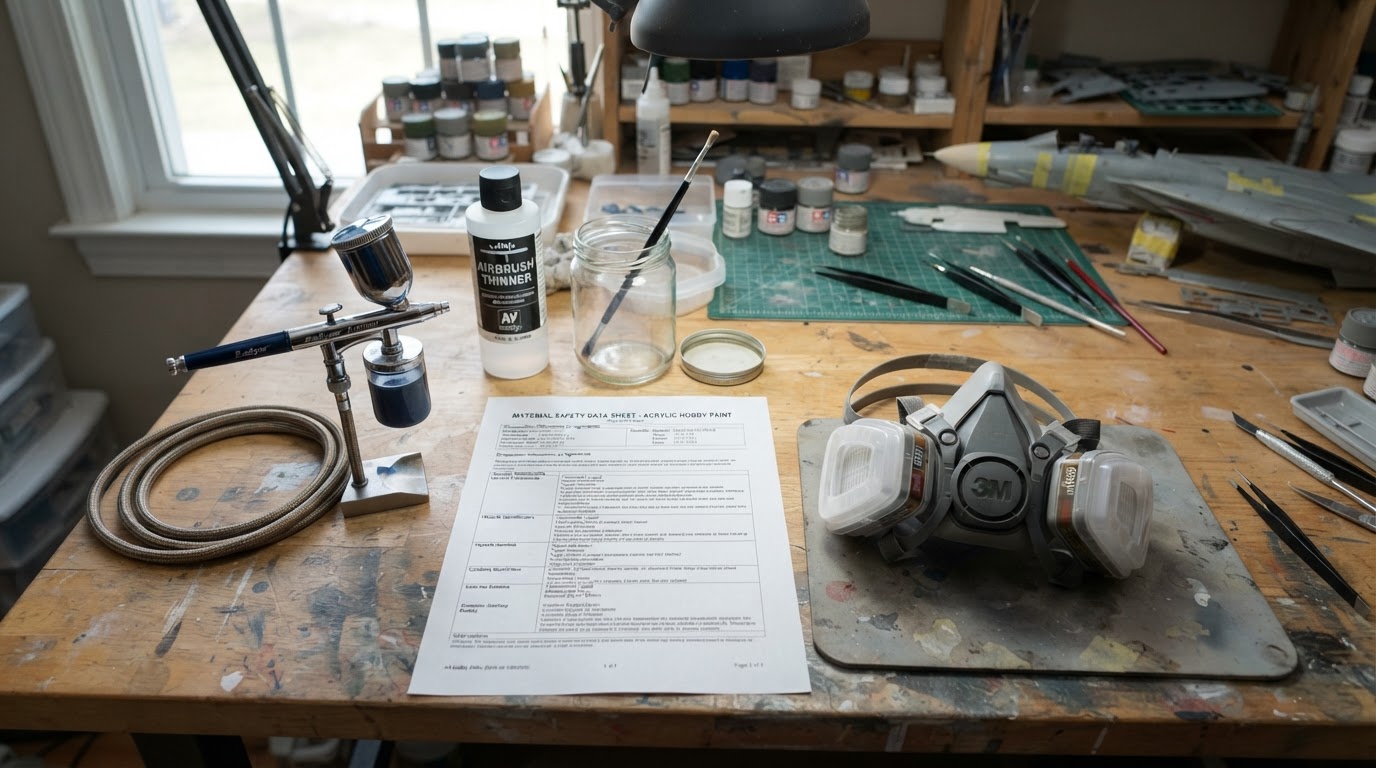
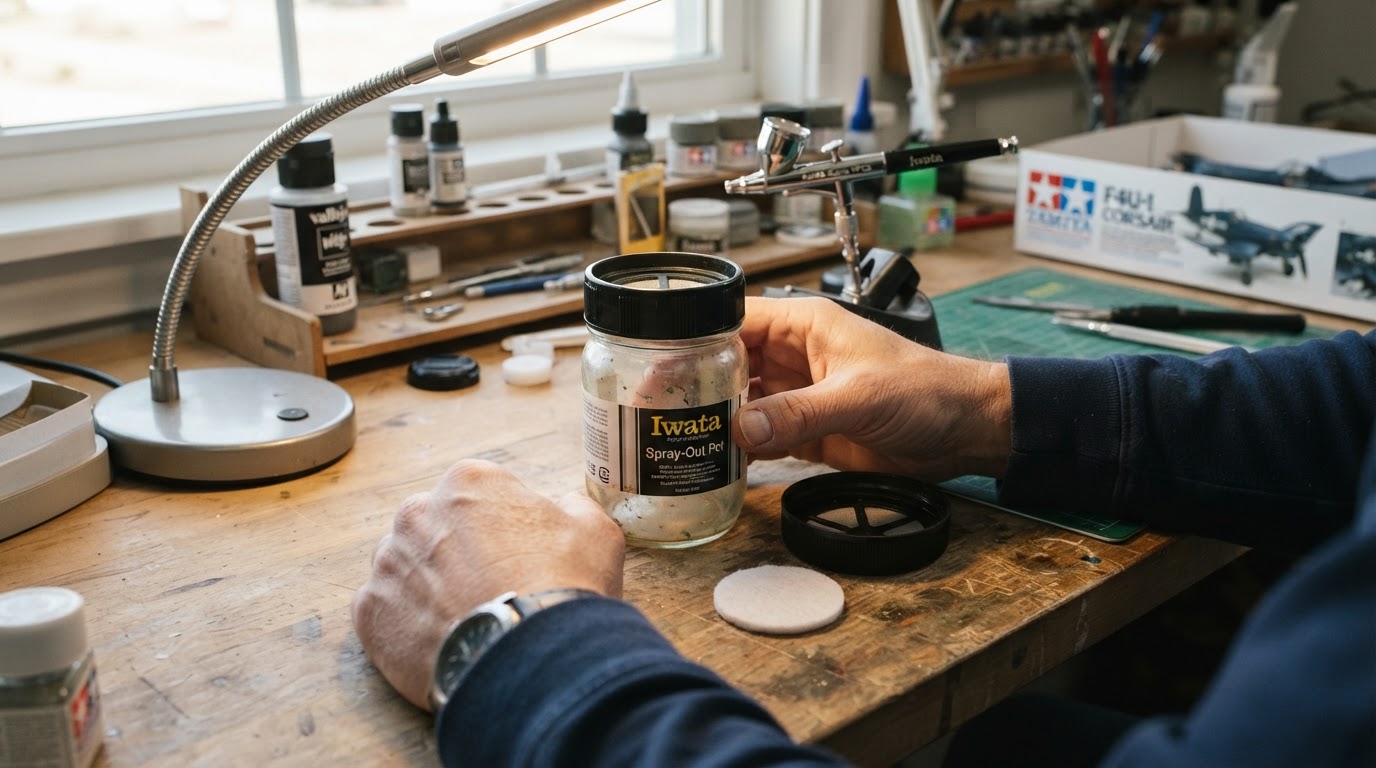
What Pressing, Pulling and Releasing Should Do
A double-action airbrush works in two stages. Pressing opens the air valve. Pulling the trigger back draws the needle away from the fluid nozzle, which starts paint flow. Releasing reverses the order: the needle returns to the nozzle and cuts the paint, then the air valve closes.
Iwata states that order in its operating instructions for the Revolution series: press down on the main lever to start airflow, then pull back to open the nozzle. Grex uses a pistol-style trigger, but the same stages apply — a half pull opens the air valve, and further travel pulls the fluid needle back from the nozzle so paint can spray.
That sequence is why a release-only spray is odd. If paint appears as the trigger comes forward, it was delayed on the way back or pushed out by the return movement. Neither points to a single broken part.
These checks assume a double-action airbrush; on a single-action model the trigger controls air only.
Candidate Causes to Test, One at a Time
The manuals do not name "only sprays on release" as a symptom, but they list the conditions that restrict needle and trigger movement:
- Needle drag from dried paint. Grex lists paint build-up on the fluid needle and the packing seal under restricted trigger movement; Iwata lists dried paint on the needle tip and a stuck needle as spray faults.
- Dried paint or debris in the trigger area. Grex names this first among causes of a trigger that will not move freely.
- A loose needle chucking nut. If it is not finger-tight, the lever can move while the needle lags. Iwata pairs a loose chucking nut with a needle that does not visibly move when the trigger is pulled.
- A tired or damaged needle spring. The spring is a serviceable part in the Iwata parts list; one that no longer returns the needle cleanly can leave it lagging until the trigger snaps back. Rule out drag and buildup first.
- A bent needle or damaged nozzle. Both manuals treat these as delicate wear parts: a bent tip or worn nozzle changes how the needle seats, which can turn a delayed spray into a burst.
- A dried-out air valve packing. Iwata pairs a trigger that sticks up and down with a dried-out air valve packing o-ring and prescribes lubricating the trigger shaft.
- A pre-set knob or needle stop screwed in too far. Grex lists a fully tightened pre-set knob as a cause of restricted trigger movement.
One contrast matters: paint with no air, or air with no paint, is a different fault pointing at air and fluid passages. A release-only spray points at timing and drag in the needle and trigger linkage.
Diagnostic Matrix
What you observe or feel | Likely area | First check |
|---|---|---|
Air flows, paint only appears as the trigger returns | Needle drag or lagging linkage | With air off, watch the needle move with the lever. Finger-tighten the chucking nut; clean dried paint from the needle. |
Trigger sticks back and forth | Dried paint or debris in the trigger area | Clean the trigger area, then lubricate the trigger shaft and needle as your manual allows. |
Trigger sticks up and down | Dried-out air valve packing o-ring | Clean and lubricate the trigger shaft; inspect the valve o-ring. |
Needle stops abruptly when reinserted | Trigger mechanism not assembled correctly | Retract the needle, examine the trigger mechanism, reinsert. |
Trigger barely travels back | Pre-set knob or needle stop | Back the pre-set knob out and re-test. |
Burst or splatter right after release | Paint buildup moving through; thick paint | Clean the needle and packing, then revisit paint thinning and filtering. |
Uneven or double line | Bent needle or damaged nozzle | Inspect for damage; follow your model's removal instructions and replace a damaged needle rather than forcing it through the nozzle. |
A Safe Check Sequence
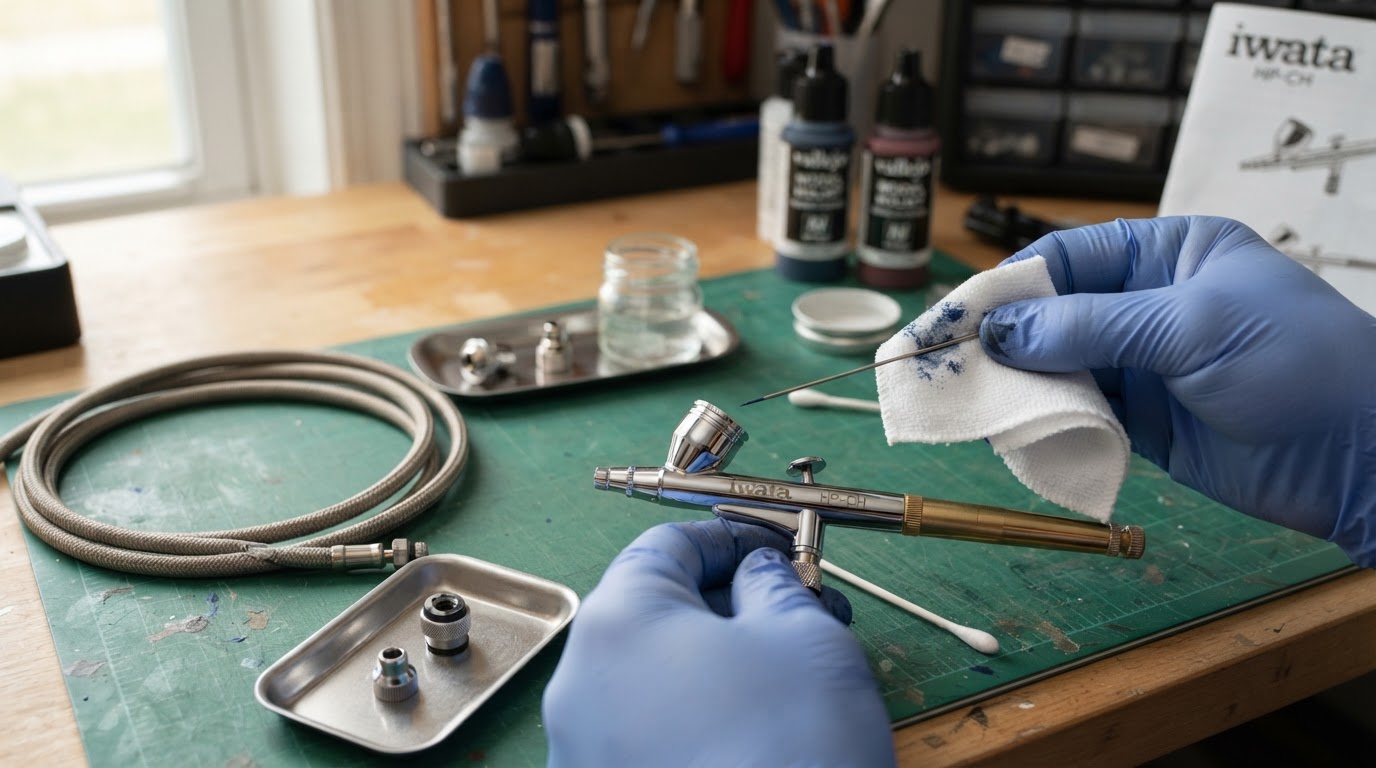
- Shut off the air and bleed the hose. Work on the trigger and needle with no air connected, following the manual for your model.
- Test trigger travel with the air off. Move the lever through its range and watch the needle; if it does not follow the lever, note that before dismantling anything.
- Flush with the right solvent. Use the solvent for your paint system rather than a home mix. Never soak the whole airbrush or store it with cleaner in the cup.
- Clean the needle. Remove it as your manual describes, wipe it with a soft cloth damp with cleaner, and inspect for dried paint and bends. Do not force a bent needle through the nozzle or packing.
- Reinsert the needle and check the seat. Iwata's instruction: insert the needle until it seats fully against the nozzle; if it stops abruptly, retract it and examine the trigger mechanism for proper assembly.
- Finger-tighten the needle chucking nut, then pull the lever back and forth to confirm the needle moves with it.
- Lubricate lightly. Follow the instructions for your model and use an airbrush-compatible lubricant only where its manual permits. Avoid light machine oil and WD-40; excess lubricant can reach the nozzle.
- Reconnect air and test on scrap. If the delay is gone, you found a maintenance cause. If it persists, check the spring, valve packing and nozzle, in that order.
Limitations
Part names and service steps differ between an Iwata HP series airbrush and a Grex Tritium, so use the manual for your own model and stop if a step is not described there. Cleaning and lubrication resolve drag; they cannot repair a bent needle, worn nozzle or broken spring, and they will not reveal a hardened internal o-ring on their own. Never force the nozzle or needle; both manuals warn that forcing and over-tightening delicate parts causes damage. If the spray is still release-only after the safe checks, ask a service center instead of taking the airbrush further apart.
If you get air but no paint, see our separate guide to an airbrush that sprays only air; that is a different diagnostic path.
FAQ
Should I replace the needle if my airbrush only sprays when releasing trigger?
Not first. Clean the needle, check the chucking nut, confirm the needle moves with the lever, and lubricate lightly. Replace a bent or damaged needle; check the nozzle if the pattern stays uneven.
Can lubricating the trigger fix the delay?
It can fix a dragging trigger. Use a high-quality airbrush lubricant: a light coat on the needle and a drop behind the main lever or slider. Do not use WD-40, light machine oil or petroleum and silicone products, which the manuals say make the needle stick.
Why does paint come out in a burst just after I release the trigger?
That is the pattern of paint held back and released late: buildup on the needle or packing, a needle that is not following the lever, or a pre-set knob limiting travel. Work through the matrix from the simplest cause outward.