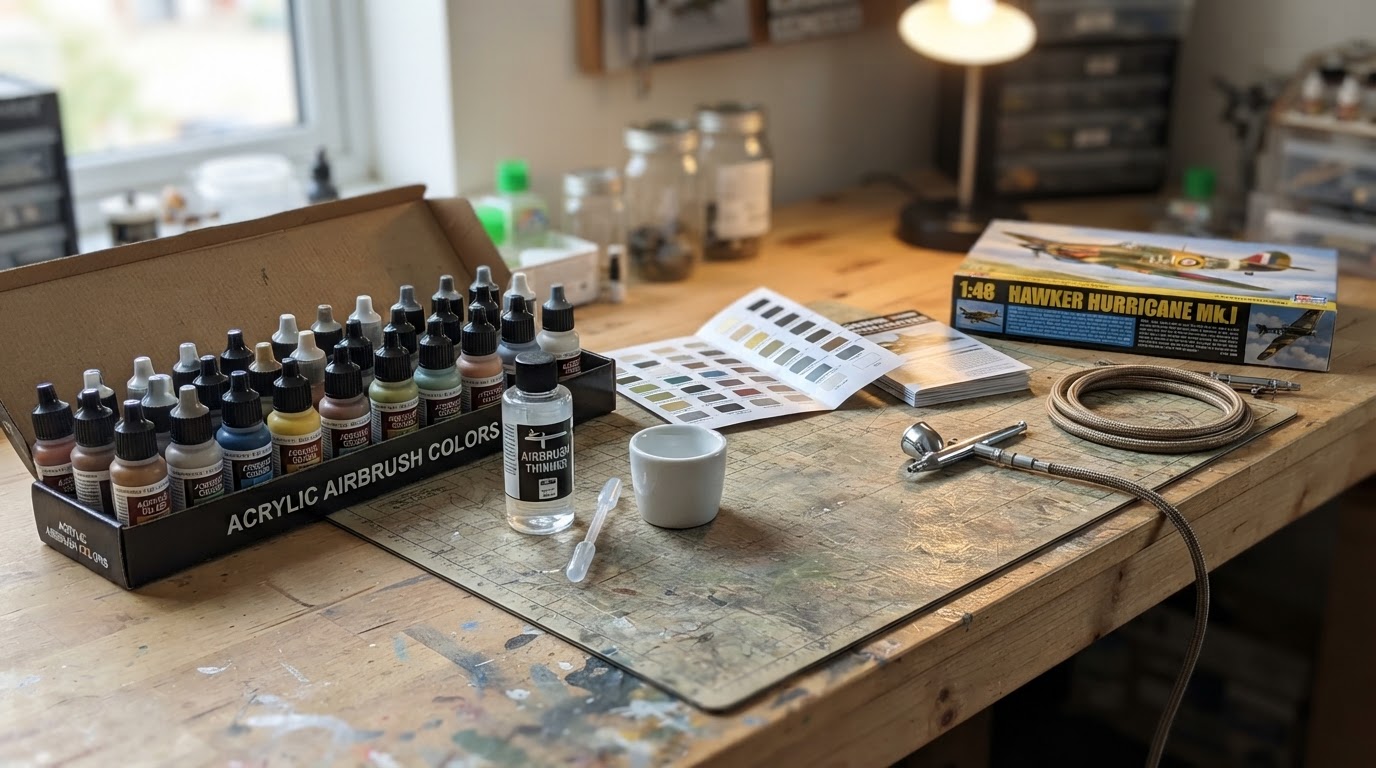
What makes paint work in an airbrush
A paint is ready for an airbrush when its pigment is milled fine enough to pass the nozzle, its thinner matches its own chemistry, and the mix still flows at the pressure your setup delivers.
Three properties decide whether a bottle earns a place in the cup, and none of them is settled by the label.
Pigment grind sets the ceiling. Paints made for brushes, rollers and craft projects are often ground coarser, which costs nothing when a bristle is pushing them around and shows up the moment a fine-detail nozzle has to atomise them. Wipe a drop across a scrap of white card and rub it: a gritty drag means the pigment will bridge a small opening no matter how much thinner you add.
Binder chemistry sets the thinner. Lacquer, enamel and acrylic each carry their own solvent system and dry by a different route. Reduce an acrylic with the wrong solvent and it can turn gritty or curdle in the cup; force a mismatched thinner into a lacquer and the coat may never cure properly. Thinner families are not interchangeable just because they look alike in the bottle.
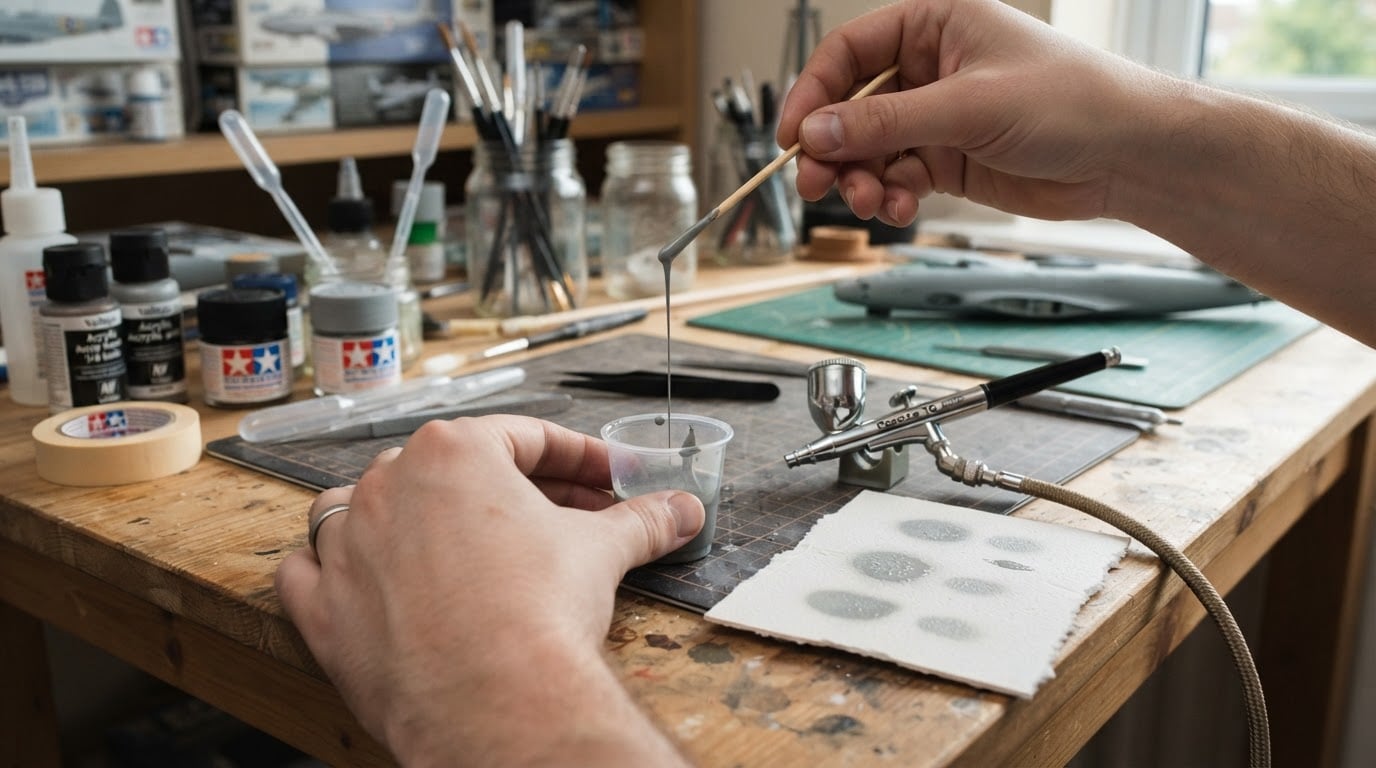
Consistency sets the spray. Stir the mix, lift the stirrer and watch what falls back. A workable mix runs off in a thin, continuous ribbon, close to skim milk. If it drips like water and leaves almost no film behind, it cannot cover. If it clings, strings or sits in a blob, it will spatter or dry on the tip before it reaches the surface.
Bottles sold as airbrush-ready are a starting point rather than a promise. Pigment settles in storage, formulations change, and the same bottle behaves differently after a year on the shelf, so stir thoroughly and judge the mix in the cup instead of trusting the front label.
Metallic and pearl pigments ask more of the setup. The flakes are heavier than the base pigment and drop out of suspension quickly, so they need a wider nozzle and steady agitation to keep the finish even.
Layer order: lacquer, enamel, acrylic
Solvent strength is why layer order matters more than most modelers expect. Lacquer thinner is the aggressive one. Sprayed over a cured acrylic or enamel coat, it can re-wet the film underneath, lift it and leave a wrinkled or crazed surface that no amount of drying will repair.
The workable direction runs from the hottest chemistry to the mildest: lacquer first, enamel next, acrylic last. Two prohibitions follow from it — acrylic should never be used as a base coat under the other two, and lacquer should never be sprayed over acrylic or enamel.
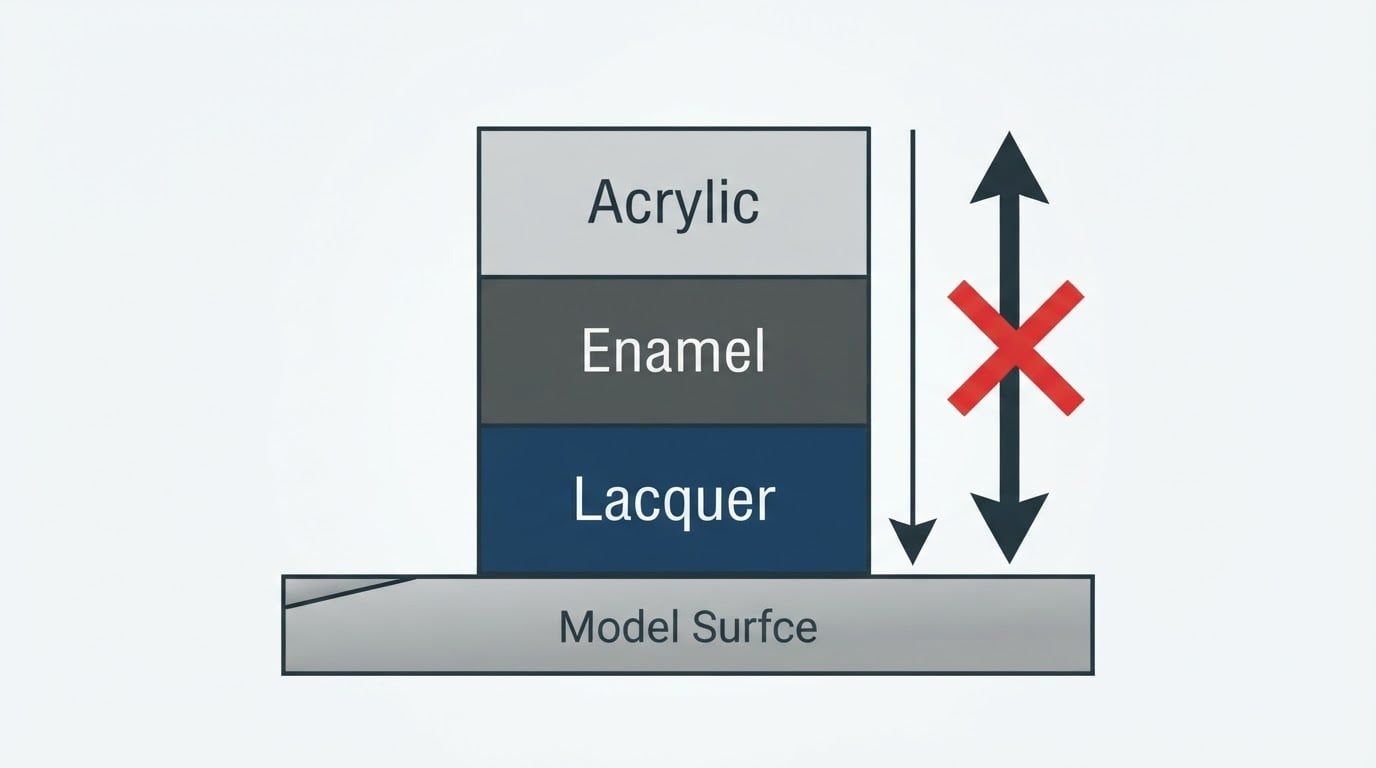
Changing paint lines does not change the logic, but it does change the mix. When the layer underneath came from a different brand or a different chemistry, test the combination on scrap before committing a model to it.
A second condition sits behind the order itself: the layer underneath has to be dry, not merely touch-dry. A coat that is still releasing solvent will fight whatever lands on top of it, and the failure will look like bad paint when it is really bad timing. Spray thin, leave it longer than you want to, and build the finish in passes.
Thinning: where most paint goes wrong
Thinning is a trade-off with a wide and unforgiving middle. Too little thinner and the paint spatters, dries on the needle tip and lands rough. Too much and the coat turns watery, pools in panel lines, loses the coverage it was supposed to give and can lose its grip on the surface. Over-thinning is the harder fault to spot, because the brush still sprays — just badly.
There is no single ratio that survives contact with real paint. Thinner demand shifts with pigment load, the age of the bottle, the nozzle you are running, the air pressure behind it and the humidity in the room. Treat any published ratio as a starting point and adjust from there.
Airbrush Modeler's paint-thinning and decanting guides work the same problem in named combinations rather than one universal number: thinning Tamiya acrylic with lacquer thinner, preparing Tamiya TS spray paint for airbrush use, and answering the edge case of whether ordinary tap water is acceptable for Tamiya acrylics. The same material ties a persistent splatter problem back to over-thinning, so a sputtering brush gets diagnosed instead of guessed at.

Felo product screenshot.
Whatever combination you are mixing, the working method holds: decant a small amount of paint into a mixing cup, add thinner in small increments, stir, and test on scrap after each addition. Write down the sequence — paint, thinner, nozzle, pressure — because the mix that worked on one build is the fastest starting point for the next one. When a cup goes wrong, tip it out rather than topping it up and losing track of what is in the mix.
Spray-can paint fits the same rules once it is decanted. Hold the can upright, spray through a tube into a jar, give the propellant time to escape, then thin what is left for the airbrush exactly as you would any other bottle. Only then does it behave like paint rather than a pressurised product.
Primer: the coat that decides whether colour holds
Primer exists to give the colour coats something to grip, and it usually carries less pigment and more binder than the paint above it. That makes it thinner in the cup and far less forgiving of a heavy pass.
Priming with a spray can and priming through an airbrush is a real decision rather than a matter of taste. A can is quick and needs no cleanup, but the film it lays down is thicker and harder to control, and on a mixed-media build of resin or photo-etch plus styrene it can bury the detail that made the parts worth buying. An airbrush gives you control over how thin the primer goes and keeps the primer inside the same paint system as everything above it.
Apply primer in light passes, let it cure, then check the surface before the first colour coat. A primer that is still soft shows up later as a colour coat that lifts at the edges or sands through in places you never touched.
Check the mix before it reaches the model
Work through these in order and a full pass is much less likely to go wrong.
- Consistency. Stir, lift and confirm the thin ribbon that falls back into the cup. When you are unsure, thin in a smaller step, never a bigger one.
- Straining. Skin or lumps in an opened bottle will find the nozzle eventually. A fine mesh strainer costs seconds and saves a strip-down.
- Layer order. Name the chemistry already on the model and the chemistry going over it. If the pair runs against lacquer, enamel, acrylic, change the plan rather than the pressure.
- Cure, not just touch. Press a hidden area. If the surface feels cool or gives slightly, the layer below is still working.
- Dry air. Water in the line arrives as spitting and a milky haze in the coat, most often on humid days. Drain the trap at the start of a session, not after the damage.
- Test card. Spray the exact mix through the exact nozzle at the exact pressure onto scrap before the model sees it.
The mix is ready when a light pass on scrap dries to an even film with no spatter, no visible texture and no bare patches showing through — and when the same pass on the model builds up in two or three thin layers instead of one heavy one.