What an airbrush paint kit actually is
An airbrush paint kit is a bundle built around one job: getting paint through an airbrush. Retailers use the same label for two different products, so the first step is working out which one you are looking at.
The first is a paint-focused set: bottles of color plus the liquids and small tools needed to make them spray. The second is a hardware bundle — an airbrush, a hose, sometimes a compressor — with a small amount of paint added to the box. If you already own a working airbrush, the paint-focused set is the one you want. If you are starting from nothing, a hardware bundle saves you a round of decisions, but treat its paint as a sample rather than a working collection.
The difference shapes everything that follows. A paint-focused set is chosen around color, chemistry and coverage. A hardware bundle is chosen around the tool, and the paint included with it may have little to do with the subjects on your bench.
What a typical set contains
Kits vary, but most paint-focused sets are built from the same few parts.
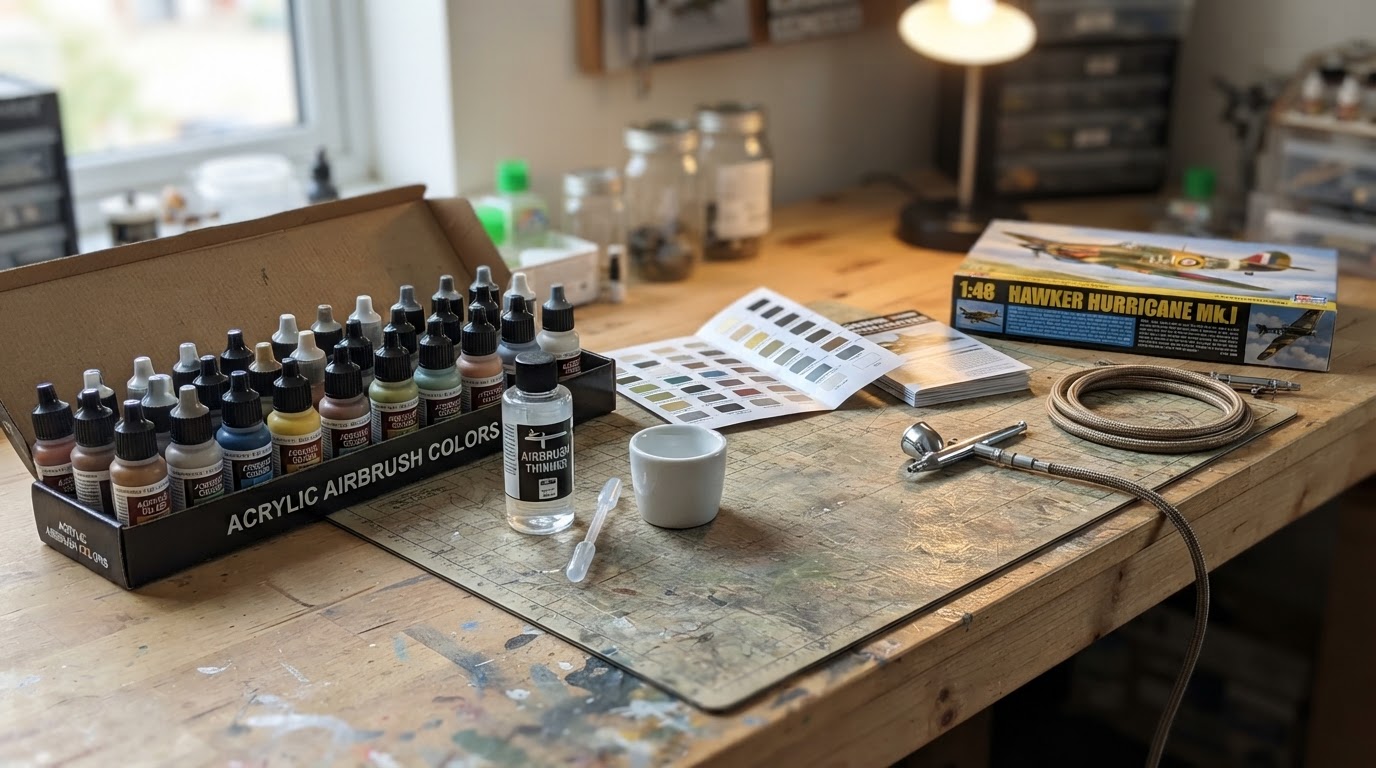
- Paint. Several bottles from one line or family, usually acrylic, sometimes lacquer or enamel.
- Thinner or reducer. Either included in the box or named on the packaging and sold separately.
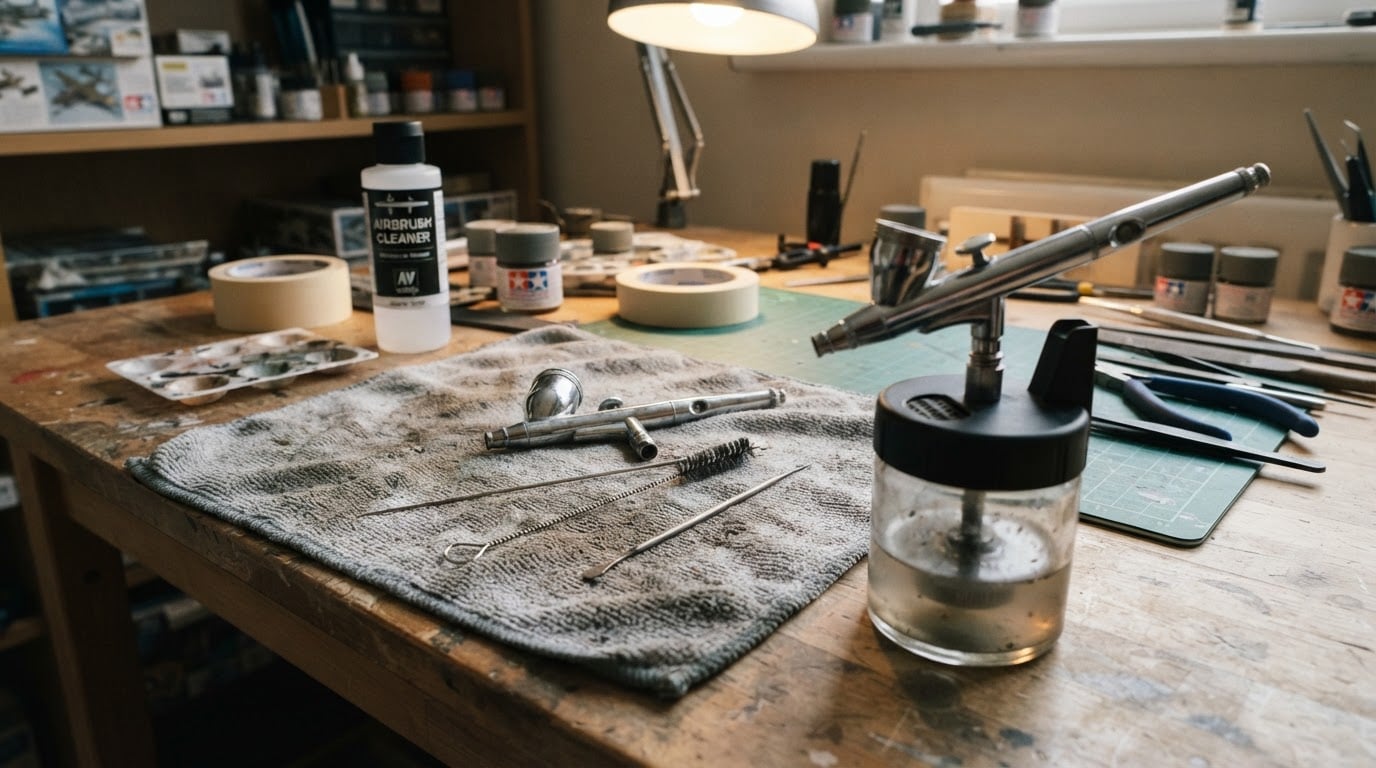
- Cleaner. Something to flush the airbrush between colors and at the end of a session.
- Small accessories. Pipettes, mixing cups, stirrers or a funnel.
- A color reference. A chart, swatch card or thinning note.
"Typical" is doing real work in that list. Some sets are paint and nothing else; others include enough support liquids to get a beginner started. Color count tells you very little on its own. A large box of tones you will never use is not a better kit than a small set that covers the subjects you actually build.
Paint type and thinning needs
This is where a kit earns its place on a model bench, or fails early.
"Airbrush-ready" is a relative term. Paint sold under that label is thin enough for a common airbrush and nozzle combination, but your combination is specific. A mix that sprays cleanly through a wide nozzle may need more thinner before it behaves in a fine-detail brush. Needle size, air pressure and the finish you want all move the target.
Paint chemistry decides what you can thin it with. Acrylics, lacquers and enamels each have their own compatible thinners, and crossing those lines is a reliable way to end up with curdled paint or a clogged nozzle. Some acrylics can be thinned with water, while others behave better with a dedicated acrylic thinner. The label on the bottle is the authority, not a forum post.
Three symptoms tell you the mixture is wrong.
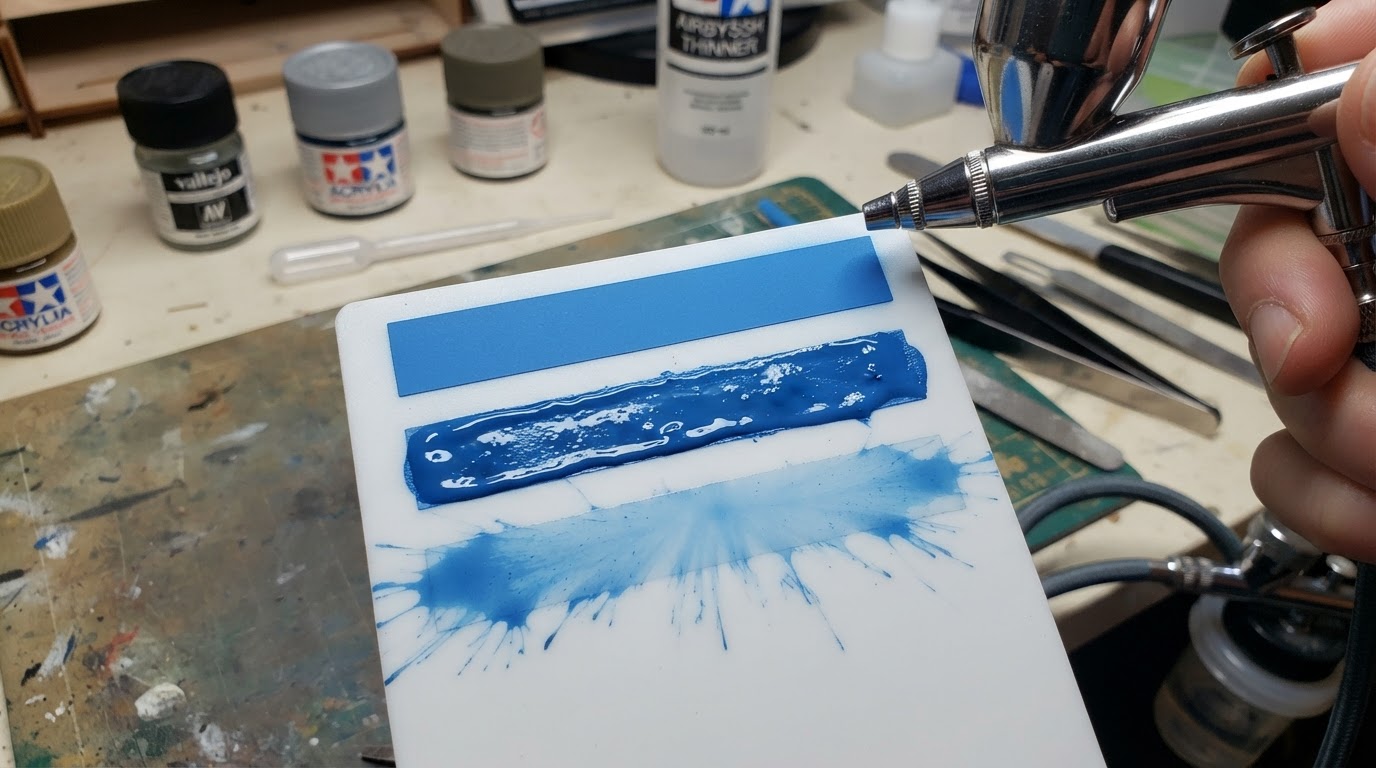
- Splatter or spidering. The paint is too thin, or the pressure is pushing it apart on the surface.
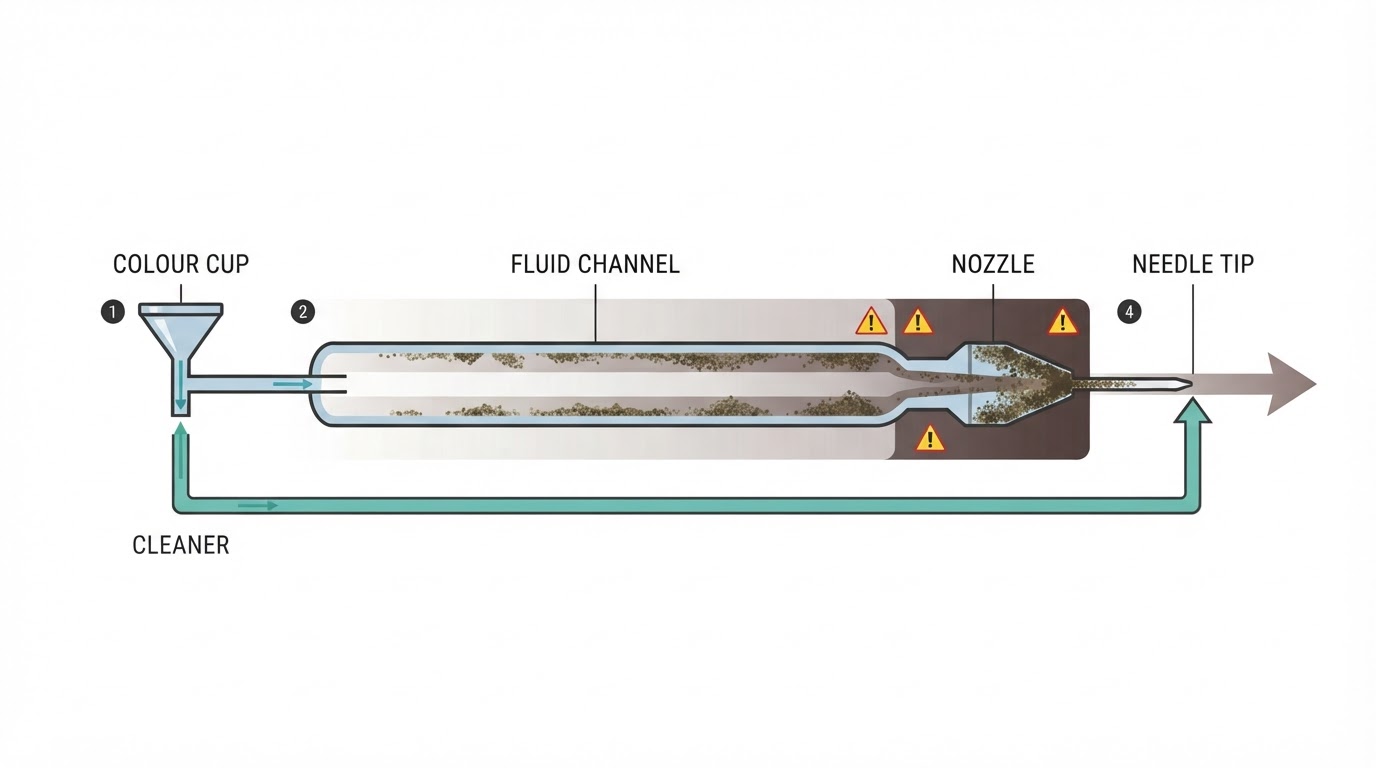
- Tip dry. The paint is too thick, drying in the nozzle before it reaches the model.
- Uneven coverage. The mix was not stirred consistently, or the coat went on in inconsistent passes.
The fix is the same each time: change one variable, test on scrap plastic, and write down what you mixed. A minute of record-keeping turns a mystery into a repeatable recipe.
How to judge whether a set suits scale-model work
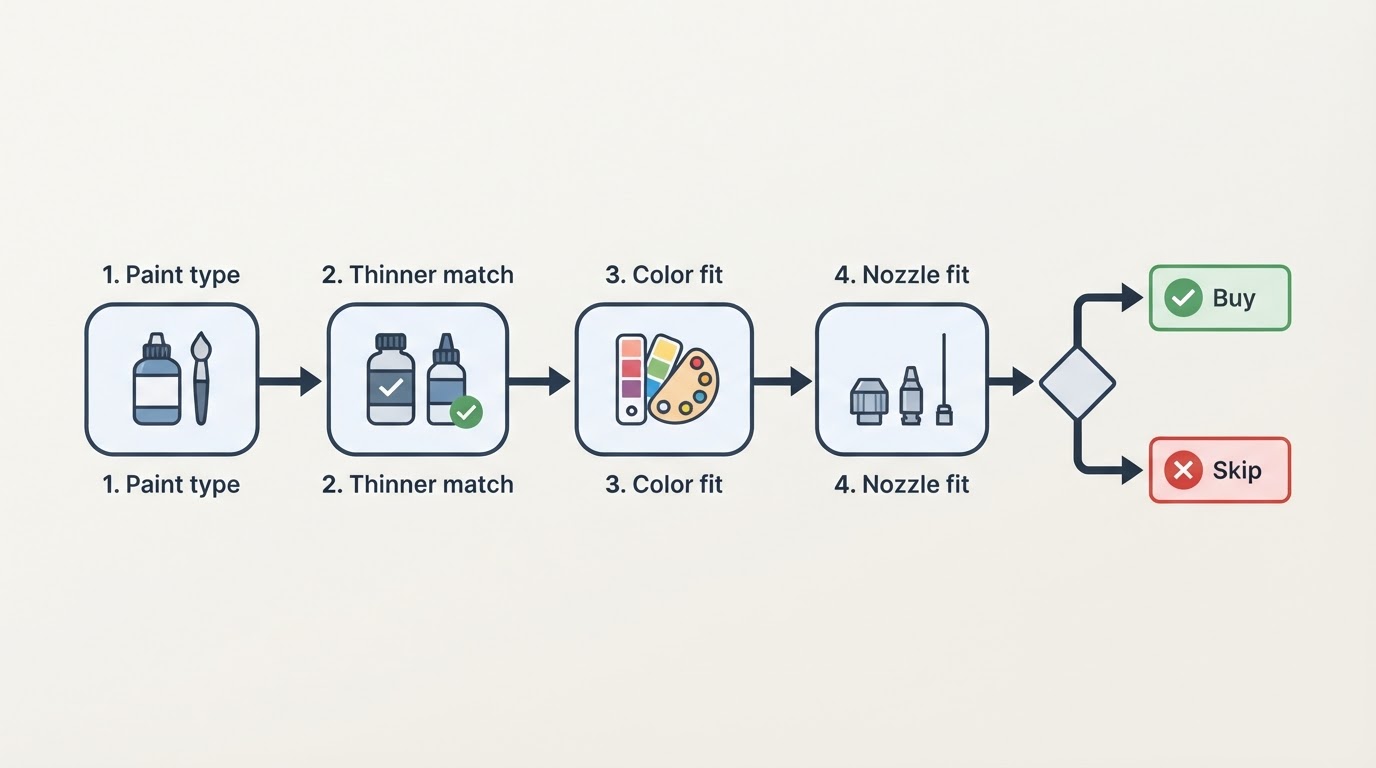
Set the box art aside and five questions do most of the work.
- Paint type. Acrylics are the common choice for plastic models and clean up more easily. Lacquers and enamels can give a harder finish, but they need more ventilation and stronger solvents.
- Thinner match. Can you buy the matching thinner wherever you buy the paint, and is it named clearly on the packaging?
- Color fit. Do the tones line up with the subjects you build — base coats, camouflage, metal and small accents — or is the range aimed at craft and canvas work?
- Nozzle fit. Is the paint intended for the needle and nozzle sizes you own? Fine detail and broad coverage pull in opposite directions.
- Layering. Will the paint sit over your primer and under your clear coat without lifting or reacting?
If a set cannot answer those five, the box art will not rescue it.
What a beginner should do first
The first session with a new set should not be spent on a model. Spend it finding out how the paint behaves.
- Read the label first. Find the recommended thinner, the mixing guidance and any safety notes. Photograph the label so you do not have to hunt for it later.
- Prepare a test surface. Scrap plastic or an old kit part behaves like the real thing.
- Mix a small batch. Start slightly thicker than you think you need, then add thinner in small steps.
- Spray a test pattern. Fine lines, a solid patch and a light mist. Watch for splatter, tip dry and coverage.
- Record the result. Thinner ratio, pressure, distance and how the paint behaved.
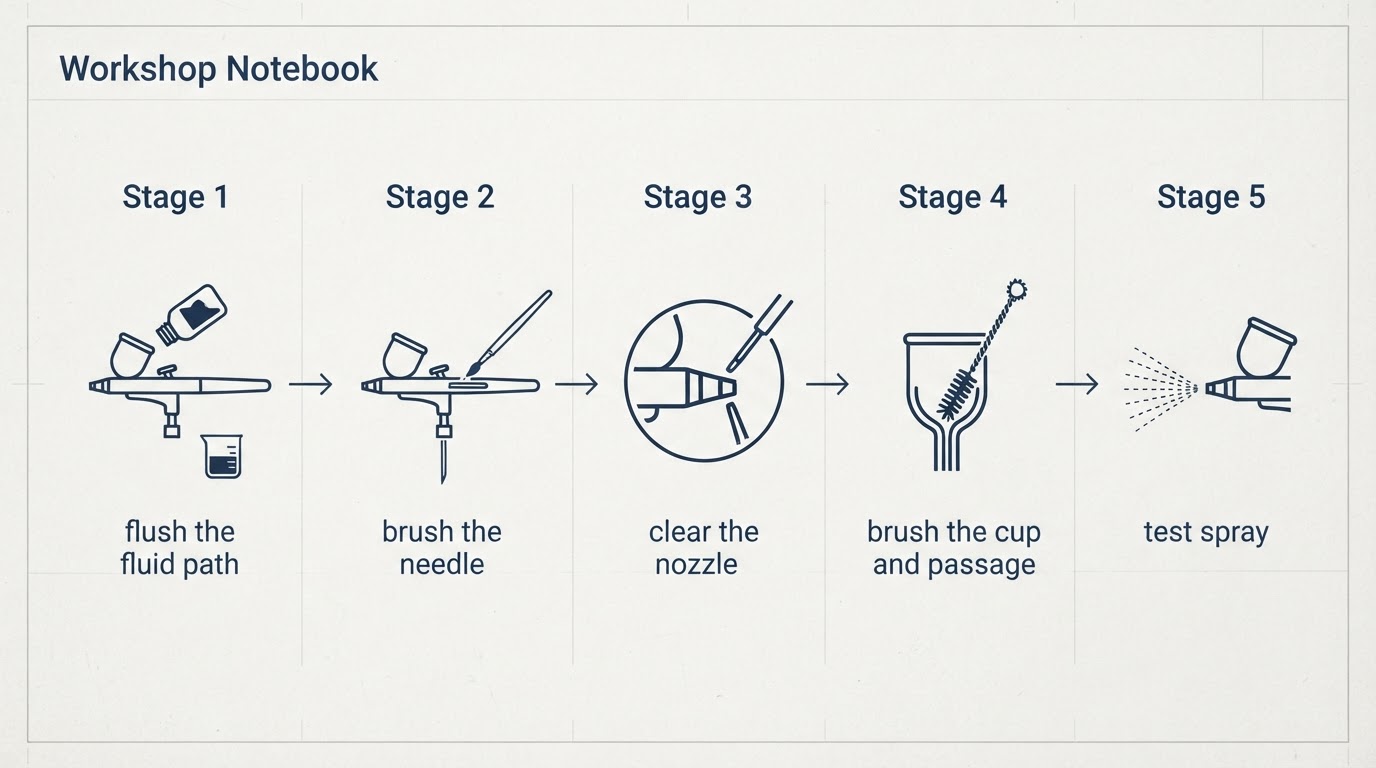
- Clean before you stop. Flush the airbrush, wipe the nozzle and seal the paint.
You are finished when you have an even test patch, no splatter and a note you could repeat tomorrow. That is the completion standard for the first session — not a finished model.
What to check before buying
A pre-purchase checklist, in the order that avoids wasted money.
- Pre-thinned or not? If the paint needs thinner, add that cost and confirm you can get it.
- Thinner chemistry. A kit without an available matching thinner is a dead end, however good the colors look.
- Color usefulness. Compare the range with your next two or three planned subjects instead of a general "nice to have" feeling.
- Refills. Can you buy individual bottles from the same line? Running out of one color mid-project is the usual failure point.
- Your airbrush's limits. Check the recommended nozzle or needle range if the kit states one.
- Primer and clear coat. Confirm the paint layers safely with what you already use. Paint grips best over a properly primed surface, so a set that fights your primer is a problem before it ever reaches the model.
- Safety and storage. Solvent-based paints need ventilation and a suitable respirator. Every paint needs a stable, sealed home.
- Volume versus usage. Small bottles are fine for accents and frustrating for large surfaces. Large bottles are wasted if the color is a one-off.
- What is missing. Cleaner, pipettes and a mixing cup are cheap on their own, but budget for them if the kit leaves them out.
The trade-off between a full kit and a few bottles
A kit lowers the number of decisions and hands you a matched system: colors, thinner and guidance arrive together. The cost is paying for tones you may never use, and if the thinner is proprietary, refills depend on one supplier keeping it in stock.
Buying separately gives you exactly the colors your current project needs and lets you pick the thinner that suits your airbrush. The cost is more research, more ordering and a real chance of mixing chemistries that do not belong together.
For a first serious set, a small matched kit with its correct thinner is the safer starting point. Once you know which colors you actually reach for, buying individual bottles becomes the cheaper habit.
Mistakes that waste paint and patience
- Buying paint before checking whether a compatible thinner is available.
- Assuming "airbrush-ready" means ready for your nozzle without a test.
- Thinning with whatever is on the bench instead of the matching product.
- Over-thinning to clear a clog, then fighting splatter.
- Leaving paint in the airbrush "for a minute", then cleaning a dried nozzle.
- Choosing a kit by color count rather than by the colors you will use.
- Skipping the test spray because the model is already on the bench.
None of these are exotic. They are the ordinary ways a good paint kit turns into a frustrating one, and each is avoided by reading the label, testing on scrap and keeping a short note of what worked.