Quick answers: thinning paint for an airbrush
Thinning airbrush paint is a feel skill, not a fixed formula. Match the thinner to the paint type, add it in small amounts, and let a spray test on scrap decide when the mix is right.
- What should I thin paint with? Use the thinner made for that paint: acrylic thinner for acrylics, enamel thinner or mineral spirits for enamels, and lacquer thinner for lacquers. Water and alcohol only work in specific cases.
- How much thinner do I add? Start around equal parts paint and thinner for thick hobby acrylics, or roughly 60 parts paint to 40 parts thinner for thinner-bodied acrylics. Treat every ratio as a starting point and adjust by feel.
- Can I use water? Yes for many water-based acrylics, ideally distilled water added a few drops at a time. Never add water to enamels or lacquers.
- Can I use alcohol? Isopropyl alcohol thins some acrylics and cleans airbrushes well, but it can cause tip dry or make certain water-based formulas clump. Test a small batch first.
- How do I know the paint is thin enough? It sprays as a fine mist and lays a smooth, even coat on scrap with no spitting, dry tip, or spider-webbing.
- Do ready-to-use airbrush paints need thinning? Usually not, though a drop of thinner can still help with very fine detail work or a small nozzle.
The basic method, step by step
Mix the thinner into the paint a little at a time, then test the spray on scrap before you commit to the model.
- Stir the paint first. Paint settles in the jar, so mix it back to a consistent state before you take any out.
- Transfer what you need. Put a small amount into a mixing cup or straight into the airbrush color cup. Working in small batches keeps waste down and makes the ratio easier to adjust.
- Add thinner in drops. Start with less thinner than you think you need. Pouring is hard to undo; drops are easy to correct.
- Mix thoroughly. Stir with a toothpick or a small brush, scraping the sides and the bottom of the cup. Stop when the paint looks uniform with no streaks or lumps.
- Check the consistency. A useful benchmark is skim milk: thinned paint should drip off the stirrer in a thin, even stream and leave a light film on the side of the cup.
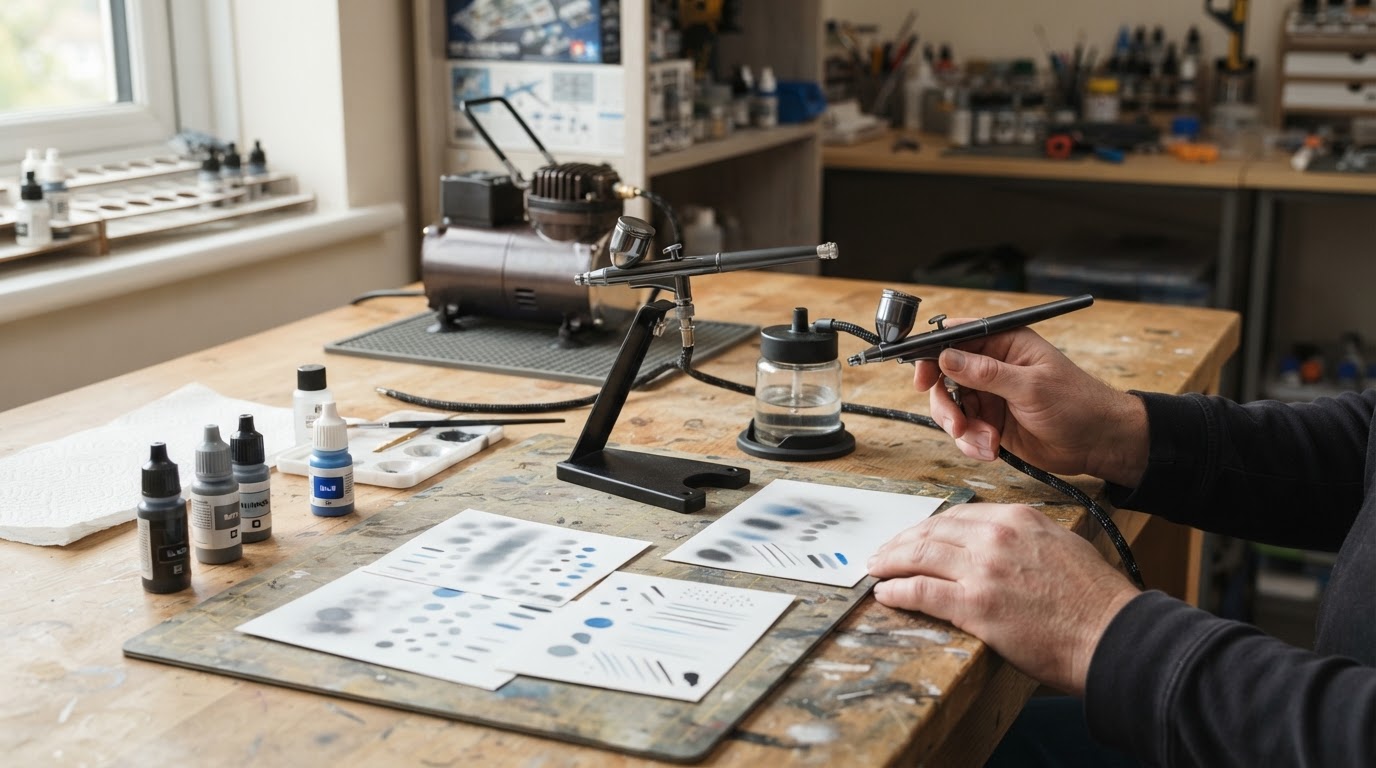
- Spray a test pattern. Cardboard, scrap plastic, or an old model works fine. Use your normal working pressure and spray a few short lines and one soft blend.
- Adjust by feel. If the spray stutters or the tip dries, add thinner; if it webs or runs, add paint. Change one drop at a time and test again.
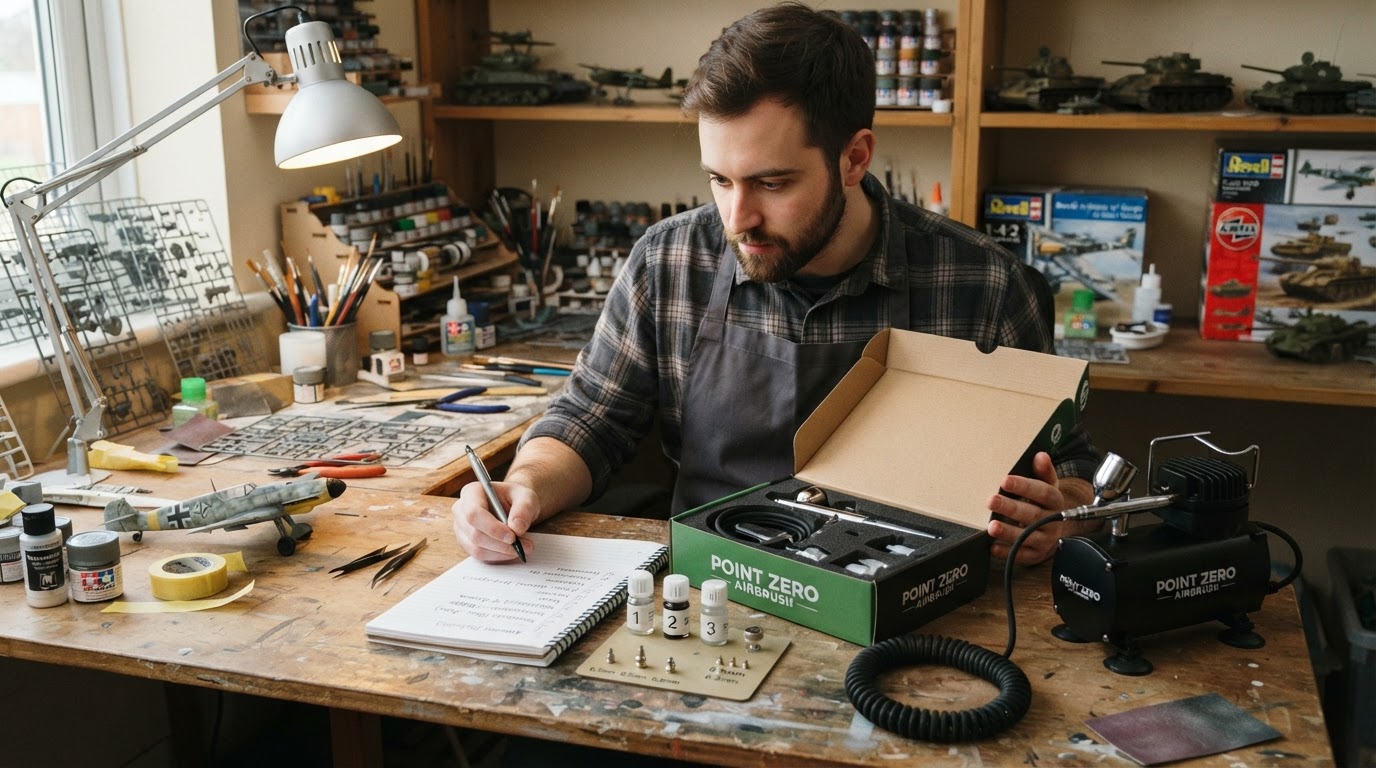
- Write down what worked. Note the paint, the thinner, the ratio, the nozzle size, and the pressure. Next time you use that paint, you can skip most of the trial and error.
Completion check: the paint atomizes into a fine, even mist, lays a smooth wet-looking coat, and holds a clean line without spitting or spider-webbing. If you can spray a soft blend without it running, the mix is right for that job.
How much thinner to add: ratios are starting points
Treat every ratio, including 60 parts paint to 40 parts thinner, as a starting point you adjust by feel.
A ratio gets you close, then the paint itself decides the rest. Two jars of the same product can need different amounts of thinner depending on age, pigment, and how well the lid was sealed.
- Pigment matters. Whites and yellows are often thicker and need more thinner, while some reds, blacks, and metallics flow more easily.
- Age and storage matter. A jar that has been open for a year is usually thicker than a fresh one.
- Nozzle and pressure matter. A small nozzle at low pressure wants thinner paint, while a larger nozzle can handle a heavier mix.
Instead of chasing an exact number, read the spray:
- Too thick: spitting, clogging, dry paint on the needle tip, or a rough, grainy finish.
- Too thin: spider-webbing, runs and puddles, patchy coverage, or pigment separating in the cup.
Fix either problem in drops. If the paint is too thick, add thinner; if it is too thin, add a little more paint, stir, and test again. A mix that sprays well on scrap is better than a mix that matches a number on paper.
Water, alcohol, and dedicated thinners
Use the thinner made for your paint as the default; water and alcohol are useful substitutes only for some acrylics.
Water-based acrylics
Many water-based hobby acrylics can be thinned with a little distilled water, especially for base coats where a slight loss of binder strength does not matter. Add it a few drops at a time, because too much water can make the paint runny, weak, or prone to beading on bare plastic. Tap water usually works too, though distilled water avoids any minerals or additives that might affect the finish.
Isopropyl alcohol
Alcohol evaporates quickly, which can help some acrylics flow and level, and it is excellent for cleaning an airbrush afterward. The trade-off is that it also dries fast on the needle tip, so it can make tip dry worse. Some water-based acrylics react badly to alcohol and turn thick or lumpy, so always test a small batch before you thin a whole cup.
Dedicated airbrush thinners
Airbrush thinners are made for this job: they thin the paint while adding flow improvers and retarders that reduce tip dry and help the paint level. When the manufacturer sells a thinner for a specific paint line, that is the safest starting point. Other acrylic thinners often work too, but test first because formulas vary.
Acrylic vs enamel vs lacquer: match the thinner to the paint
Each paint family needs its own thinner, and using the wrong one can ruin both the paint and the finish.
- Acrylics thin with acrylic thinner, and sometimes with water or alcohol when the formula allows it. Water-based and solvent-based acrylics are not the same, so check which one you have before reaching for water.
- Enamels thin with enamel thinner or mineral spirits. They dry slowly, level well, and will not thin with water.
- Lacquers thin with lacquer thinner and dry fast with strong solvents, so spray them with good ventilation.
- Do not mix paint families in the same cup. Acrylic over uncured enamel, or enamel over acrylic, can wrinkle or lift; keep each family to its own thinner and follow the paint maker's layering advice.
- Clean up with the matching solvent. Flush the airbrush with the thinner for the paint you just used before the residue sets.
If you are unsure what a paint is, look for "water-based," "solvent-based," "enamel," or "lacquer" on the label. That single word tells you which thinner to reach for.
Ready-to-use airbrush paints and decanted spray cans
Pre-thinned airbrush paints skip the mixing step, and spray-can paint can be decanted and thinned when you want to run it through an airbrush.
Ready-to-use airbrush paints
Paints sold as airbrush-ready are mixed to spray straight from the bottle, which makes them a good choice when you are learning. They are not always perfect for every job: a very small nozzle or a fine detail session may still want a drop of the matching thinner, while a large area may be fine as-is. Test them the same way you test any other mix.
Turning spray-can paint into airbrush paint
Decanting lets you use rattle-can colors in an airbrush, which can save paint and give you more control. Work outdoors or in a well-ventilated space, wear eye protection, and spray into a container through a tube or straw so the paint collects instead of misting into the air. Let the propellant escape before you seal or thin the paint, then thin it for airbrush use and strain it if any lumps remain. Aerosols are pressurized, so keep the can away from heat and never pierce it.
Product-specific thinning questions
Paint behavior varies by brand and product line, so product-specific guidance is worth checking once you know the basics.
Airbrush Modeler's paint thinning and decanting guides cover several of these cases in more detail, including thinning Tamiya acrylics with lacquer thinner, thinning Tamiya TS spray paint for airbrush use, whether ordinary tap water is an acceptable substitute, and how to decant spray-can paint for airbrush work. They are a useful next stop when a specific product leaves you unsure which thinner to use.

Felo product screenshot.
FAQ
Do I need to thin every paint for airbrushing?
No. Some paints are already thin enough to spray well, and the spray test is the real answer. If a paint atomizes cleanly and lays a smooth coat, it does not need thinner.
Should I thin primer for an airbrush?
Most model primers are designed to spray through an airbrush as they come, so check the product instructions before adding anything. If a primer does need thinning, use the thinner recommended for it: water-based primers may accept a drop of water or acrylic thinner, while solvent-based primers need their matching thinner.
Why does my paint sputter even after I thin it?
Sputtering usually means the paint is still too thick, the nozzle has dried paint in it, or the pressure is too low for the mix. Clean the nozzle and needle tip, stir the paint again, and spray a test pattern before adding more thinner.
Can I pre-mix thinned paint and store it?
For many paints, yes, in a sealed container for a short time. Thinned paint can settle, separate, or dry out faster than paint straight from the jar, so mix what you need for a session, stir before reuse, and discard anything that has turned lumpy.
Does thinner paint need lower air pressure?
Thinner paint usually sprays better at slightly lower pressure, while thicker paint needs more pressure to atomize. Adjust in small steps, because too much pressure on a thin mix is one of the common causes of spider-webbing.
How do I thin paint that has thickened or started to dry in the jar?
Add thinner gradually and stir for longer than you think you need to. If the paint is still lumpy after a thorough mix, strain it or replace it; dried paint will clog a nozzle and ruin a finish.