What Tamiya Airbrush Cleaner is and what it is used for
Tamiya Airbrush Cleaner is a cleaning fluid for airbrush systems and the brushes that share the bench with them. It is the bottle you reach for when paint needs to come out of the tool rather than go onto the model, and it is sold as a cleaner rather than as a paint, a thinner or a plastic cement.
Its working life covers four common jobs:
- Flushing between colors. A quick flush stops a dark mix contaminating the next cup and keeps the spray pattern consistent through a session.
- End-of-session cleaning. Cleaning while the paint is fresh takes seconds; cleaning after it has cured can take a soaking, a strip-down and a new nozzle.
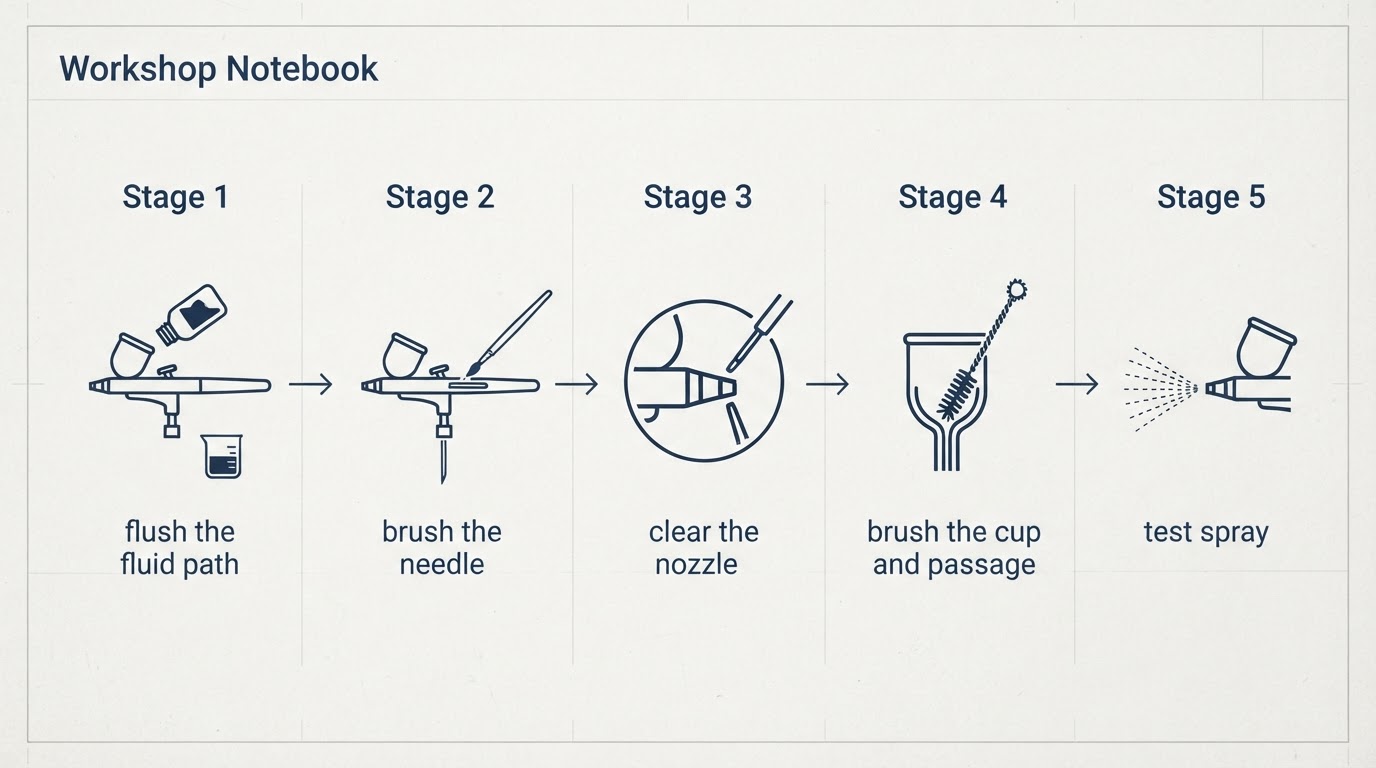
- Cleaning the front end. The needle, nozzle and color cup collect the most pigment, so they get the most attention.
- Rescuing a neglected brush. A brush that sat for weeks with paint in it usually needs a longer soak of the removable parts and a careful look for hardened flakes.
Exact item codes, bottle sizes, prices and formulation details are not repeated here. Those details change by market and by batch, and the label on the bottle in front of you is a better authority than any web page, including this one.
Key answers at a glance
These are the answers most readers want first.
- What it is: a Tamiya cleaning fluid for airbrush systems and paintbrushes.
- What it is not: not paint, not a plastic cement, and not sold as a thinner.
- Main job: removing wet or dried paint from the paint path, nozzle, needle and color cup.
- How to use it: empty the cup, flush, backflush if allowed, clean the front end, rinse, dry, test-spray.
- How much you need: the smallest amount that clears the color; a few drops beat a full teardown.
- Safety: ventilate the room, protect skin and eyes, and follow the label and SDS for handling and disposal.
- Ingredients: printed on the label and the safety data sheet, never guessed from a forum post.
- Alternatives: another dedicated airbrush cleaner, the thinner matched to your paint, or an ultrasonic deep clean.
- Where to buy: hobby shops and model retailers, in store or online.
- Using it as glue: treat the idea as a scrap-plastic experiment, not a joinery method.
How to use Tamiya Airbrush Cleaner
Use it while the paint is still wet, then flush, clean the front end, rinse and test. That order protects the tool with the least work.
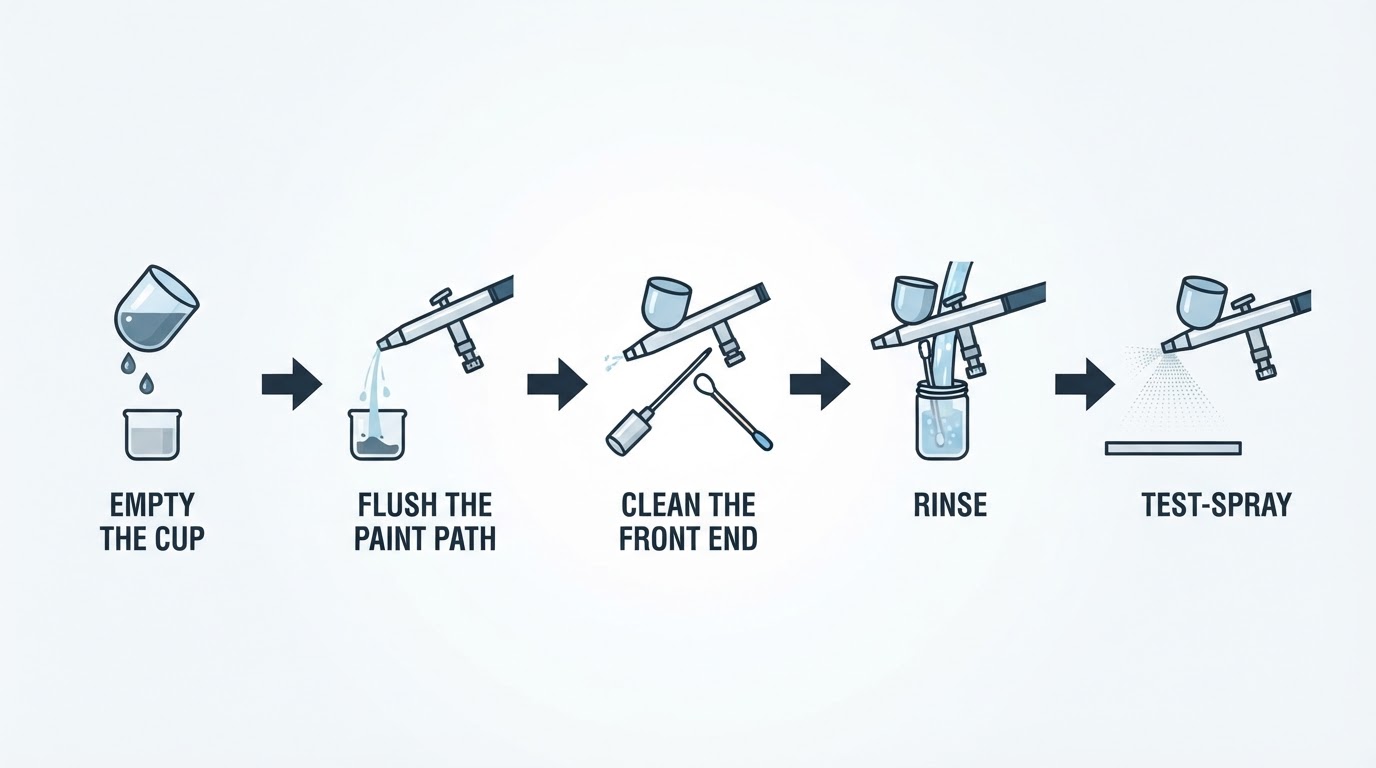
- Empty the cup first. Tip leftover paint into a waste jar or wipe it out with a rag. Cleaner should not have to dissolve a full cup of paint before it reaches the parts that matter.
- Flush the paint path. Add a small amount to the color cup and spray it through into a waste container until the color runs clear. Spray into a jar, not into the open air.
- Backflush only if your model allows it. Cover the nozzle with a finger and let air push the fluid back through the paint path, which lifts residue a forward flush leaves behind. Check your manual first, because not every design is meant to take it.
- Clean the front end. Remove the nozzle cap and nozzle as your manual describes, then wipe or briefly soak the removable parts. Handle the needle by its shank rather than its point.
- Wipe the needle the right way. Work from the back of the needle toward the tip so you pull paint off instead of pushing it back into the body.
- Rinse and dry. Flush once more with clean fluid, then wipe or blow the parts dry. Fluid left inside a metal body can creep toward seals, and water left behind invites corrosion.
- Reassemble and test-spray. Rebuild in the documented order and spray a test pattern onto scrap card. An even pass with no spitting, no bubbling in the cup and no color tint means the brush is clean.
How you know you are done: the test spray is even, the cup does not bubble, and a clean rag wiped through the cup comes away without pigment.
What to avoid: do not soak the complete airbrush in a jar of cleaner unless the manufacturer says the seals and finish can take it, do not leave fluid sitting in the cup between sessions, do not force a stuck needle, and keep cleaner off the model itself, where a drip can spoil a paint job you spent hours on.
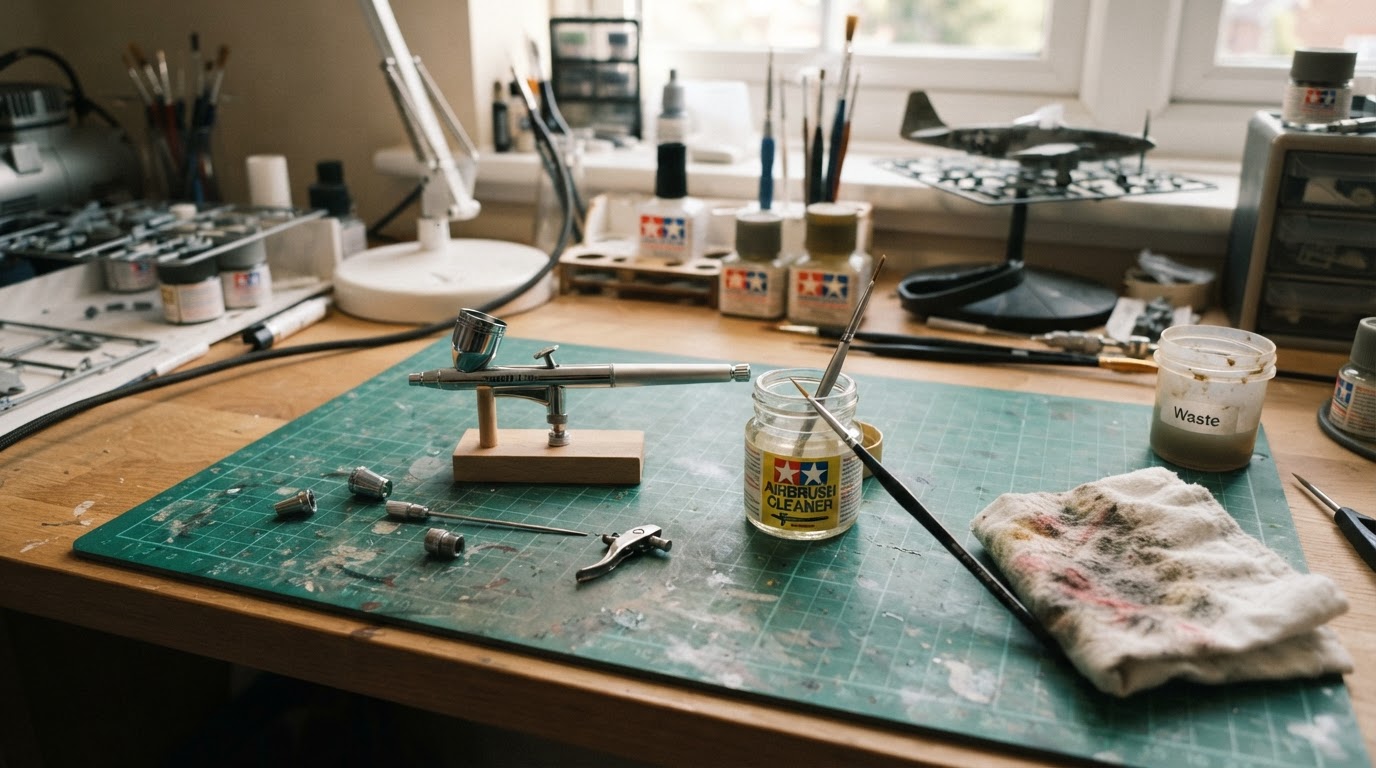
Airbrush Modeler's cleaning and maintenance guides treat upkeep as its own subject rather than an afterthought, covering how often to clean, whether water alone will do, the gravity-feed rinse routine, clearing a clogged tip and straightening a bent needle rather than replacing the whole brush.
Felo product screenshot.
Ingredients, MSDS and label safety
The exact composition lives on the product label and in its safety data sheet, and that is where you should read it. Formulations differ between markets and change over time, so an ingredient list copied from an old forum post may describe a different bottle from the one on your bench.
- Label first. It carries the intended use, the warnings, the storage advice and the manufacturer's contact details.
- SDS for the detail. The safety data sheet, sometimes still called an MSDS, covers handling, exposure, first aid, spill response and disposal. Manufacturers publish it for exactly this purpose, and it is the document to hand to a doctor if something goes wrong.
- Ventilation and protection. Open a window or work near extraction, keep the fluid off your skin, and protect your eyes. If the label calls for gloves or a respirator, use them.
- Storage. Keep the bottle sealed, upright, away from heat and flame, and out of reach of children and pets. Keep the original label on the bottle.
- Never decant into drinks bottles. An unlabeled container is how a workshop accident happens.
- Disposal. Follow local rules and the safety data sheet, and do not pour the fluid down a domestic drain if the label tells you not to.
Tamiya Airbrush Cleaner as glue
Treat the cleaner-as-glue idea as an experiment on scrap, not a way to build a model. Tamiya sells dedicated plastic cements for joining styrene, and this product is labeled and sold for cleaning.
- Use plastic cement for joints. Seams, struts, landing gear and anything that gets sanded or handled need a cement designed to weld styrene.
- Test only on scrap. If curiosity wins, try it on spare sprue in a ventilated spot, let the joint cure fully, and judge it there rather than on a visible seam.
- Read the label before improvising. If the manufacturer warns against a use, that warning settles the question.
Alternatives to Tamiya Airbrush Cleaner
The right alternative depends on the paint you sprayed and how fresh it still is.
- Another dedicated airbrush cleaner. Rival hobby brands sell cleaners built for the same job; pick one that lists your paint type, and test it on a removable part before a full session.
- The thinner matched to your paint system. A compatible thinner can flush fresh paint from the path, but thinners are formulated for mixing and spraying, and they may not lift a cured film as well as a cleaner does.
- Warm water and a drop of dish soap. For fresh water-based acrylics this often clears the cup and path, with a dedicated cleaner saved for dried film and the nozzle.
- An ultrasonic cleaner. Useful for a periodic deep clean of removable metal parts. Follow the tank instructions and keep out anything the airbrush maker says not to immerse.
- Avoid improvised workshop solvents. Gasoline, brake cleaner and unknown thinners can attack seals, plating and paint finishes. If you want to try something unusual, confirm compatibility with the brush maker first.
The trade-off to weigh: price per bottle matters far less than residue and part life. A cheap fluid that leaves a film or dries out seals costs more than a proper cleaner that does the job in a few drops.
Where to buy Tamiya Airbrush Cleaner
Buy where you can confirm you are getting the cleaner and not a thinner or a cement. Hobby shops that stock Tamiya paint ranges, model retailers and the large online marketplaces all list it, so availability is rarely the problem; matching the right bottle is.
- Check the product name and item code on the listing against the label. Tamiya's range includes thinners, cements and cleaners that look similar at a glance.
- Ask your local shop. A shop that stocks the paint range can usually order the cleaner, and you avoid shipping restrictions on liquids.
- Expect prices to move. Check the current listing rather than trusting a figure quoted in an old article.
Frequently asked questions
Short answers to the questions that come up most often.
How often should I clean my airbrush with it?
After every session, and between colors whenever you can. A 30-second flush at the end of a session is cheaper than a replaced nozzle.
Does it clean acrylics, enamels and lacquers?
Its job is cleaning airbrush paint paths, and how well it lifts a given finish depends on the paint chemistry and how cured it is. Flush fresh paint immediately; for hardened film, test a short soak on a removable or hidden part first.
Is the cleaner the same as Tamiya thinner?
No. A thinner is made to go into paint; a cleaner is made to take paint out. Some hobbyists swap them, but check the label and test on scrap before you mix or flush with the wrong bottle.
Can I use it as glue?
Use proper plastic cement for joints. If you test the idea, use scrap sprue, work ventilated, and do not trust an improvised bond on a model you care about.
What if the brush is still clogged after cleaning?
Work back along the paint path from cup to nozzle. Re-flush, inspect the nozzle for a hardened flake, check the needle for a bend or dried film, and confirm the nozzle is seated correctly. A brush that sat unused may need a longer soak of the removable parts.
Will it damage seals, O-rings or plating?
Follow your airbrush manual and the product label. Keep the fluid in the paint path, wipe spills straight away, and do not soak the whole brush unless the manufacturer approves it.
Where can I buy it?
Hobby shops and model retailers, in store or online. Match the item code on the label to the listing.
The bottom line
Clean early, buy the right bottle, and keep cement for joints. Tamiya Airbrush Cleaner earns its place on the bench as a paint remover for airbrush systems and brushes: flush while the paint is wet, clean the front end, rinse, test-spray, and let the label and SDS govern everything that touches your skin or your lungs. Done that way, one bottle protects the tool instead of wearing it out.