What a Fisheye Actually Is
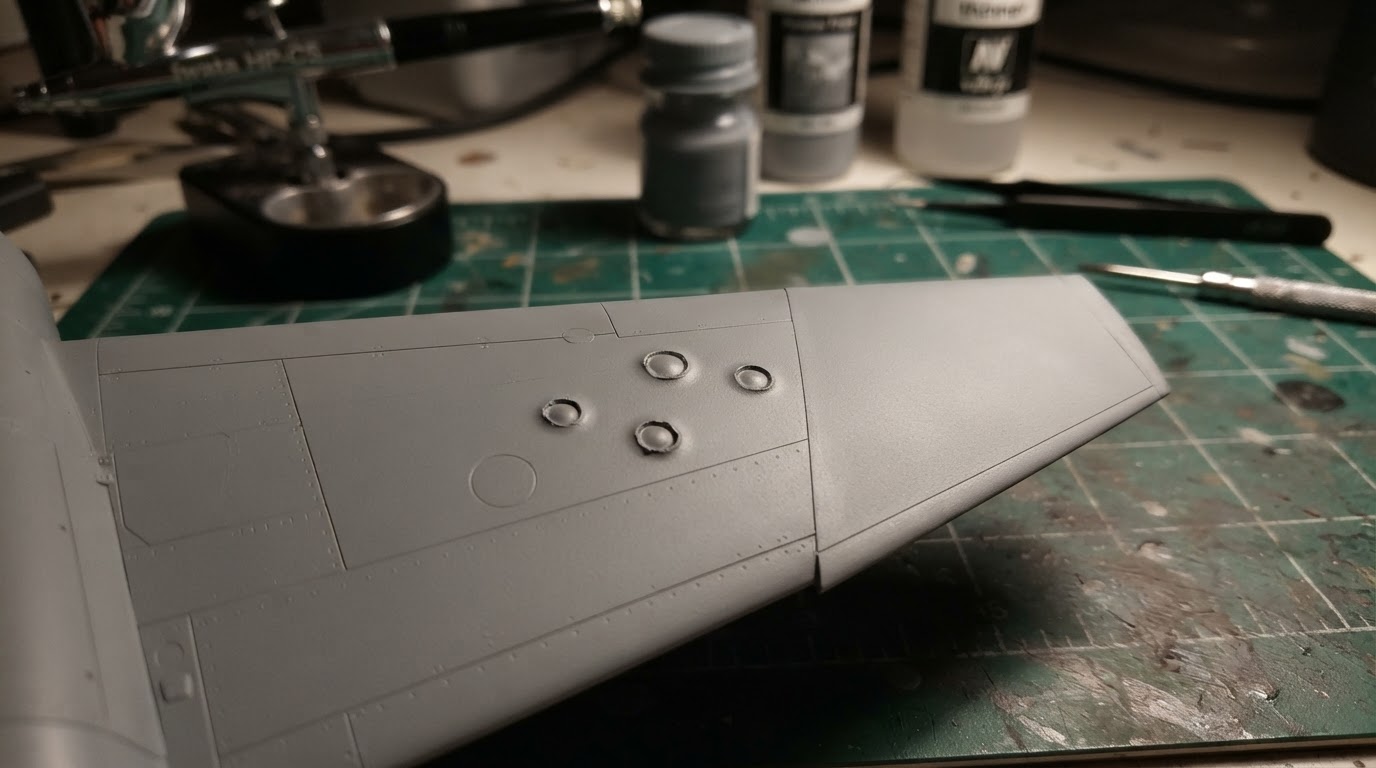
A fisheye is a local wetting failure, not an atomization problem. I-CAR's refinish-defect guidance describes fisheyes as small crater-like openings in wet refinish material, caused by a contaminated area on the panel that repels the coating, and notes that they can appear in one small spot or several (I-CAR refinish-defect guidance). The same page lists silicone in the air, on a towel, in the air lines or in a car-care product such as wax, polish or lubricant, plus oil, grease and oily skin.
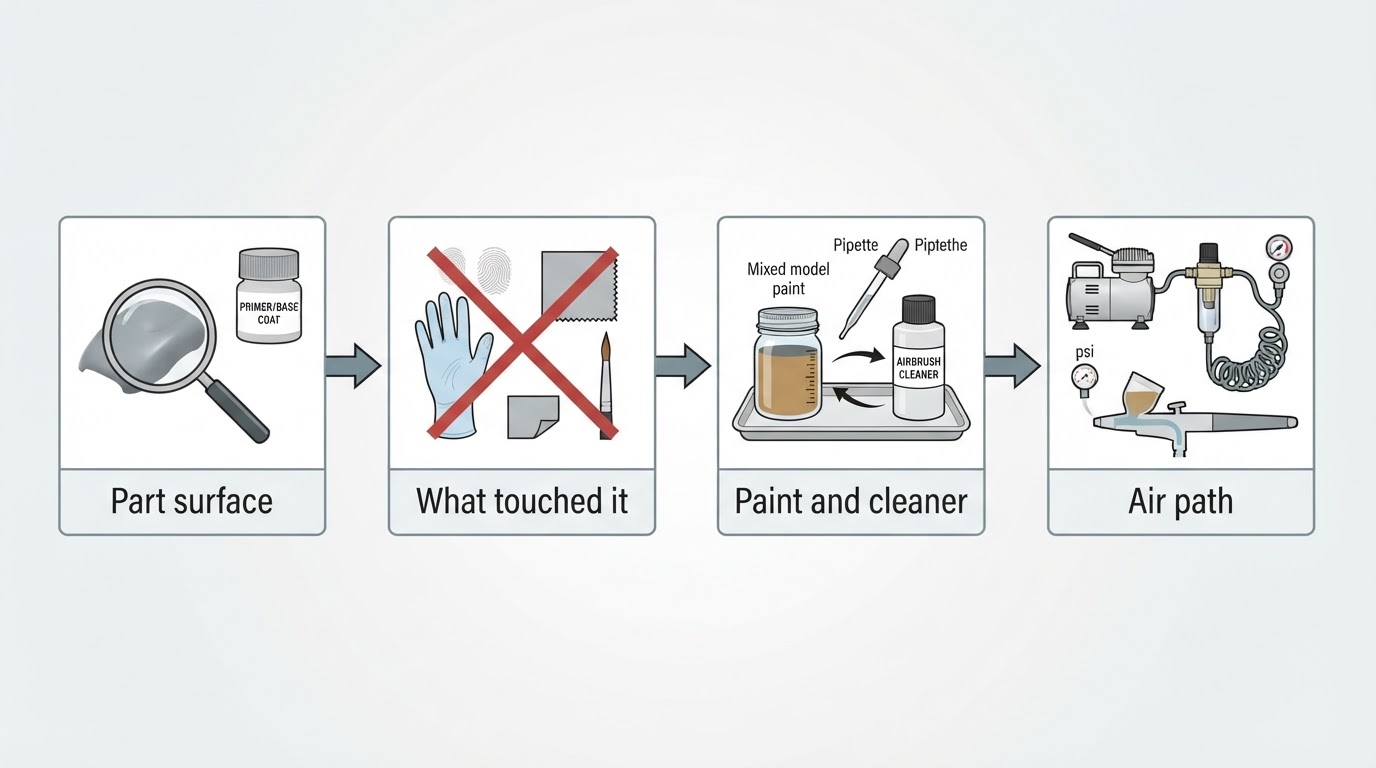
The mechanism is more consistent than the list: something on the part, on whatever touched it, or in the air stream has lowered the surface energy enough for the wet film to pull away. Crater shape will not tell you which contaminant it was, and a crater on its own does not show whether the source is the part, the mix or the air. Distribution is the more useful first clue. Craters in one handling zone are worth checking against the part and whatever touched it; craters across every piece from the same cup keep the mix in the frame; craters that follow the airbrush from part to part keep the air path in the frame.
Stop spraying as soon as they appear. More passes will not remove the contamination, and they bury the rim of the defect under extra film, which makes the next inspection harder.
Fisheyes, Orange Peel and Dry Spray
What you see | What it suggests | Check first |
|---|---|---|
Isolated round craters, often with a raised rim, on an otherwise level patch | The wet film failed to wet out that spot | The part, then whatever touched it |
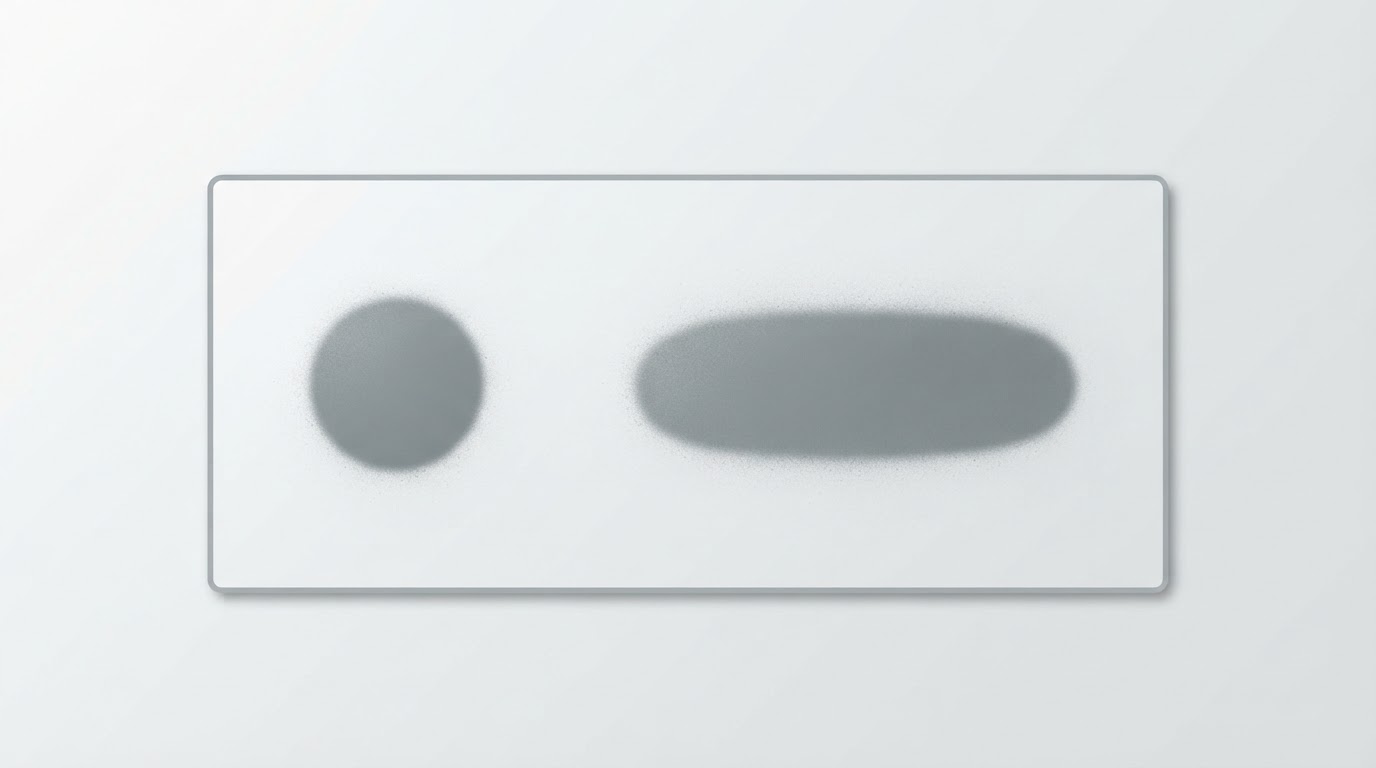
Pebbled texture spread across an area | Droplets failing to coalesce into a level film | Distance, pressure, film thickness, thinning |
Sandy or powdery grain | Paint partly drying before it lands | Distance, airflow, room temperature |
Orange peel and dry spray are atomization and flow problems; fisheyes are a local wetting problem. The orange peel guide draws the practical line: powdery dry spray looks sandy, while contamination shows as scattered craters with raised rims on an otherwise level coat. Use the distribution to choose the branch. Scattered islands in a flat coat send you to the part, the mix and the air path; uniform pebbling or a sandy film sends you to pressure, distance, film thickness and thinning.
Stop, Then Check in This Order
The sequence runs from the least disruptive checks to the ones that take the airbrush out of service. Treat each result as a clue that narrows the next check rather than a verdict on the cause.
- Mark where the craters are. One cluster near an edge, a patch where you held the part, or craters across the whole coat each send you somewhere different. Look under steady raking light once the wet film has stopped flowing, and note whether the rims sit proud of the surrounding film.
- Inspect the part. Look for polish or wax residue, a film left by mold release, fingerprints, cleaner left to flash off, or dust packed into a seam. Handle the part by an edge or with clean gloves from this point.
- Check what touched it after cleaning. Bare fingers, a shop towel that has been near polish or lubricant, gloves, tape adhesive and a shared mixing cup are all transfer routes. I-CAR counts towels and air lines in its silicone list, which is a useful reminder that the defect does not have to come from the paint.
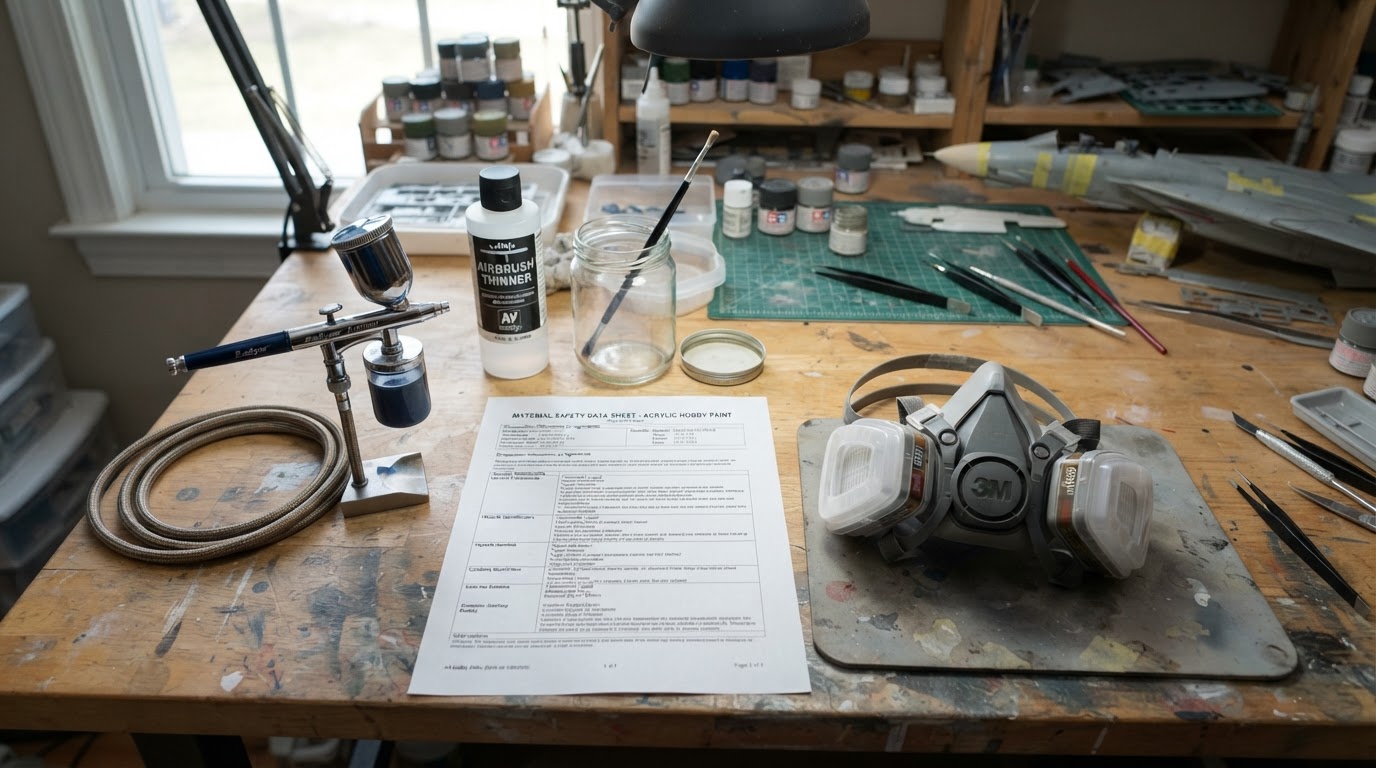
- Check the paint, thinner and cleaner. Use the products the paint maker specifies for that paint and that plastic; I-CAR's advice to clean with a product recommended by the paint maker points the same way. A new bottle, a different brand, a cleaner borrowed from the automotive shelf or a cup that held another product can change what lands on the model. A cleaner that is safe on a car panel is not automatically safe on polystyrene or resin.
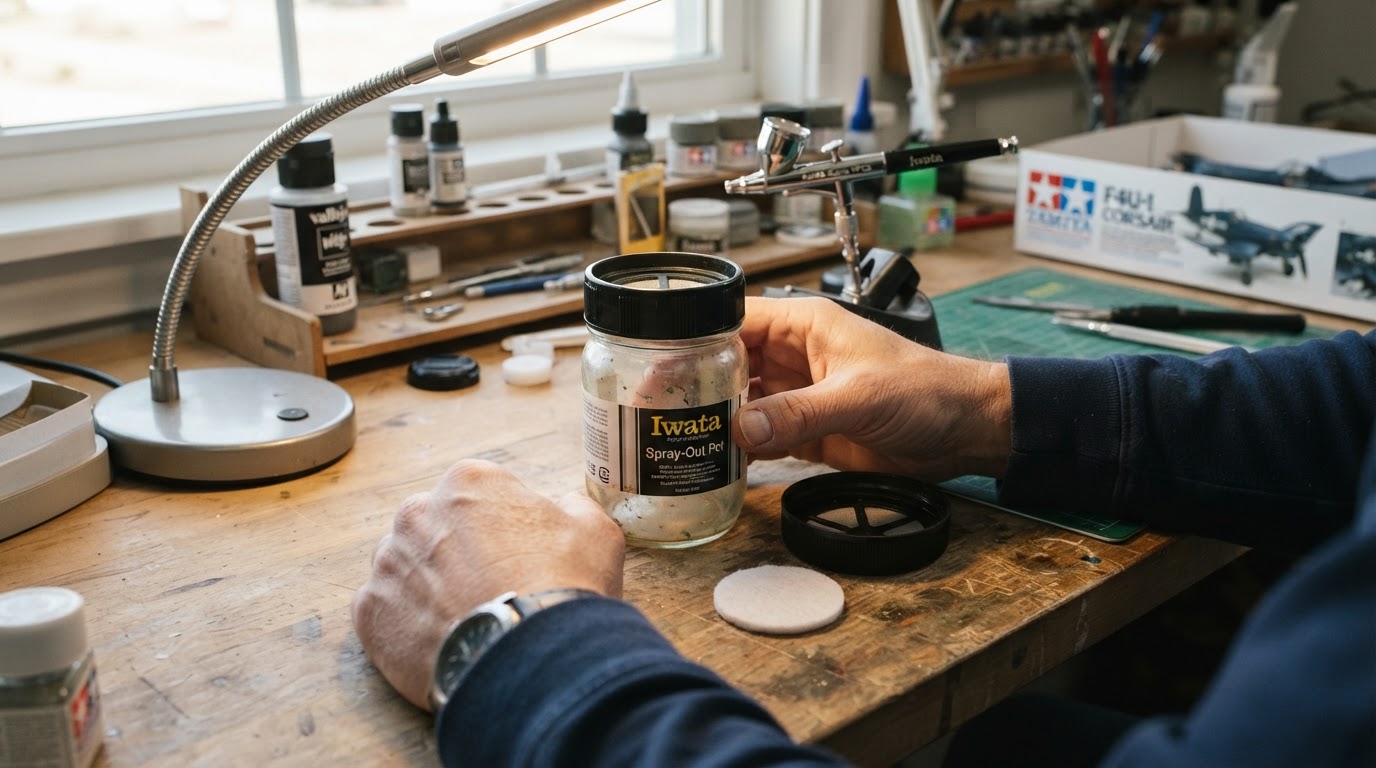
- Check the air path. Drain the trap, look for oil or water in the line, check or change the filter, and think about what the airbrush was last cleaned with. I-CAR names oil gathering in air lines and filters as one route; on a bench setup that means inspecting the line and filter, not only the cup.
Work through that order: the part and what touched it first, then the mix, then the air path. If something obvious turns up, correct it and test on scrap before returning to the model. If nothing stands out, do not change pressure, thinning and distance at the same time, because you will lose the thread. Move to a controlled comparison instead.
Use Matched Scrap to Compare Conditions
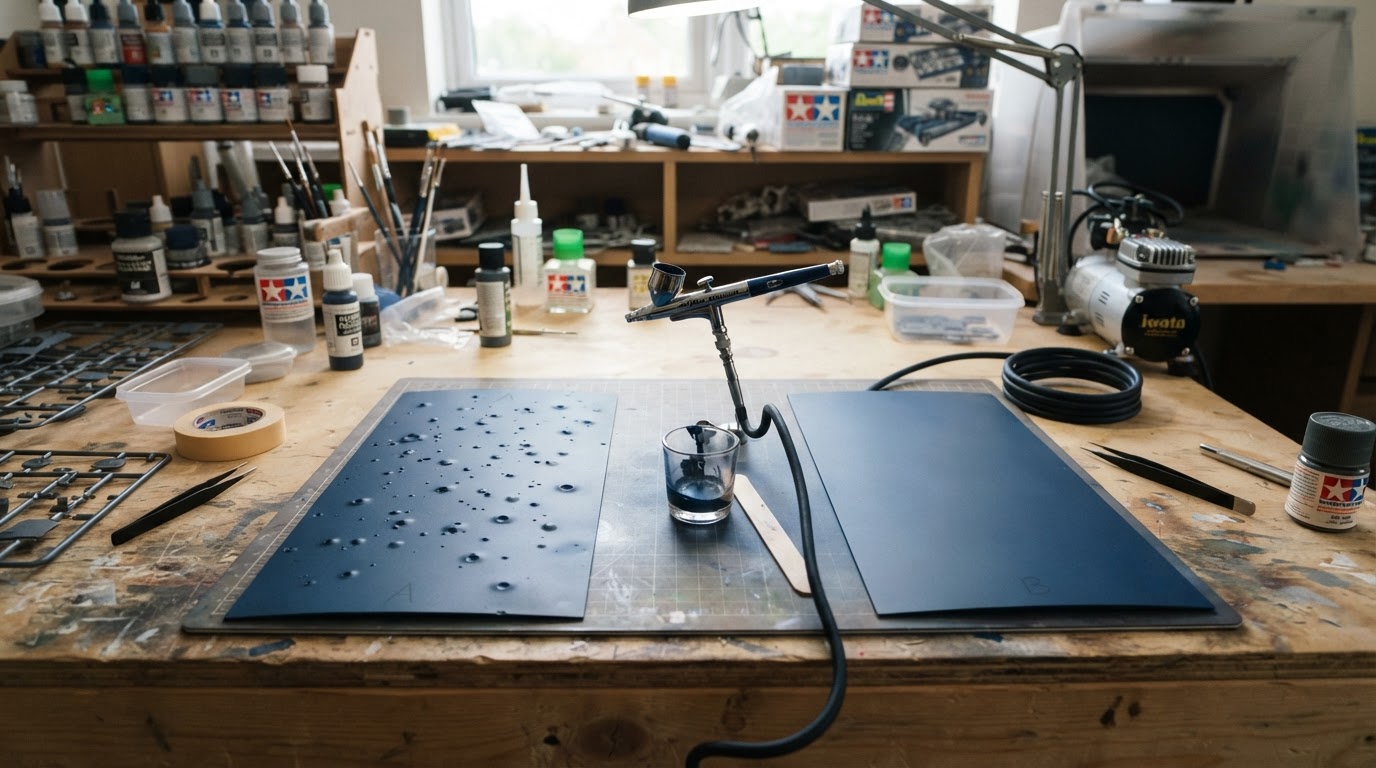
A scrap pass is a comparison, not a verdict. Choose scrap that matches the model as closely as you can: a spare part from the same kit, or the same plastic with the same primer and comparable preparation. Paper or card is not a substitute. It shows the spray pattern, but not how the coating wets and levels on a primed model surface, which is the question a fisheye asks.
Write the conditions beside each result, including the mix and thinner ratio, pressure, distance, air path and surface preparation, because the next pass only means something if it repeats them. Use a freshly prepared piece for each pass; a scrap that already carries a defect cannot tell you what the current mix does.
- Clean a matched scrap and spray the same mix through the same airbrush and air path. If craters appear, the mix or the air path stays in the frame for the next check. That result does not rule the model in or out, because the scrap's own surface and preparation are still variables.
- Make a fresh mix with the maker's thinner in a clean cup and spray a second piece of matched scrap. If that pass lays flat, the earlier mix or cup becomes the more likely candidate, provided both scraps were prepared the same way. A preparation difference alone can crater an otherwise sound mix.
- If both passes crater, clean and flush the airbrush as the manual directs, then repeat on fresh matched scrap with a fresh mix. A clean pass now narrows the earlier state of the air path; craters again keep the brush, hose and supply in the frame.
- If the scrap stays clean, clean one area of the model and spray only that area with the fresh mix and the cleaned air path. Craters there make the part surface, or something that touched it after cleaning, the next thing to check.
Judge each pass at the maker's stated handling or cure state, under raking light, rather than while the film is still wet, and note what you saw. When a result is ambiguous, repeat the comparison before changing anything on the model.
A crater that remains in an old cured film is a permanent record of a defect that already happened. It does not show that the contaminant is still on the part. Read current conditions from the newly prepared test coat, and compare that fresh result with the old defect instead of treating the old crater as an active finding.
Recovery After the Coat Has Cured
Do not wipe, flood or sand a wet coat. Let it reach the handling or cure state the paint maker specifies, then read that product's recoat and corrective instructions. A shallow, isolated crater is a different problem from a film that has pulled back to primer, and the coating itself determines what is allowed next.
Once the coat has cured, the options are conditional. Where the maker permits corrective work, light and controlled leveling of the cured film may be enough to remove the rims before a recoat. Where the craters are widespread, the film is thick or the defect reaches primer, removal and repaint may be the more reliable route. Either way, the surface has to be clean before new paint goes on; if contamination is still there, a new coat can crater in the same places.
What not to do: add an automotive fisheye eliminator as a general fix, reach for acetone, strip aggressively or sand uncured coating. An eliminator does not remove whatever is on the part, and the other three can damage plastic that is harder to repair than the craters. Check any cleaner or coating against the model plastic before you use it, and follow the product's corrective guidance before touching a cured coat.
Prevention at the Bench
Once a check leaves you with a likely cause, change that one thing and write it down. A short bench note covering paint, thinner, cleaner, pressure and the state of the air path makes the next crater a comparison instead of a mystery.
The habits that cover the routes above overlap, so they are worth keeping in one place:
- Handle cleaned parts with clean gloves or by the edges, and keep polishing and lubricating products, and the towels near them, out of the spray area.
- Cap paint, thinner and cleaner, and use a clean cup for each mix instead of sharing cups between product families.
- Drain the trap, check or change the filter, and clean the airbrush as its manual directs.
- Use the thinner and cleaner the paint maker lists for that specific paint and plastic.
If craters come back, repeat the matched-scrap comparison before changing pressure or adding anything to the paint. Change one variable at a time and note the result; that is what turns a repeat defect into a usable answer.