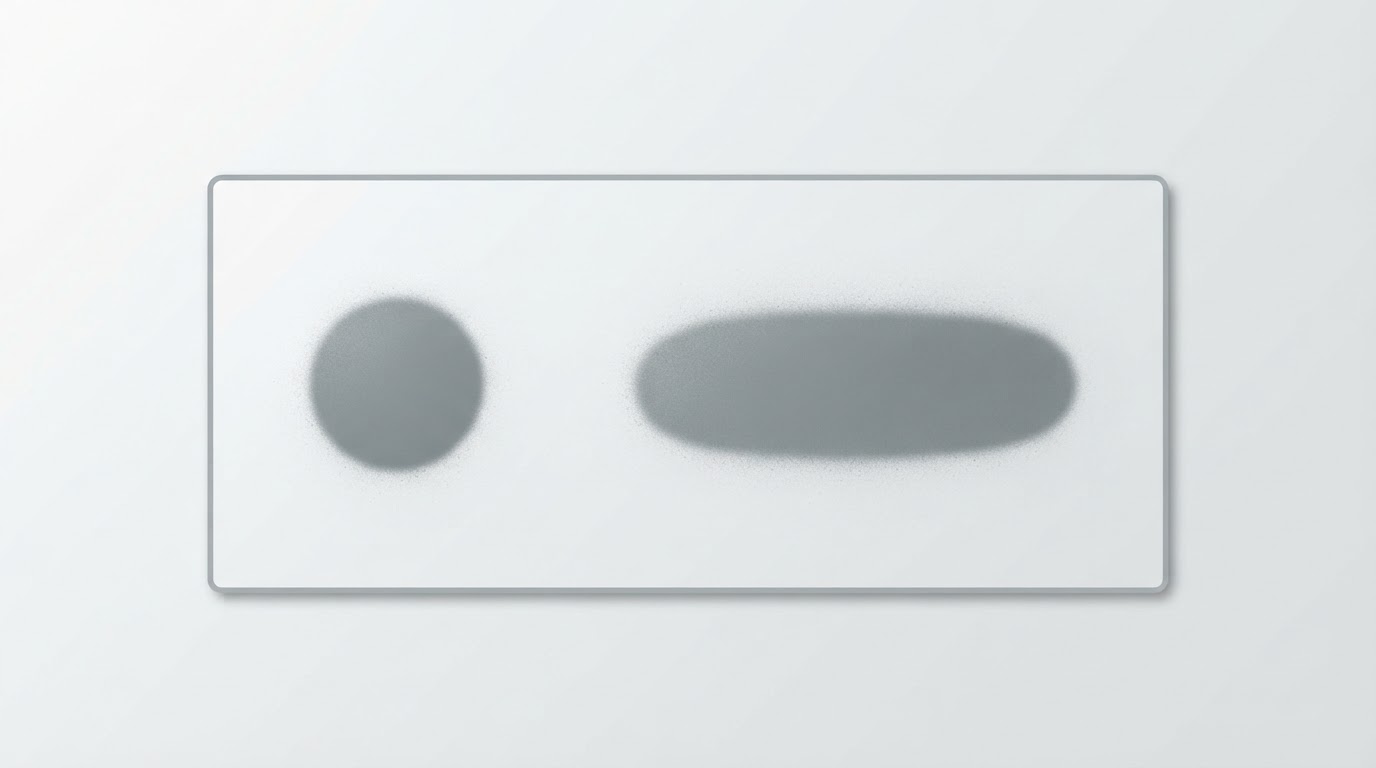
The Short Answer: The Label Sets the Method
Liquid masking products are not one formulation with one application method. Some are made for brushing only, while others explicitly allow either a paint brush or an airbrush with a large tip. Loading every bottle into a spray gun is how a masking job becomes a clogged nozzle, a patchy film, or a mask that fights you during removal. Equally, importing a cut-and-peel routine into a brush-on product that never asks for one can turn a simple job into a damaged finish.
Masking itself is a plain idea. Tamiya's plastic modeling guide describes masking as covering the areas you do not want painted, and treats masking tape as a material that must sit close to the surface so paint cannot creep underneath. The same guide sets out paint-system cautions, such as not applying lacquer paints as a topcoat over acrylic or enamel. The practical reading for liquid mask is that the product's own directions, your substrate, and the coat underneath all have to line up before the bottle is open.
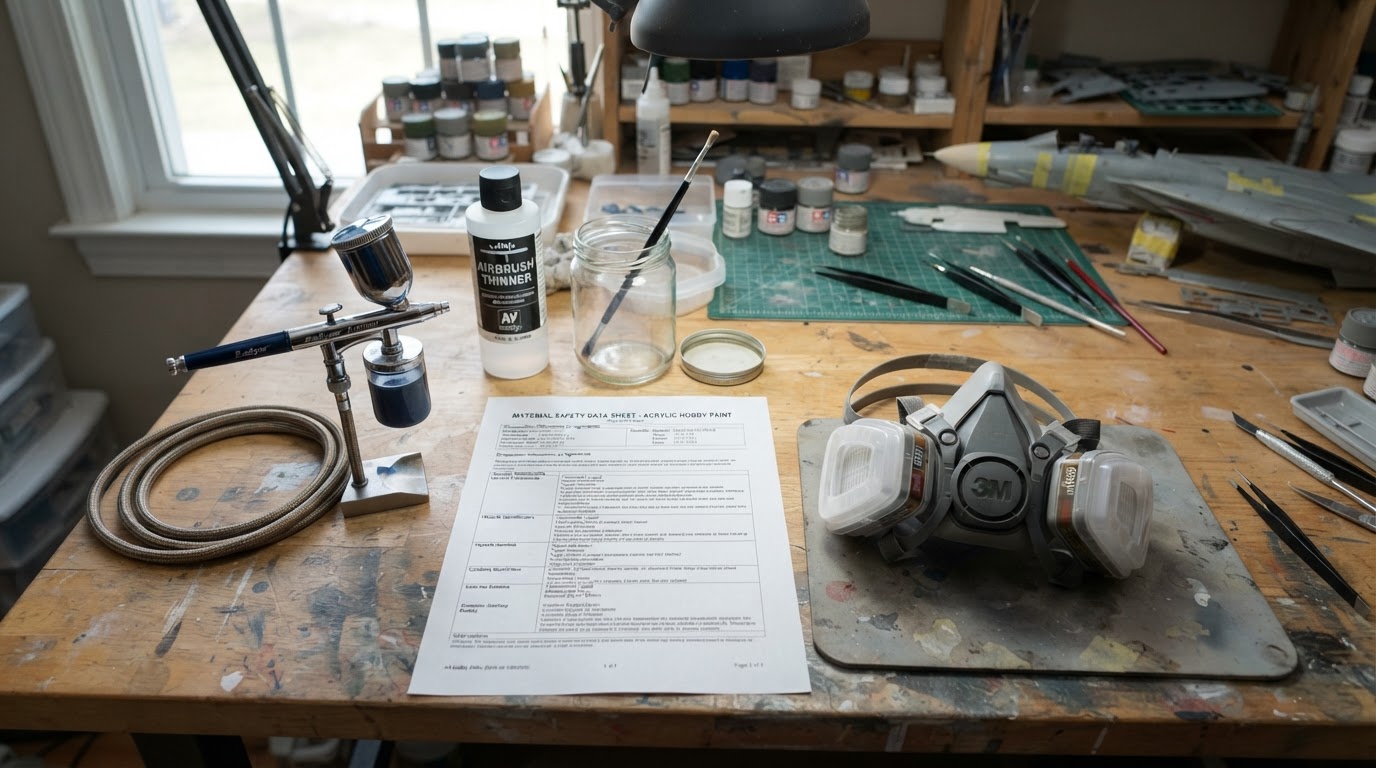
There is also no single chemistry to assume. A product may be water-based, solvent-based, or latex-based, and those labels are not mutually exclusive: a water-based mask can still contain latex. Check the actual composition, the allergy and ventilation notes, and the application instructions on the label or safety data sheet rather than sorting products into a category and guessing the rest.
A dry film is not automatically a compatible film. The mask has to sit on something the maker intends it to sit on, and the paint under it has to be ready. Treat the label as guidance, then use the maker's permitted matching-scrap check on a piece painted with your actual system. That combination is more useful than a promise that the bottle is safe everywhere.
A Quick Decision Table for the Bench
What the label or kit instructions show | What to do next |
|---|---|
Application section names only a brush | Keep it out of the airbrush. Brush the film on as the maker describes and follow the stated drying and removal steps. Some brush-on masks are simply peeled or washed away, with no cutting step at all. |
Application section names a brush and an airbrush, often with a "large tip" note | Spraying is permitted by the maker, but only with that product's own coat count, drying, pattern-creation and cleaning steps. A "large tip" note is not a nozzle diameter unless the maker names one. |
The directions describe a single coat and no cutting | Do not import a cut-and-peel routine from another product. Apply, dry, paint, and remove by the maker's method. |
No clear statement about the substrate or the coat underneath | Stop before applying. Check the maker's guidance for that surface, and use a matching scrap if the maker permits one. |
Removal, exposure or cleaning instructions are missing or unclear | Do not improvise a cure deadline or a solvent. Choose a product with complete directions or ask the manufacturer. |
A label that permits spraying is permission, not a recipe for your airbrush. If the maker does not translate "large tip" into a nozzle diameter, do not borrow that number from another brand's product sheet.
Liquid Mask vs Tape: Different Jobs, Not Rivals
Tape remains the faster choice for straight edges and broad flat fields. Tamiya's guide describes modeling tape as thin, close-adhering and clean to remove, which is exactly the behavior you want on a wing panel or a straight fuselage band. Liquid mask earns its place where tape cannot follow the shape: recessed areas, compound curves, rivets, small details, and patterns you would otherwise spend a long time cutting from tape.
Decision | Masking tape | Liquid mask |
|---|---|---|
Best shape | Straight edges, flat panels, simple curves | Recesses, compound curves, raised detail and irregular shapes |
Edge character | Predictable when burnished | Follows the contour; the edge depends on film thickness, the product's own boundary method and your technique |
Number of steps | Lay, burnish, spray, remove | Product-specific: one or several coats, drying as directed, and only the boundary method the maker describes |
Cutting | Usually cut on a mat before it goes on the model | Only if the product's instructions call for it; some brush-on masks do not |
Main removal risk | Can lift weak or insufficiently cured paint | Can over-bond if the label's heat or dwell guidance is ignored |
Time at the bench | Fast to place and remove | Slower when the label requires drying between coats |
Neither material fixes a weak finish underneath. If the color coat is not ready for masking, the tape or the liquid film will simply take the blame when it lifts. A removable mask protects the areas it covers; it does not repair the paint below.
If thin, even coats and trigger control are still new, work through this beginner airbrush walkthrough before you add masking to the process. A mask hides small problems while it is on the model, and those problems show up again the moment it comes off.
The Five Checks That Decide the Job
1. Brush-only, sprayable, or neither?
Read the application paragraph, not the product name. A bottle called a liquid mask can still be brush-only. If the directions mention an airbrush, note the exact wording: "airbrush with a large tip" is a manufacturer permission and a setup hint, not a universal nozzle recommendation. If they describe only a brush and a single application, that is the whole method; do not add cutting, heat, or extra coats because another product calls for them.
2. Substrate and underlying coat
The mask has to sit on something, and the label should tell you what that something can be. Check whether the maker names the surfaces and the paints the product is intended for, and whether the coat underneath needs to be fully dry. A water-based mask is not proof that every paint stack is compatible, and a removable film does not strengthen weak paint beneath it. Label guidance plus a permitted matching-scrap test is a working check, not a guarantee for every model.
3. Composition and allergy
Check what the product actually contains rather than the category on the front of the bottle. A water-based product may contain latex, so a latex allergy question cannot be answered by the words "water-based" alone. Read the composition, the warning and ventilation notes, and the cleanup instructions, then decide whether the product is appropriate for you and your workspace.
4. Building and drying the film
Not every liquid mask needs multiple coats. Some brush-on products go on in one pass; others build a film over several applications with drying in between. Follow the maker's count and drying condition for your product. Where the label warns that added heat can change the film, do not treat a hair dryer as a free shortcut just because it makes the surface feel dry.
5. Pattern creation, paint order and removal timing
These are separate decisions, and they belong to the product. Some masks are cut and peeled to expose the next color; some brush-on masks need no cutting at all and are removed in one piece when the job is done. Read the directions for the order they specify: build and dry the film, expose only the areas that will receive paint, apply compatible paint, then remove the remaining protected mask when the product instructions permit. Removal timing is product-specific too, so do not assume every mask comes off at the same moment or with the same technique.
One Named Sprayable Example: Spaz Stix Water Based Liquid Mask V2
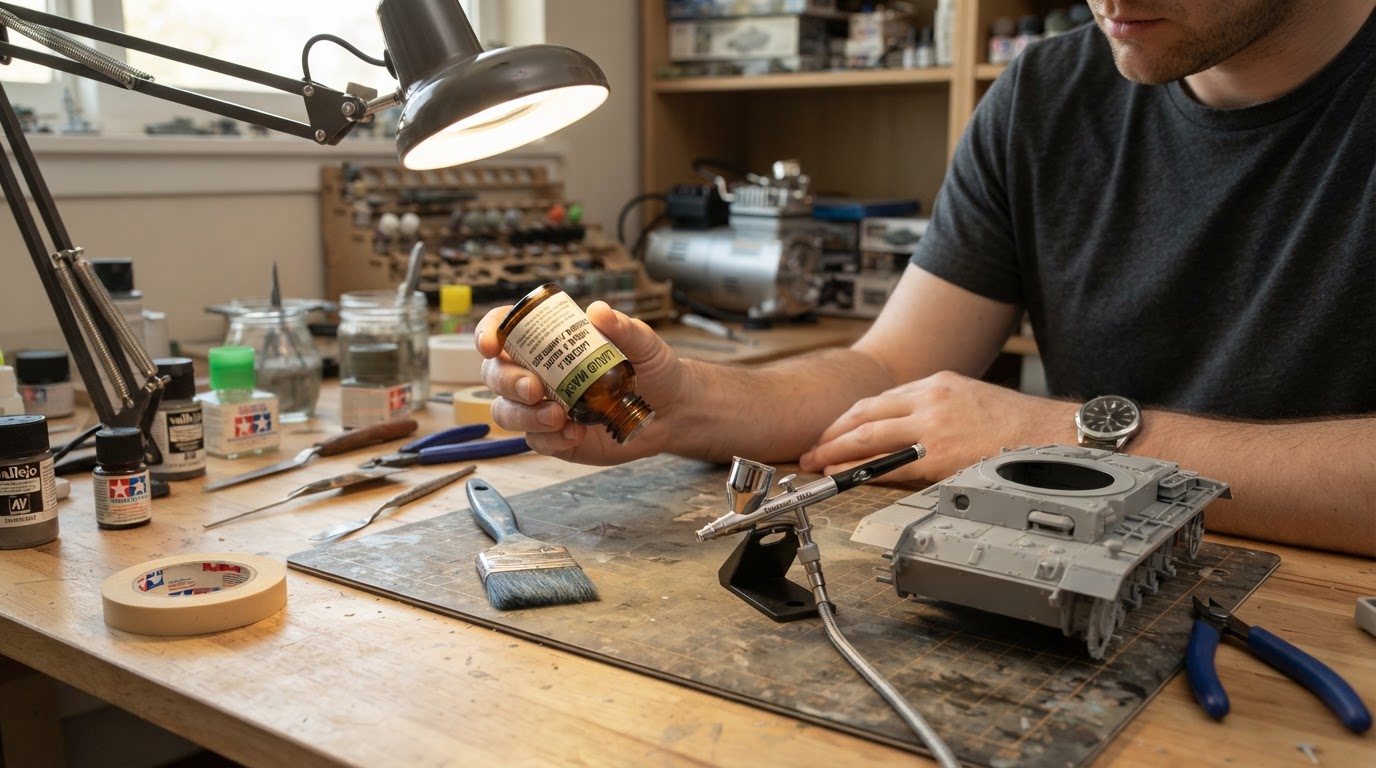
The manufacturer's directions for SZX0004V2 show how product-scoped this decision is. The label says to mix well, then apply a thick, even coat with a paint brush or an airbrush with a large tip. It calls for letting the mask dry between applications and repeating until the film is thick enough for the product's own pattern method. The stated count is 3–4 coats when brushing and 5–6 coats when spraying.
Those figures belong to that product alone. They are not a universal coat count for liquid mask, and the same directions do not convert "large tip" into a nozzle diameter or promise a drying time in minutes. No current price is claimed here either; packaging and listings change, so check the maker or a current retailer if price matters to you. If your airbrush maker publishes guidance for thick fluids, use it alongside the mask label rather than substituting one for the other.
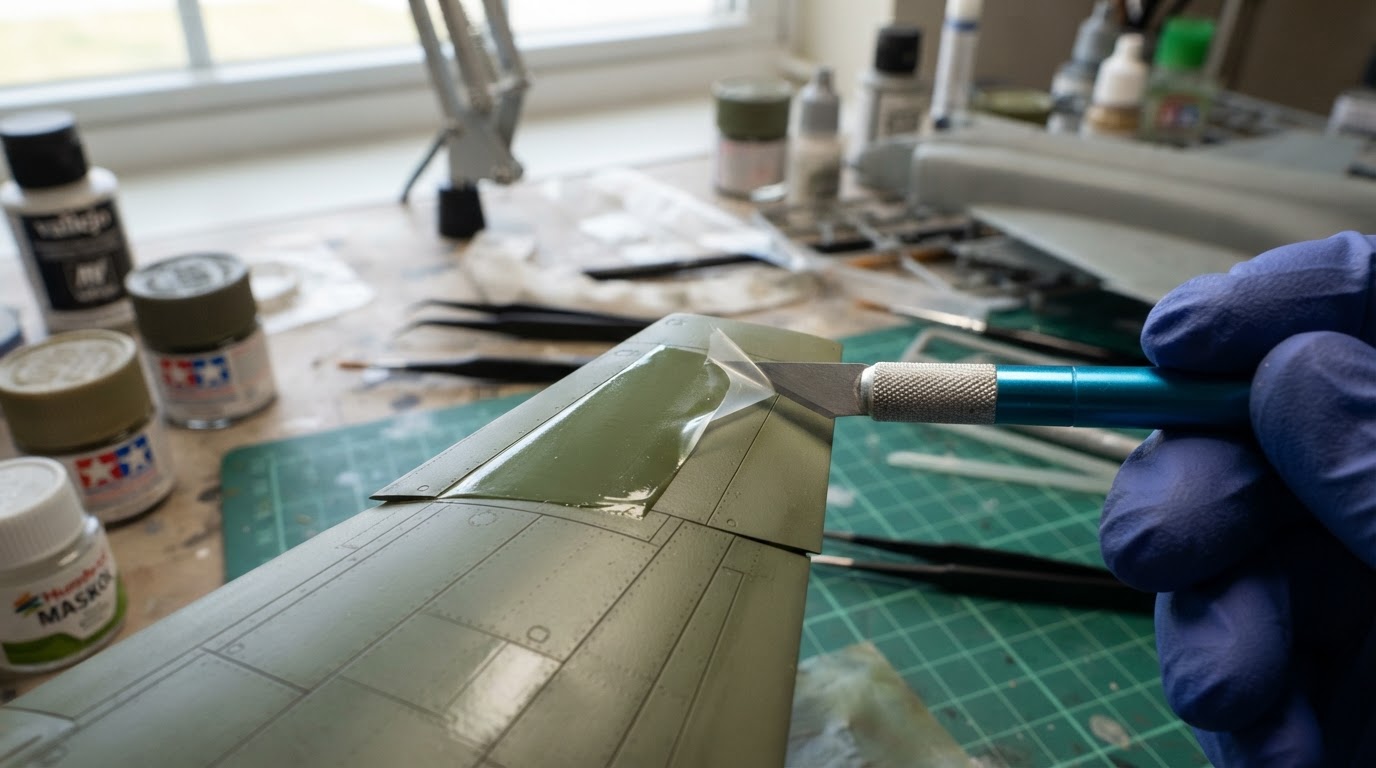
For this product, the sequence in its directions is a pattern-making sequence, not a universal finish. Once the film is built and dry to the label's condition, the maker describes cutting through the film and peeling away only the areas that will receive paint. At that point those areas are exposed, not painted; calling them "painted sections" before the paint goes on gets the order backwards. Apply the next compatible paint according to that paint's own directions, then remove the remaining protected mask when the product instructions permit.
The product page also markets the mask with "no peeling, no lifting, no stress." Read that as the manufacturer's claim, not a guarantee for your model. Its directions allow a blow dryer to speed drying, but a footnote warns that adding heat can over-bond the mask and make it harder to remove. If you use heat, treat that warning as the limit rather than assuming faster is better. The directions also note that a film applied too thinly can be difficult to remove; that is a reason to build the film as directed, not a reason to add heat.
Cutting on the workpiece carries its own risk. A blade that reaches through the film can mark the substrate, the paint, or a clear part, and a deep score can create a repair job that outlasts the masking. If you are new to the technique, or the surface is a delicate painted or clear finish, do not score it with a knife. Use a pre-cut mask, tape, brush-applied boundaries, or another method the manufacturer identifies as safe for that surface instead. Even then, no method guarantees a perfectly clean edge or a residue-free finish; those outcomes depend on the film, the surface, the paint, and how the removal is done.
Apply, Dry, Create the Boundary, Paint, Remove, Clean
- Read the full label and write down the decisions it actually makes: application tool, coat count, drying condition, whether a cutting or pattern step exists, paint compatibility, removal timing and cleaning. If any of those matters for your surface and the directions do not cover it, stop before the bottle is open.
- Confirm the substrate is clean and the underlying coat is ready for masking. Use a matching scrap painted with the same system if the maker permits that check; the film protects what it covers, it cannot repair what is under it.
- Apply with the tool the label permits. A brush is the default when the directions describe brushing. An airbrush enters only when the maker allows it and your setup can pass the fluid without spitting.
- Build the film as directed. That may mean one coat or several, with drying between applications where specified. Keep the film even, because thin patches and heavy patches can behave differently during removal, and follow the label rather than a count borrowed from another brand.
- Create the paint boundary by the product's own method. Some products are cut and peeled; some brush-on masks need no cutting at all. If cutting is part of the method, understand that a blade on the model can damage the substrate, paint or clear parts, and use a pre-cut, tape, brush-applied or manufacturer-safe alternative if the surface or your experience does not support cutting.
- Apply compatible paint according to that paint's directions. The mask is protecting the rest of the model; it is not a substitute for checking how the next coat behaves on the surface you have.
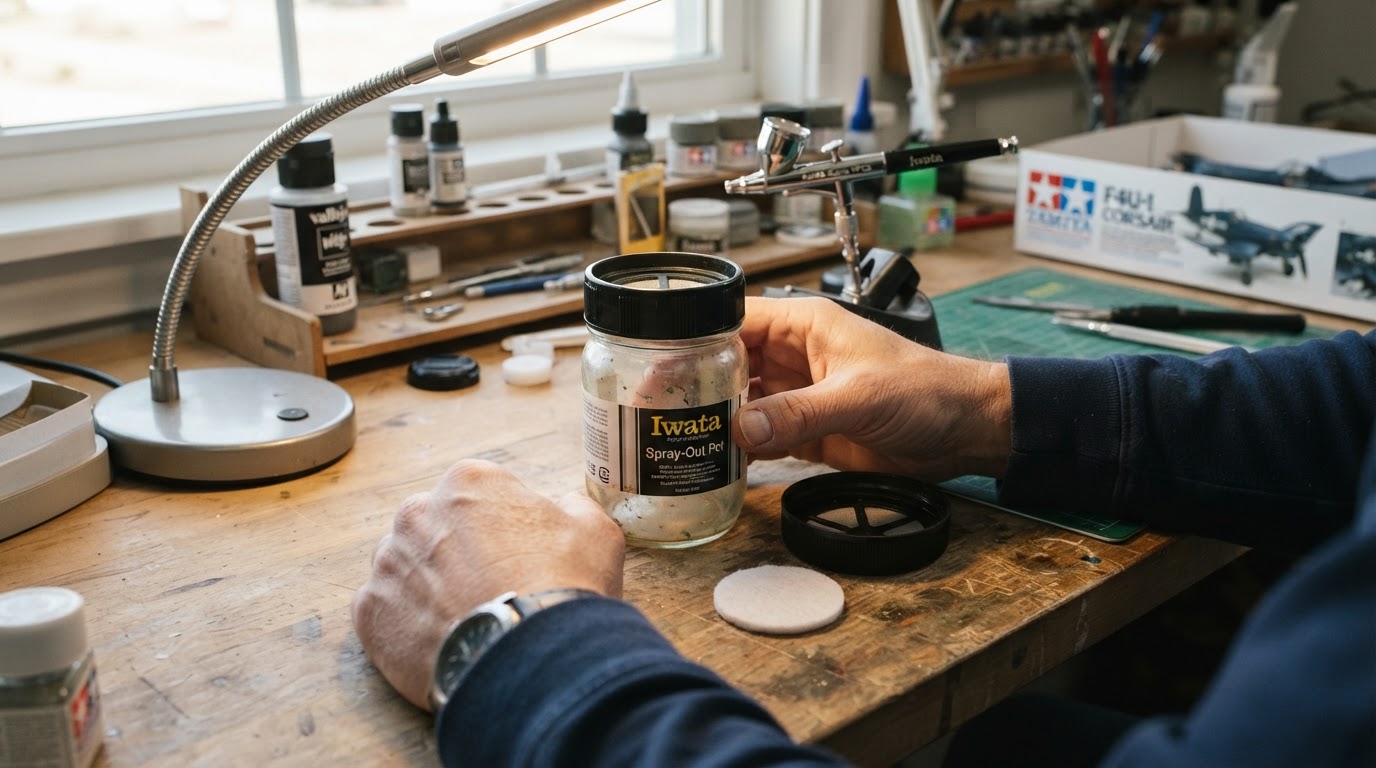
- Remove the remaining protected mask when the product instructions permit. Peel or lift by the method and at the stage the maker describes, then clean the brush or airbrush immediately according to the label. A mask left to dry in the tool is a cleanup problem, not a masking problem.
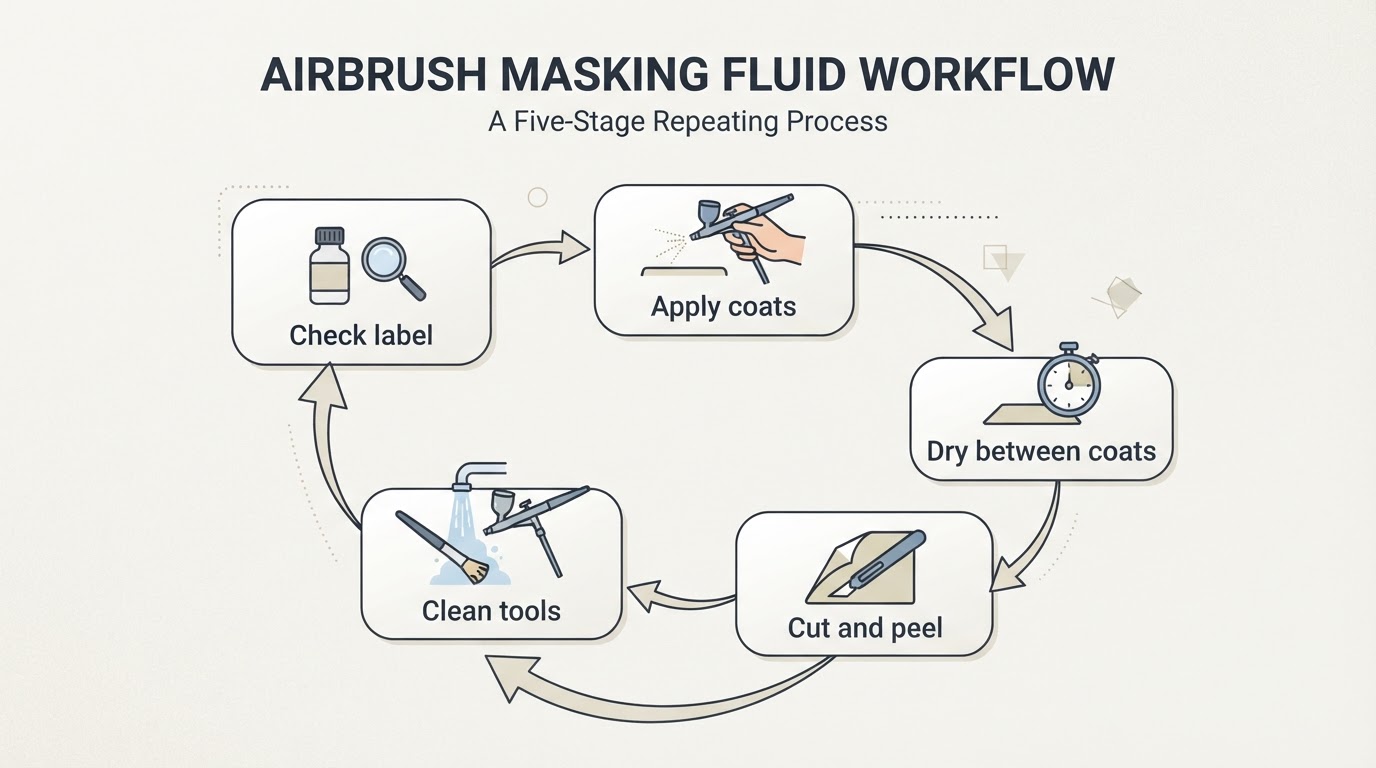
Treat the label as the loop's starting point, not a one-time read. Every time a product detail does not match what you see on the model, the next move is back to the directions, not a guess from a video. Your completion check is a reader-side test on your own scrap, not a report of our testing: the boundary behaves as the maker describes for your method, and the film lifts by the stated technique without forcing. That is still not a promise of a clean edge or a residue-free finish on every surface. If the film tears into shards or smears instead of lifting, re-read the thickness and drying instructions before adding anything, including heat.
When Liquid Mask Is the Wrong Answer
Liquid mask is not an automatic upgrade. Tape wins on large flat areas and long straight edges, where a film adds drying time without adding shape-following value. A delicate finished or clear surface is a poor candidate for cutting and peeling, and scoring that kind of surface with a knife trades a small masking problem for a bigger repair. Pre-cut masks, tape, or a brush-applied boundary can be the better route, depending on what the manufacturer permits for that surface.
An unknown paint stack is another reason to pause. If you cannot establish what is underneath, test the mask on a scrap piece painted with the same system before it goes anywhere near the model. The same caution applies to composition and allergy: not every liquid mask contains latex, and a water-based label does not rule latex out, so read the actual product information rather than assuming a category-wide chemistry.
Finally, a bottle with incomplete directions is not a challenge. If the label does not cover your substrate, the coat underneath, the pattern method, removal, or cleaning, the honest choice is a product whose directions do, or a direct question to the manufacturer.
The safest way to learn how to use liquid mask is to treat the first attempt as a label-reading exercise on scrap, with the same brush, the same airbrush setting, and the same paint you plan to use on the model. Only after that test behaves as the label describes should the film go onto a finished build.
The Bottom Line
Airbrush masking fluid is a product with a method, not a method with a bottle. Read the label for brush-only versus sprayable use, substrate and underlying coat, actual composition, drying and heat, pattern creation, paint order, removal and cleaning. Follow one named product's own figures when you use that product, keep tape for the jobs tape does better, and stop when the surface or the directions are a poor match. That order of checks is what keeps a removable mask removable.