What mottling is, and what it is not
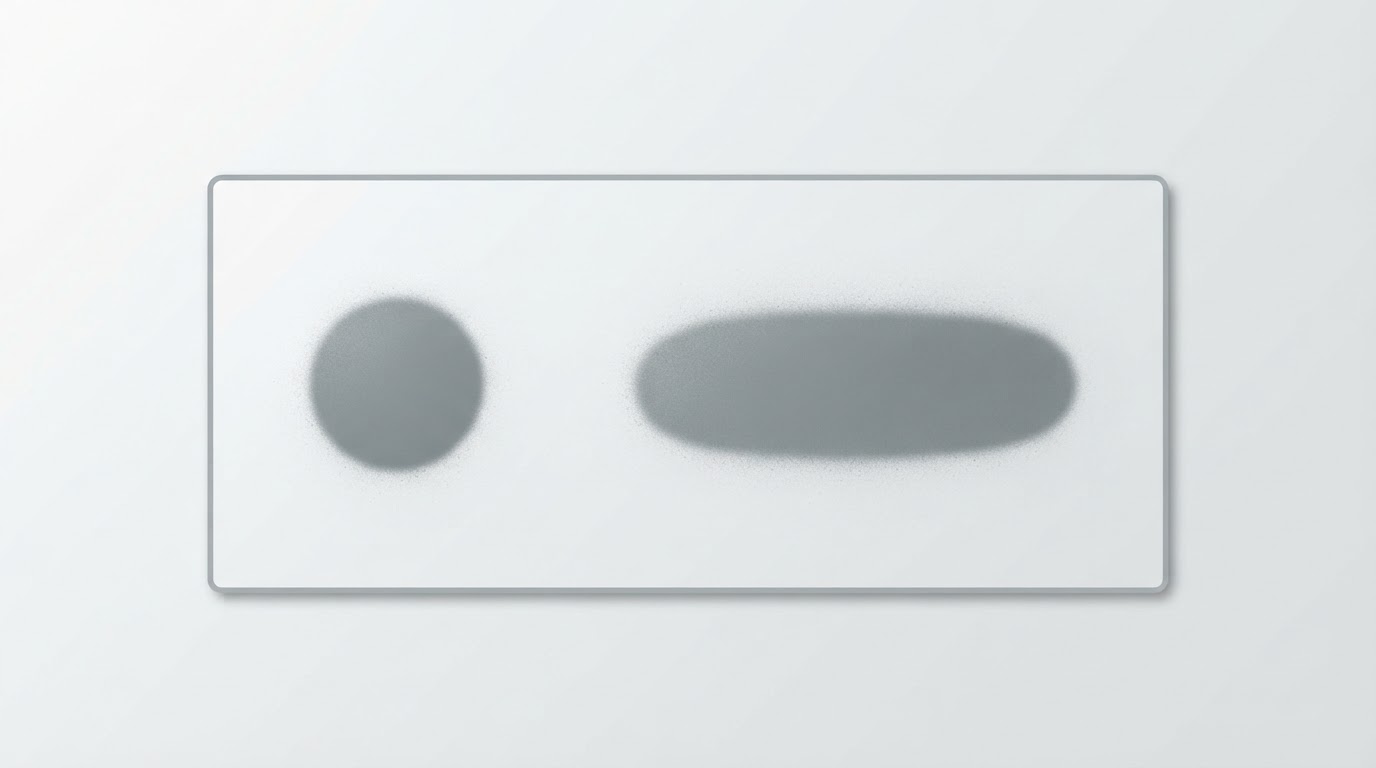
Mottled camouflage is a base color broken up by small irregular patches of one or more contrasting colors. Historical schemes vary widely, and this guide covers the soft-edged freehand version rather than every mottled pattern in use. In this approach, each patch is sprayed slightly off the surface so it lands with a soft edge; the cluster reads as broken color at viewing distance. It is not a single all-over pass or a hard-edged mask job.
It is also not splatter. Splatter arrives as coarse droplets in a clumped or spidery trail and points to a paint or airflow problem, not a placement decision. If marks appear without you steering them, fix the spray first.
Set up ventilation and paint safety first
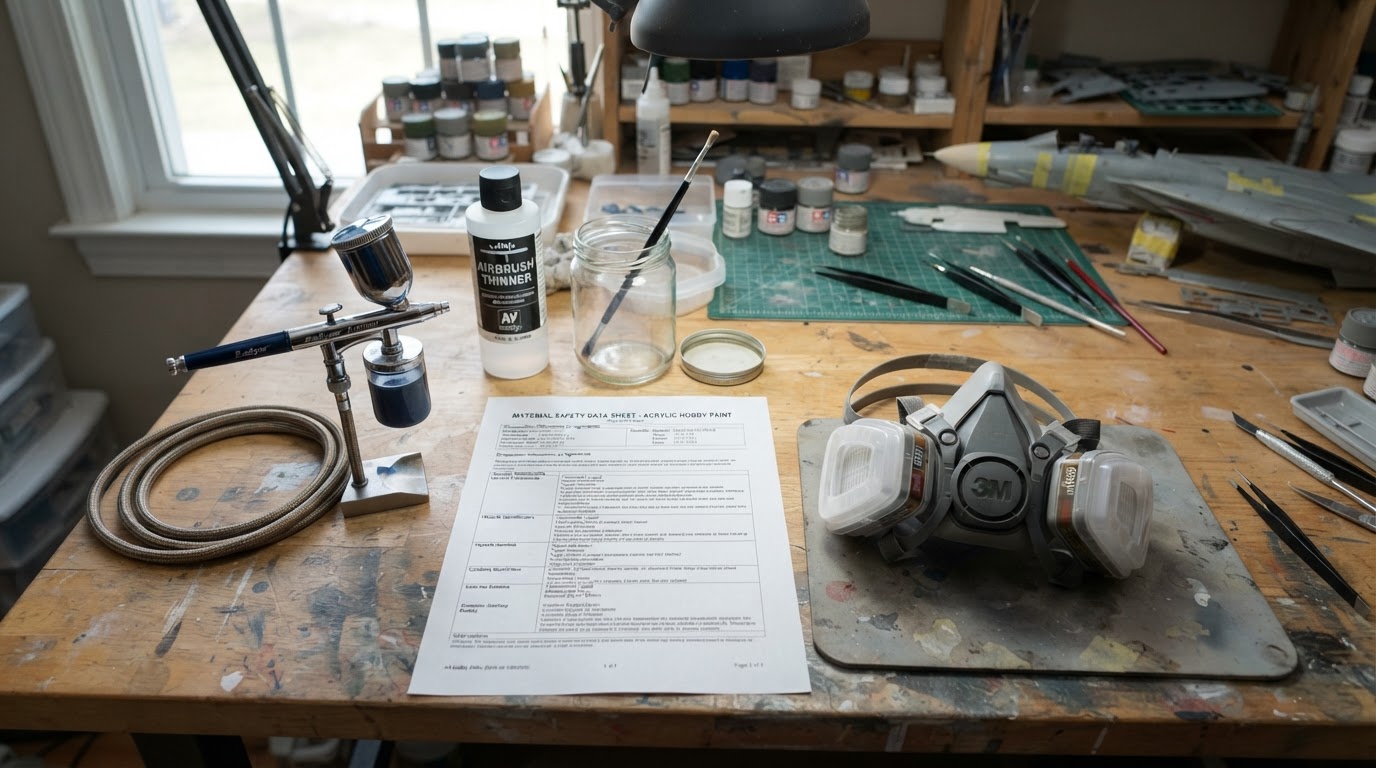
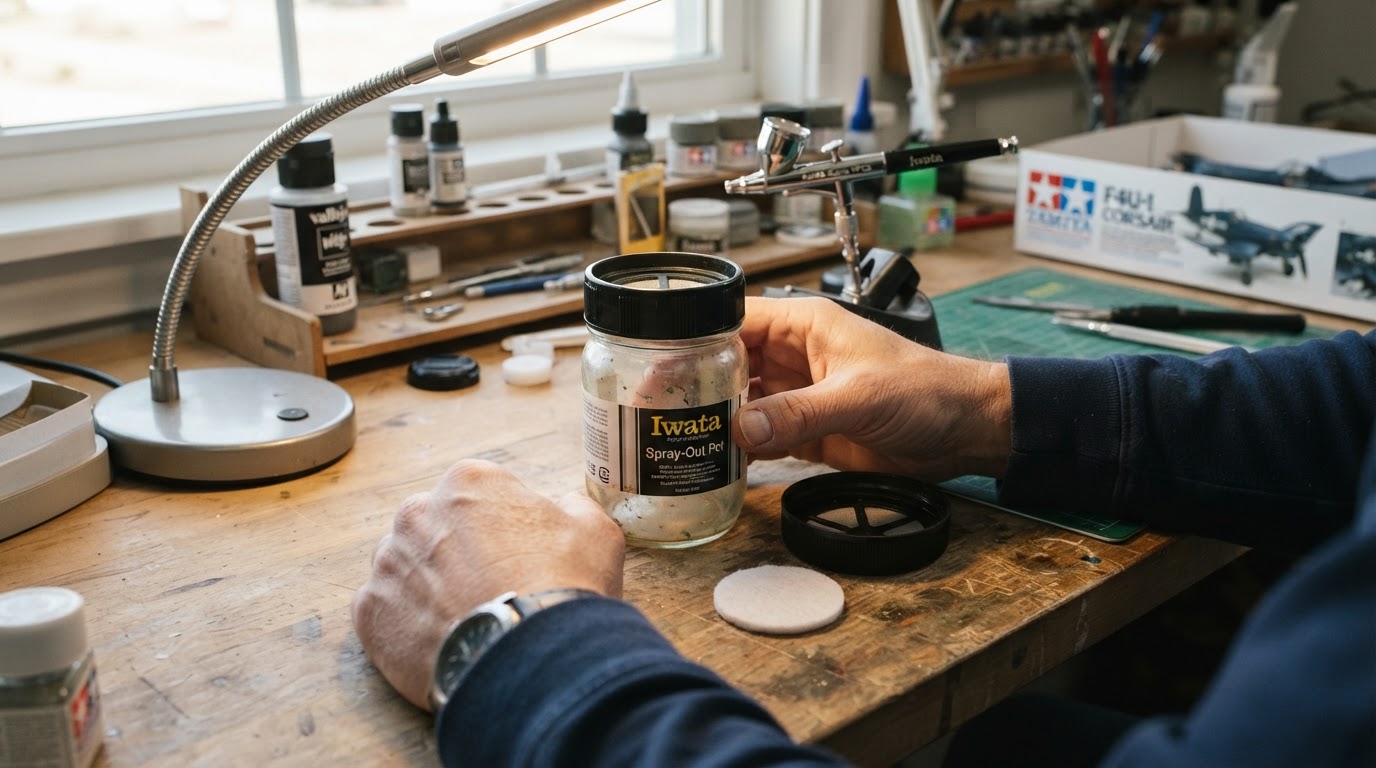
Read the paint and thinner labels before you spray anything, including practice passes. Work with adequate ventilation or extraction for the products you are using, and do not spray in an unventilated room. Follow the label for any eye, skin or respiratory protection it requires. Keep containers closed when they are not in use, and do not mix thinners from different systems.
Run the sequence on scrap first
Prepare scrap of the same material with the same primer and base color. The aim is repeatability, not a finished pattern.
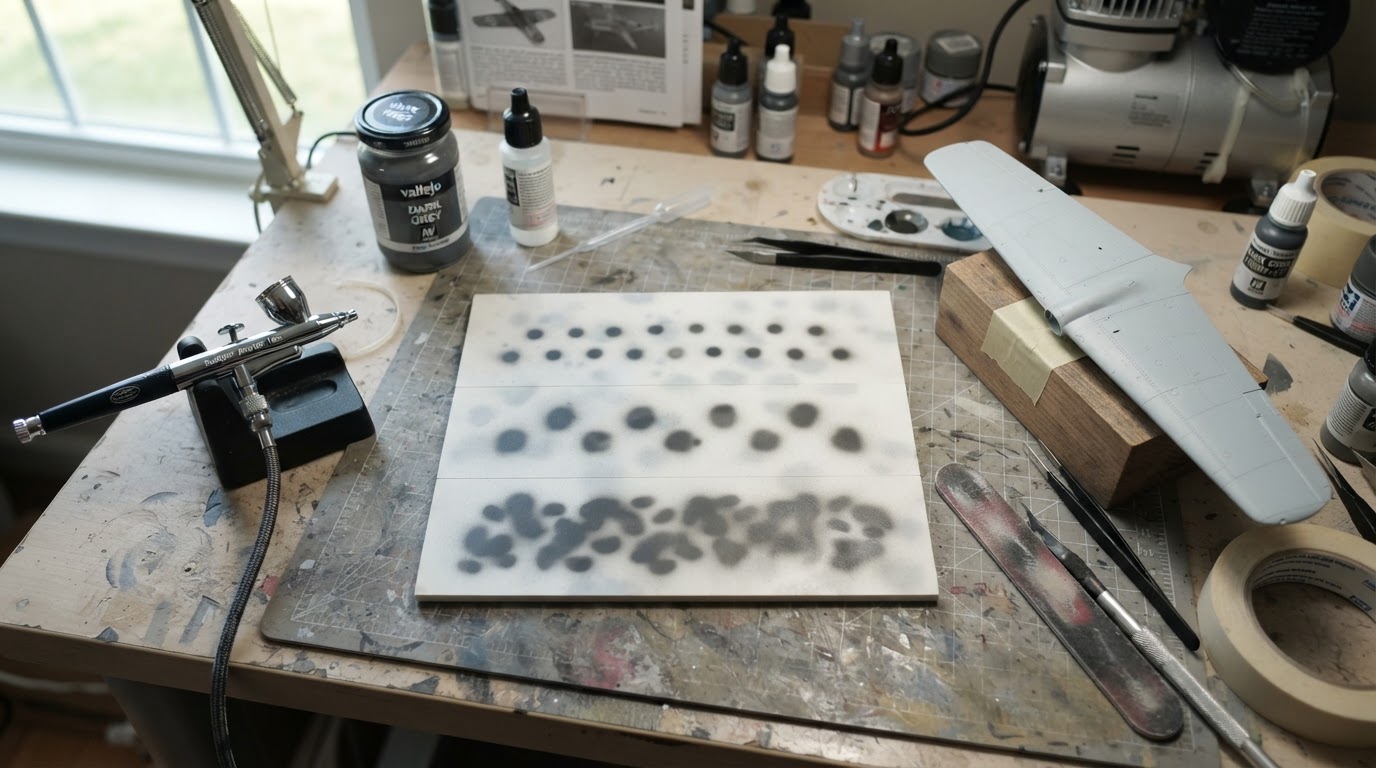
- Spray a row of single patches with one trigger time and distance; judge their size.
- Repeat the row a few times to see whether the result is consistent.
- Spray another row with reduced paint delivery — a shorter trigger pull or a briefer pass — and compare patch size and edge softness.
- Test distance separately on scrap. More distance generally spreads the spray rather than shrinking an oversized patch, so watch for a wider, softer cloud instead of expecting a smaller mark.
- Overlap two rows into one small cluster; that cluster is your density decision.
- Keep the paint delivery and distance that produced separate, soft patches across repeat passes.
Completion check: patches stay separate at working spacing with soft edges and no gritty halo. If they merge into a band or arrive as droplets, you are not ready for the model. Basic trigger and line drills belong on the site's airbrush exercises page, so run them there rather than re-learning them on a finished surface.
Scale the reference pattern
Pick one clear reference photo and relate a patch cluster to a known feature like a fuselage panel. Convert that relationship for your scale: a cluster that reads as small on 1/32 becomes a finer texture on 1/72. Count nothing; the useful target is the size range and typical gap between patches. Mottled schemes also vary by airframe and period, so choose the specific reference you are building.
Change one variable at a time
Three variables matter: airflow, paint consistency and distance. Change one, hold the others, and judge the result on scrap. An adjustment that improves one behavior can spoil another, and one pass cannot show what caused a result; repeat the check before you carry a setting to the model. Use the sequence to narrow choices, not to settle a universal rule.
Iwata's airbrush basics describe the double-action trigger: press down for air, pull back for paint. That separation gives you a deliberate start and stop, which can help reduce a leading blob, but the trigger alone does not guarantee a clean start; paint consistency and airflow still affect how the patch lands. The same page notes that nozzle size alone is an incomplete account of performance, so a fine nozzle by itself does not guarantee fine mottling.
The published description for Manuel Gil's 2025 Ki-61-Id Hien demonstration at Scale Modelling Now lists ATOM by AMMO paints with an AMMO Airviper and a 0.2 mm needle and nozzle, and covers dilution, air pressure and other freehand tips. Treat that setup as one maker's approach to check against your own paint system rather than a recipe; ATOM is not required.
Place patches unevenly, then stop
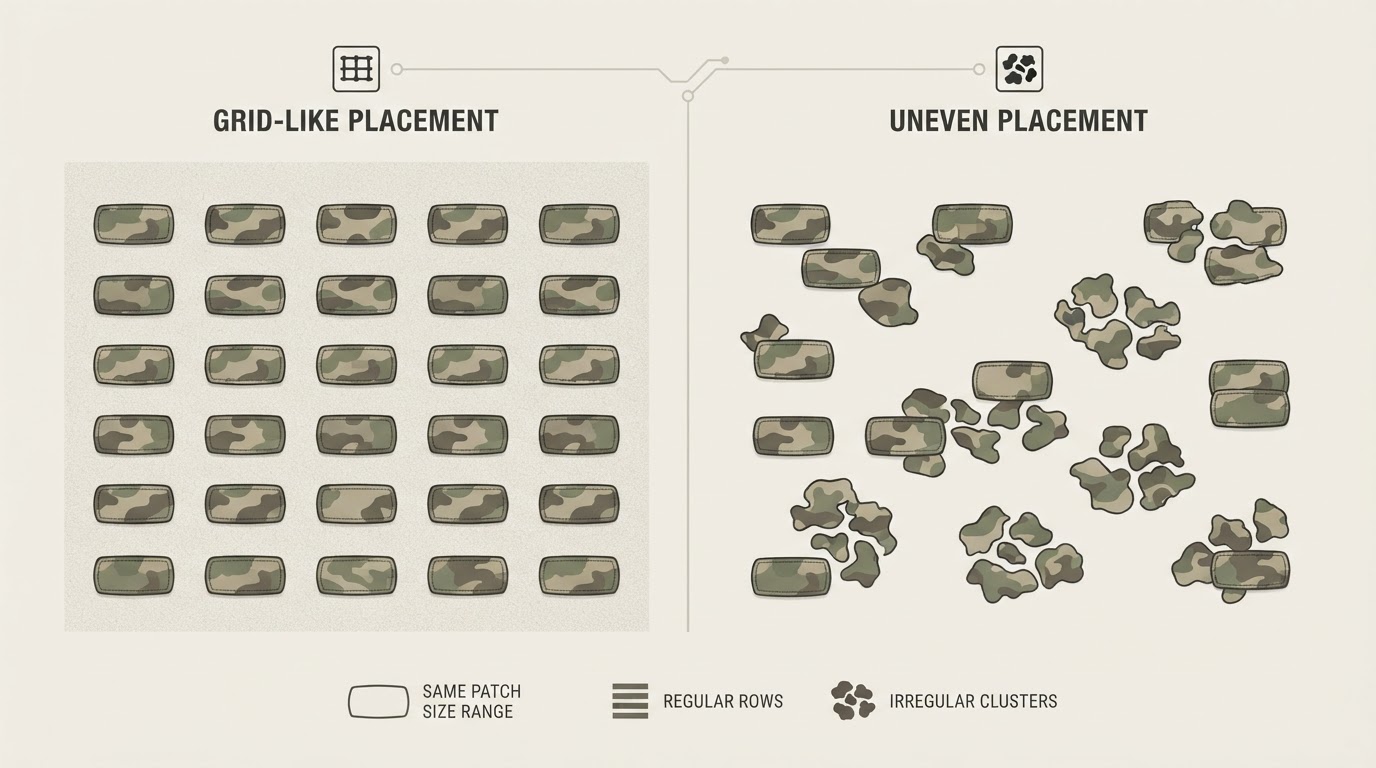
Vary patch size, spacing, and direction. Clusters should be irregular, with gaps that wander instead of locking into a grid. Move between areas rather than finishing one zone so the texture does not look like wallpaper. Stop when the pattern matches the reference at normal viewing distance, when edges start to look dry and gritty, or when paint begins to build wet. Step back to arm's length and compare model with photo before adding another cluster.
Adjust by symptom
Change one item per trial, then repeat the check before moving to the model.
What you see | First adjustment to test | Check on scrap |
|---|---|---|
Patches too large | Reduce paint delivery with a shorter trigger pull and a briefer pass. Test distance separately on scrap, since more distance generally spreads the spray instead of shrinking the patch | Separate patches at working spacing |
Speckled or spidery marks | Stop spraying and check paint consistency, then airflow | Droplets gone at the same distance |
Patches merge into a band | Longer gaps between clusters | Density reads broken at arm's length |
Completion standard
For this soft-edged style, finished means the pattern reads as irregular mottling at arm's length, edges look soft and consistent, and no area is wet enough to mark. Then follow the paint maker's label for recoat windows and clear coat. The scrap sequence, scale check and stop points do the work; no universal pressure, thinning ratio or distance setting replaces them.