Stop the pull before you diagnose anything
Stop pulling upward as soon as you see paint moving with the tape. Hold the tape near its free edge, keep the rest of the strip flat, and pull it back over itself at a low angle to the surface. Slow, steady pressure gives the adhesive time to release instead of loading the paint bond. If a flake has already lifted, stop peeling near the model. Do not put a hobby knife against the painted surface or cut beside a loose flake on the model; if any trimming is needed, trim only free tape that is safely away from the workpiece and leave the damaged area alone until you can inspect it.
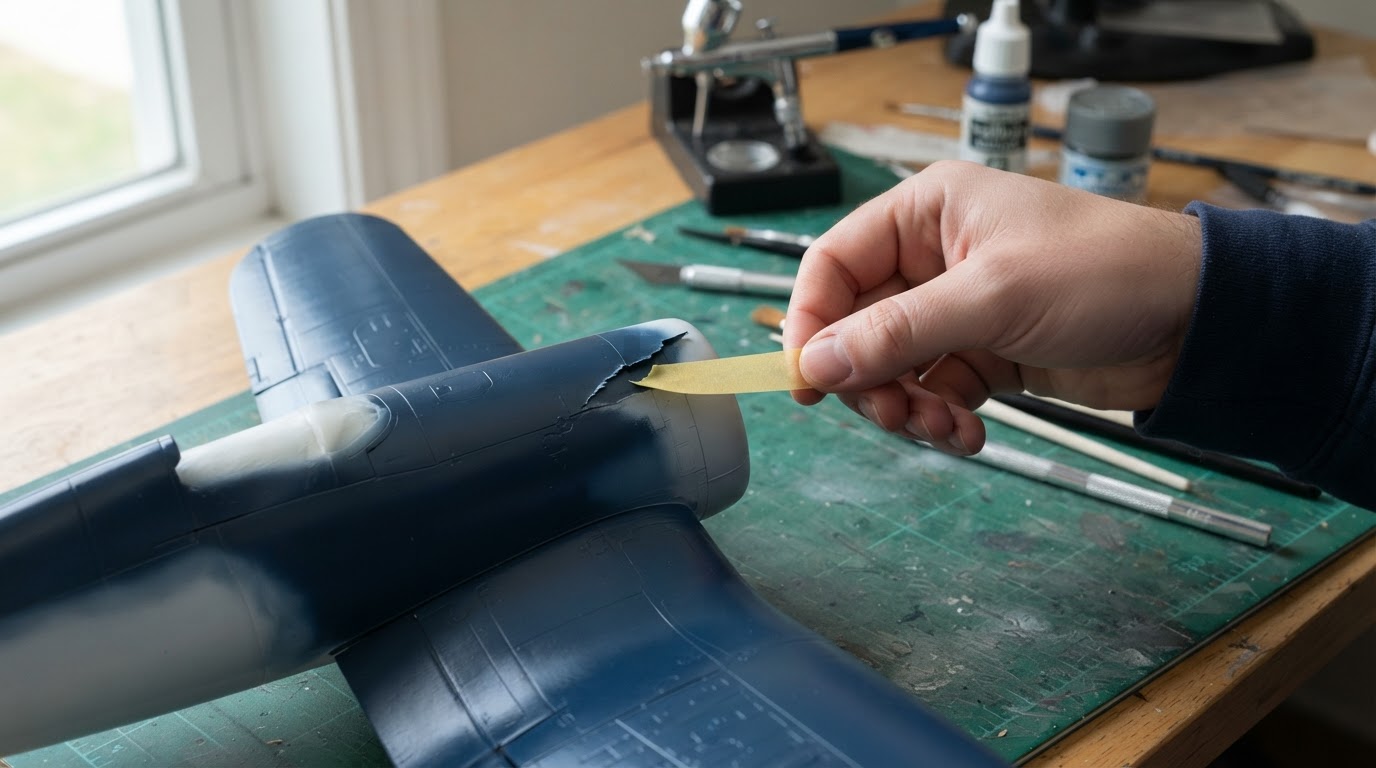
Do not try to save the area by pulling faster or harder, and do not press the lifted flake back down while the tape is still in place. The immediate goal is to keep the failure small enough to inspect. Once the tape is off, look at both surfaces: the model and the adhesive side of the tape. Which side kept the paint is a clue to where the bond broke, but one peel is not enough to name a cause.
Identify which layer came off
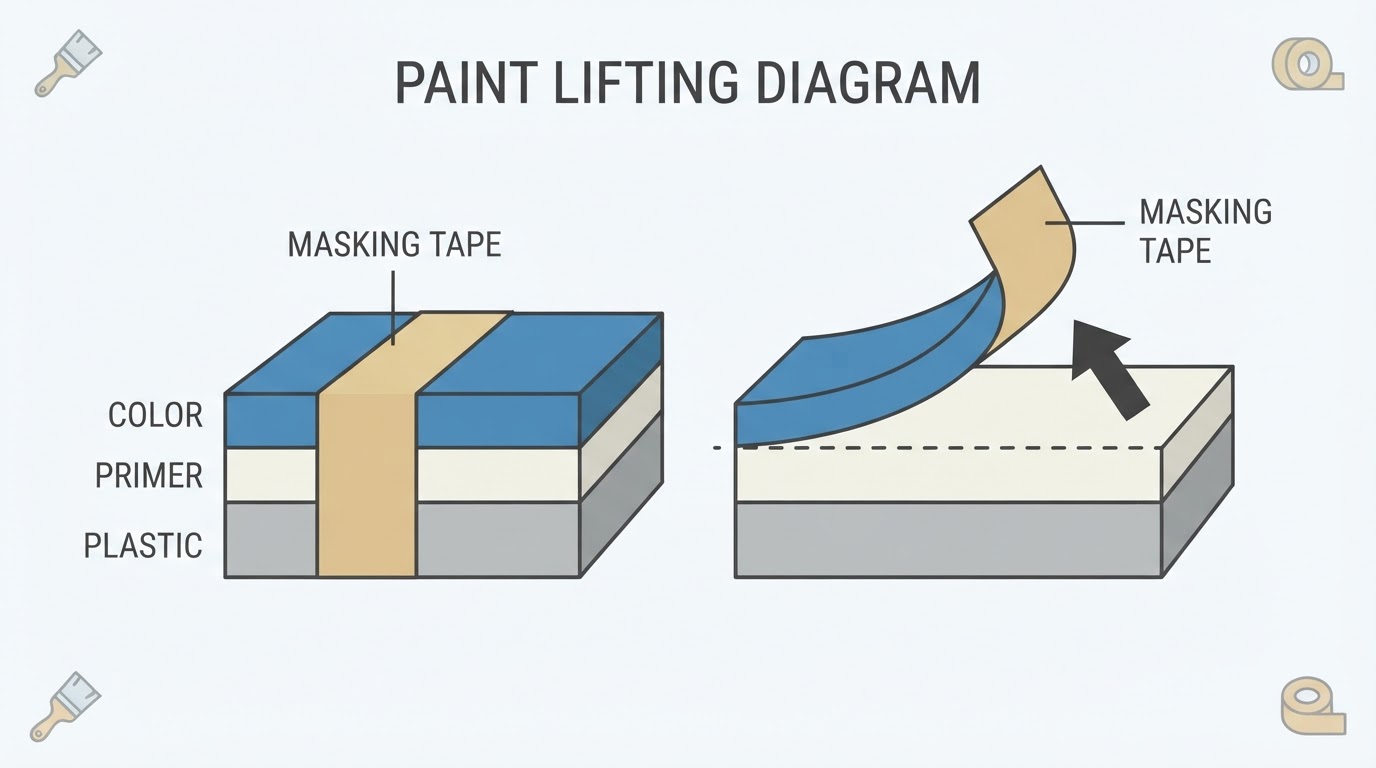
The pattern on the tape is a diagnostic clue, not a verdict. Treat it as a pointer to the interface worth testing next. What you see on the tape and on the model can identify possible interfaces, not a conclusive root cause.
Top color only
If the color coat sits on the tape and the primer is still on the model, the weak link is probably between the color and the primer, or between the color and the way it was applied. Check the recoat window the color maker specifies, whether the color was compatible with that primer, and whether the color went on over a surface that was still soft or contaminated. Tape tack can expose a marginal bond that was already there, so the tape may be the messenger rather than the cause.
Primer and color together
If the primer comes up with the color and bare plastic shows underneath, the failure reaches deeper. Inspect how the part was handled before primer, whether the primer was applied to a clean and appropriate surface, and whether the primer itself reached the readiness its maker specifies. This pattern sends you toward substrate preparation and primer application, not toward a different color coat.
The whole stack in one piece
When the full stack lifts cleanly and the plastic underneath looks untouched, the weakest interface is probably at the plastic. That can point to surface contamination, handling, or a primer that did not key to that material. It does not prove the tape was at fault, and switching tape alone may simply hide the problem for one job.
An edge that shows paint creep under the tape is a different symptom. Bleed means the tape edge did not seal; lifting means the paint bond failed. Fixing bleed with more pressure or a wetter coat will not repair an adhesion problem, and a tight tape edge will not stop a weak layer from coming away.
Inspect the substrate and the product chain
Before buying another roll of tape, write down the stack you actually used: substrate, primer, color, clear if any, tape, and how long each layer waited. A failure that repeats with one combination and disappears with another is more useful than a single dramatic peel.
Tamiya's basic modeling guide describes masking as covering areas you do not want painted, and describes modeling masking tape as thin, close-adhering, and intended to leave no adhesive behind. That is a description of the product's job, not a guarantee that every paint stack will survive it, and Tamiya's own product families and substrates differ. Use the description to check that you are using a modeling masking material for the job, then test the actual combination on your bench.
Surface choice matters as well. Liquitex's surface-preparation guidance says the surface and ground affect how paint handles and how well it lasts, and it recommends a compatibility test before working with a new material or surface. The same principle applies here: the fact that a tape is labeled low tack does not establish that it is compatible with your primer and color.
For a baseline spray routine and practice habits that make coat thickness more predictable, see the beginner guide at Airbrush Painting for Beginners. A repeatable spray pass is easier to diagnose than a finish built from different distances and wetness on every session.
Let the paint reach the maker's readiness
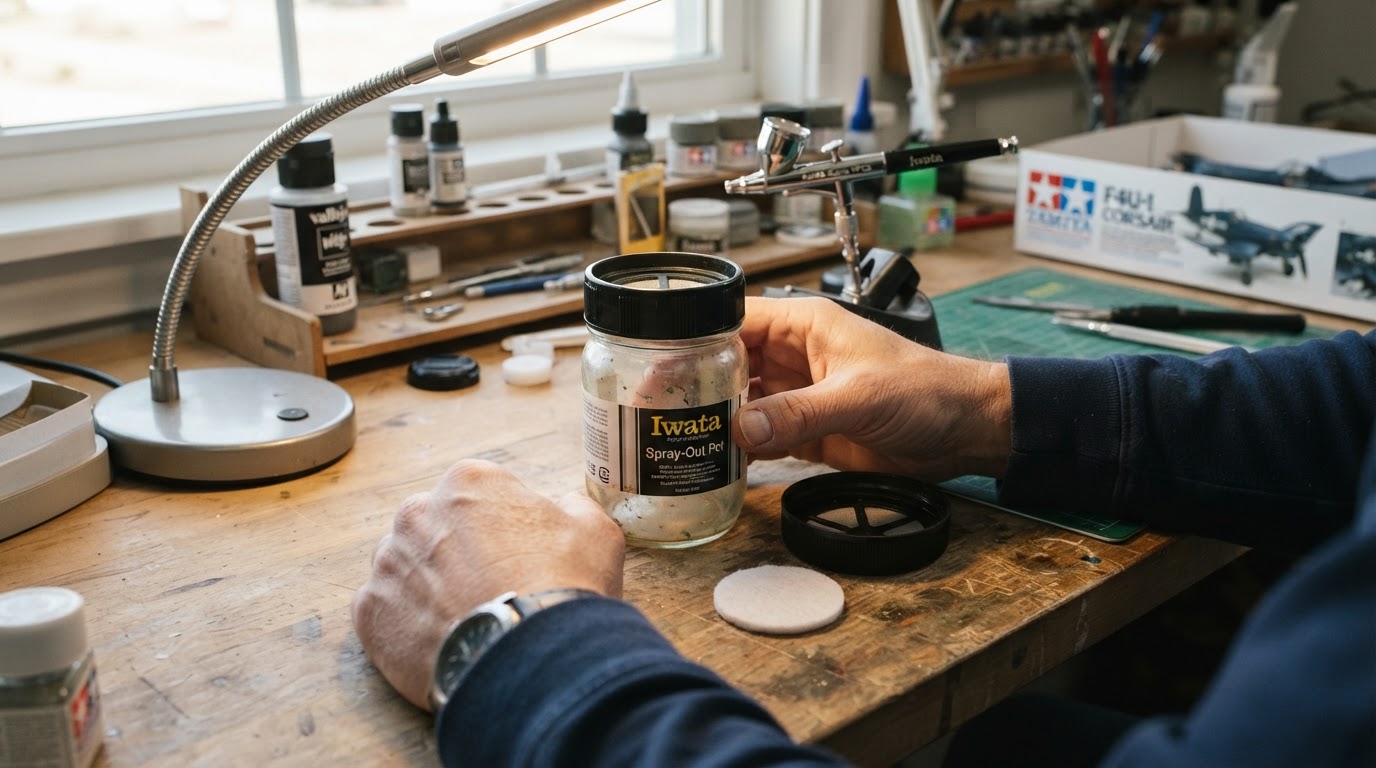
"Touch dry" describes the surface, not the whole film. A coat that feels dry can still be soft enough to mark, imprint, or transfer to adhesive. The useful rule is the one printed by the maker of the paint you are using, for the thinner and conditions you are using, rather than a number copied from another product or another workshop.
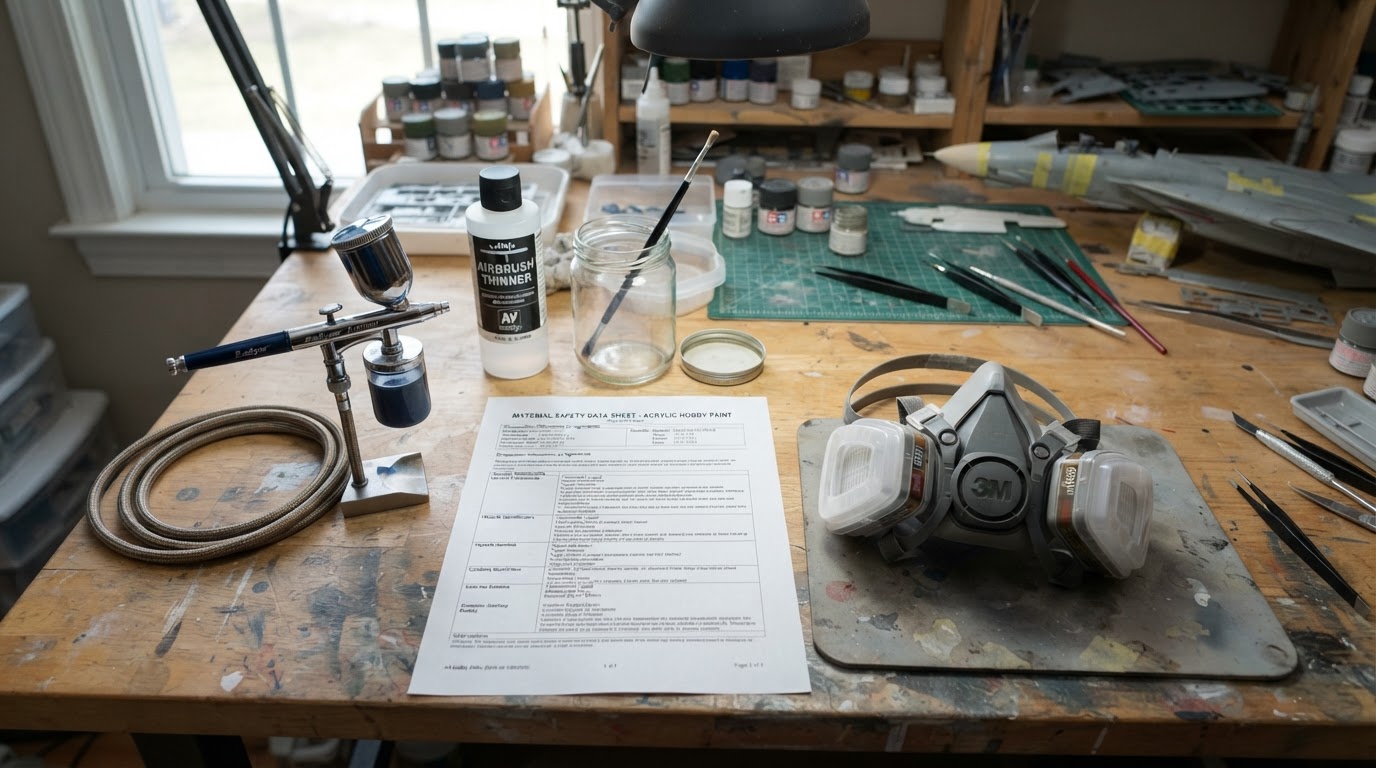
Liquitex's airbrushing guidance, for example, says to let an area dry completely before applying frisket, and describes drafting or low-tack tape as a masking material for protecting painted areas. Scope that advice to the products and surfaces Liquitex is discussing.
That same surface-preparation source also describes a longer 72-hour test and a destructive crosshatch adhesion check for artistic acrylics on a prepared ground. Both belong to the material and workflow it is describing: do not scale that wait to a finished model, and do not cut a crosshatch grid into model paint. Neither is a model-paint masking interval or a validated readiness threshold for a built kit.
If you cannot find a masking-specific interval from your paint maker, use the scrap test below and extend the wait rather than guessing. Temperature, humidity, coat thickness, and thinning all change the answer, so a fixed hour count borrowed from someone else's bench is weaker evidence than your own repeated result on the same stack.
Test low-tack tape on a matching scrap
A scrap test only answers your question if the scrap matches the job. Use a spare part, a plastic spoon, or a painted test card with the same substrate, primer, color, and number of coats. Apply the tape the way you will apply it on the model, press the edge down, and remove it at the same angle and after a similar dwell time.
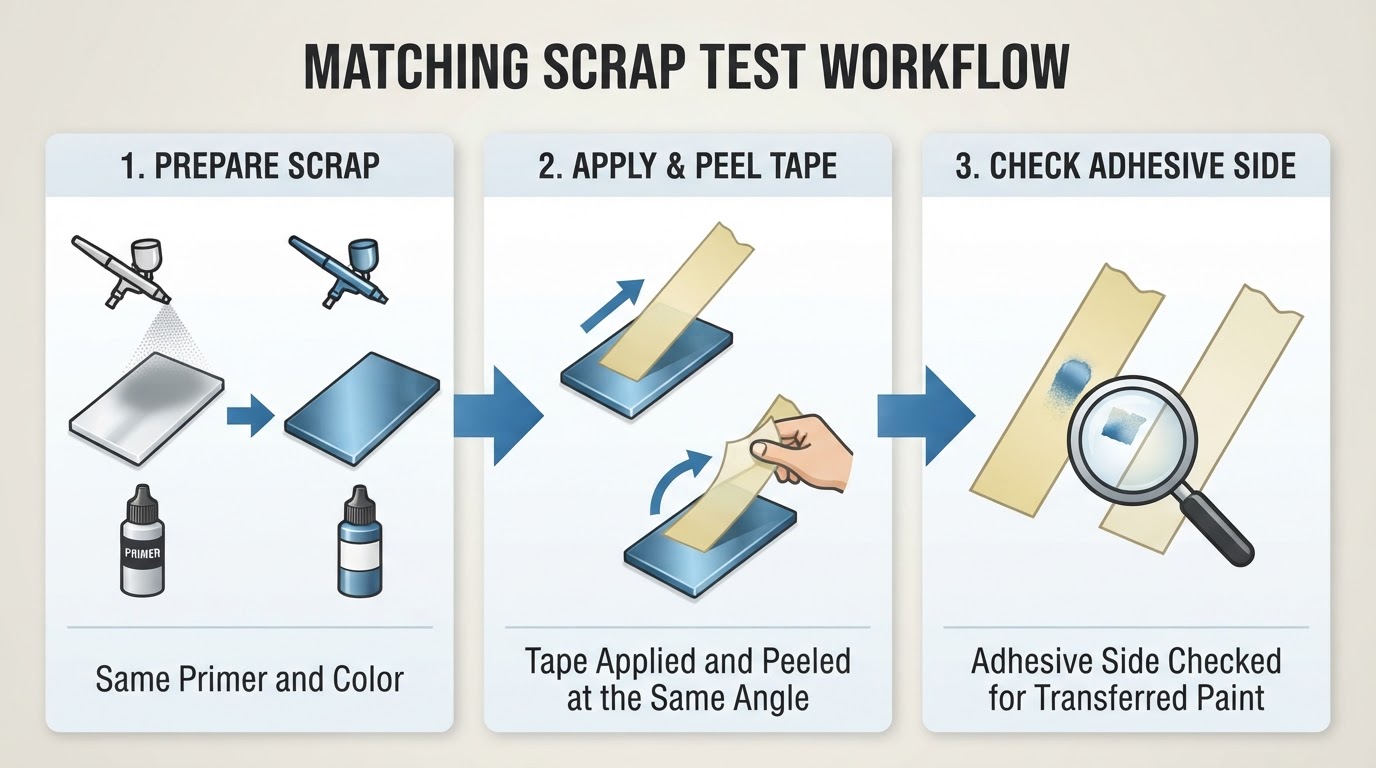
Repeat the peel more than once before you touch the model, and compare the results rather than trusting one clean pass. Two clean peels on the same prepared stack are a suggested preliminary check, not a validated safety or completion threshold, and they do not prove that preparation, drying time, or tape caused an earlier failure. When the results disagree, follow the guidance from the maker of the products you are using.
If paint transfers to the adhesive, change one variable at a time: the wait before masking, the tape, or the preparation of the surface. Changing all three at once tells you that something worked but not what to repeat.
Liquid masking products are another material to test, not an automatic upgrade. They can cover shapes that tape struggles with, but they still depend on a compatible, ready underlying coat. Test them on the same scrap stack and check that the mask releases without pulling color or leaving a residue.
A practical preliminary check is two consecutive scrap peels with no paint on the adhesive, no visible change in gloss or texture, and no lifted edge. Treat that as a prompt to compare further and to go back to maker guidance, not as proof that the stack is safe to mask on the model. If any of those signs appear, wait longer or change one variable and repeat.
Failure and action table
What you see | What it points to | Next action |
|---|---|---|
Color on the tape, primer still on the model | A possible weak color-to-primer interface or a color coat that was not ready | Recheck color and primer compatibility, recoat guidance, and the wait before masking; retest the same combination on scrap |
Primer and color on the tape, bare plastic below | A possible weak primer-to-substrate bond | Review surface preparation, handling, and primer application before changing tape |
The whole stack lifts in one piece | The weakest interface is likely at the plastic | Repeat the preparation and primer steps on a matching scrap before masking the model again |
No paint removal, but a tape imprint or texture mark | The coat was still soft | Give the coat more time according to its maker's guidance, then retest |
Paint crept under the tape edge | Edge sealing or spray technique, not adhesion | Reburnish the edge, use lighter passes, and keep bleed separate from lifting |
Repair only the area you diagnosed
Repair the smallest area that actually failed, and start from the layer that came away. If only the color lifted, the primer underneath may still be sound; remove loose material, let the area settle, and rebuild the color according to the maker's recoat instructions. If the primer lifted, repainting color over the same spot will not address the weak interface.
Do not treat a clear coat as a mandatory fix. A clear layer can change how a finish handles, but it does not repair a bond that already failed, and adding another layer before you know which interface is weak only makes the next peel harder to read. Do not score the finished paint, apply concentrated heat, or strip with lacquer to force a clean edge; those moves can turn a small repair into a refinishing job.
If the repair fails in the same place, stop and return to the substrate question. Repeated failure at the plastic interface is information, not bad luck.
A short routine before the next masking job
Clean and handle the part consistently, record the stack, repeat the scrap peels, and change one variable at a time. When the tape comes off, pull low and slow and watch the edge rather than the clock. That routine will not make every paint system immune to tape, but it can help narrow what to check: preparation, readiness, or the masking material.