What Airbrush Spider Webbing Can Mean
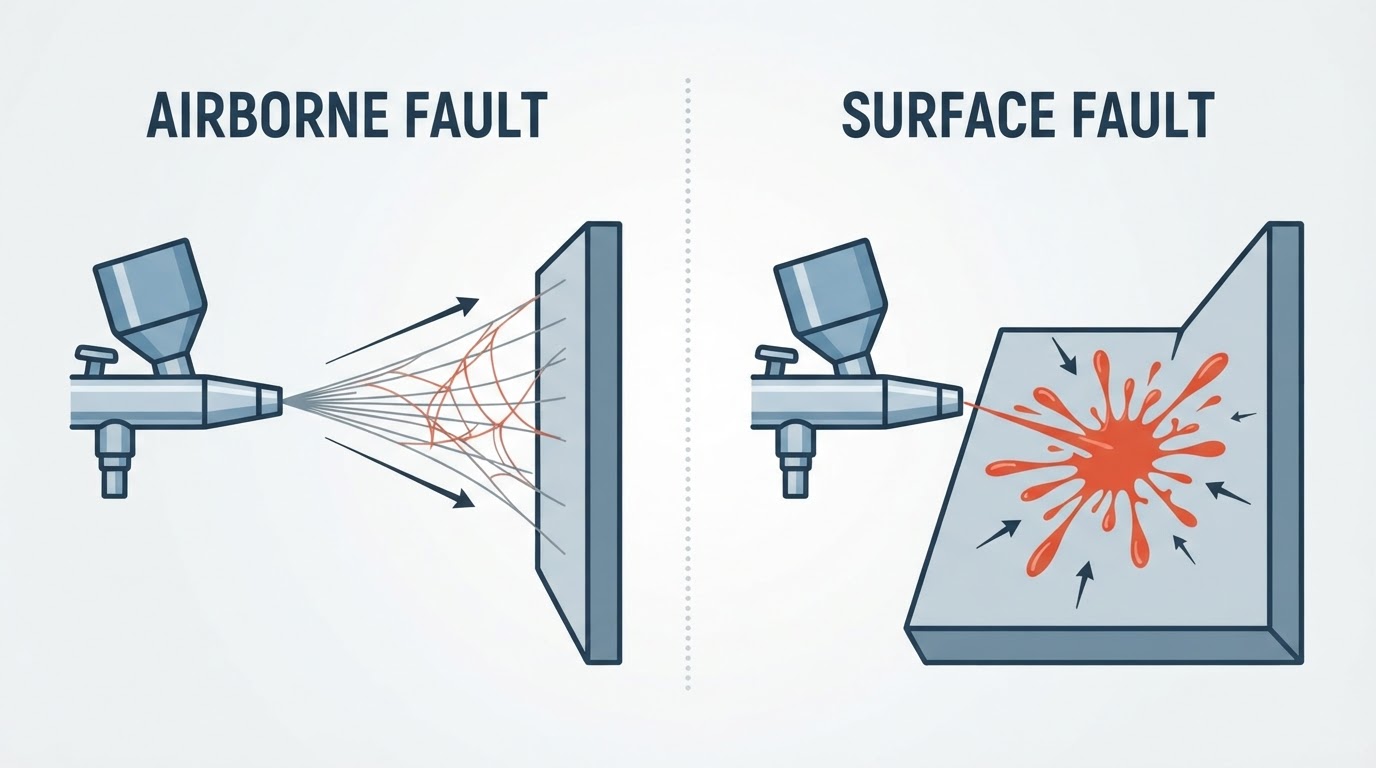
Airbrush spider webbing is an imprecise symptom name, and that ambiguity is why a single fix often fails. Some painters mean visible thread-like strands between the nozzle and the model; others mean a wet pattern that radiates across the painted surface. Identify the actual pattern before diagnosing paint chemistry or pressure.
The same word appears in troubleshooting guides for something else: wet paint that reaches the surface and shoots outward in fine tendrils radiating from the impact point, like a tiny shattered window. That surface version, often called airbrush spidering, is the opposite of spitting. Spitting means too little atomization; spidering means too much force and too little paint body on landing.
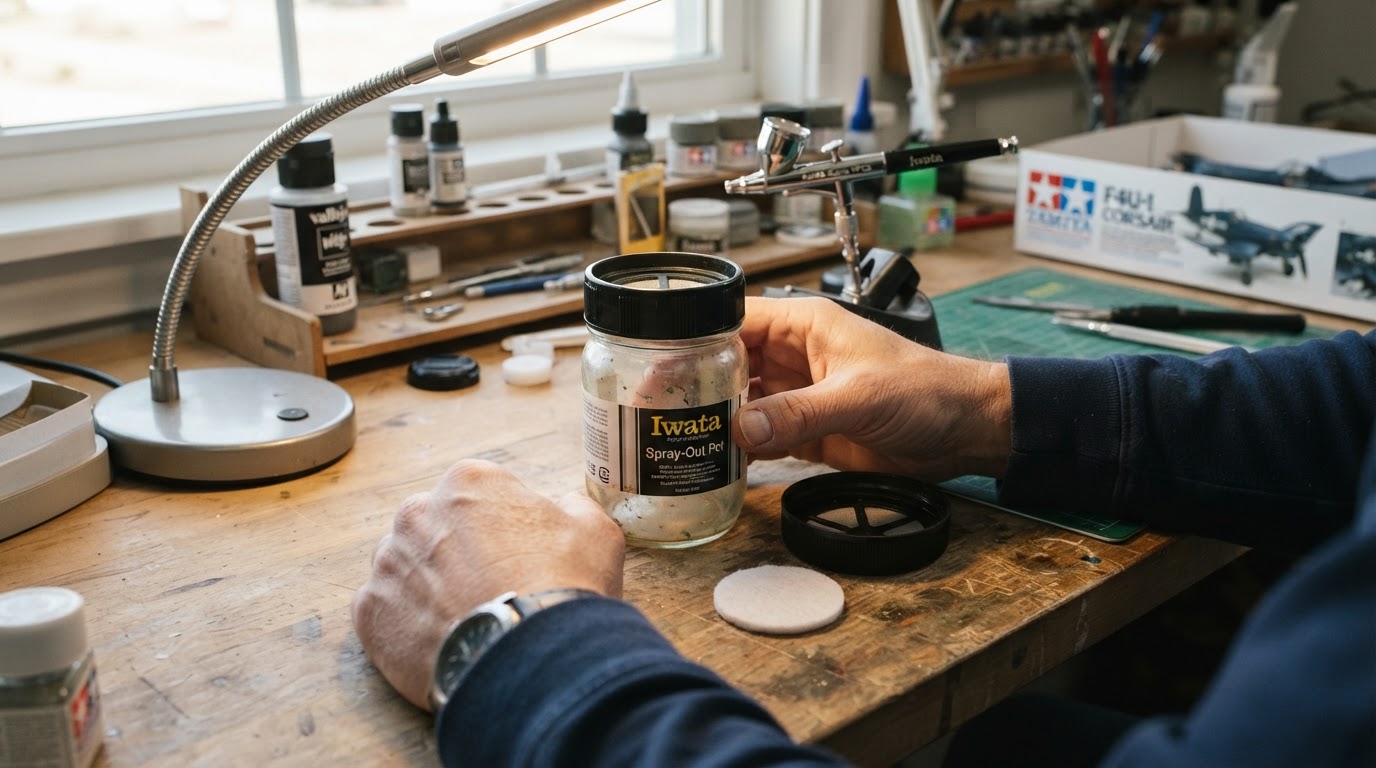
Those two appearances can call for different first checks. Surface spidering is consistent with paint arriving too wet or too heavily for the air behind it, while airborne threads are consistent with paint drying before it fully atomizes, a partly blocked tip, or a paint-to-pressure mismatch. Neither appearance proves one cause. Iwata's FAQ notes that working pressure varies with the airbrush and material, and its cleaning guide covers tip and nozzle cleaning within model-specific limits. Check paint compatibility, drying, needle buildup and atomization before adding thinner.
Branch One: Airborne Stringy Filaments
Thin, web-like strands of paint stretch between the nozzle and the model, drift, land back on the work, and leave rough spots or visible threads in the finish. The paint is drying before it finishes atomizing, so it stays connected as semi-solid strings instead of breaking into droplets. The usual causes are paint viscosity that is too high for the pressure in use, air pressure that is too low for that viscosity, paint skinning over in the cup, and oil or silicone contamination. Dried paint on the needle tip adds to it: paint cannot leave cleanly through a partly blocked nozzle.
Branch Two: Surface Spidering
Wet paint lands and sprays outward instead of settling, leaving legs radiating from the spray point, so the coat reads as wet rather than dusty. The paint arrives too wet for the air behind it and cannot form a coherent film. Three causes usually work together: over-thinned paint with too little body to settle, pressure high enough to push the paint sideways as it hits, and spraying under about one to two inches, where even a modest paint volume arrives as a concentrated blast.
Spider Webbing Versus Spidering: A Diagnostic Table
What you see | Where | Likely cause | First move |
|---|---|---|---|
Threads or wisps between nozzle and model | In the air | Paint drying or atomizing poorly; the exact cause depends on paint system | Inspect the needle and maker's paint instructions, then change one variable on scrap |
Wet tendrils radiating from the impact point | On the surface | Too much or too-runny paint, excess air or too close | Reduce paint delivery and pressure in small steps on scrap |
Pulsing, spitting or speckled pattern | At the nozzle | Dried paint on the needle tip or a blocked nozzle | Wipe the tip, test with clean thinner or water |
Dusty, grainy coat | On the surface | Paint drying before it lands | Move closer, reduce pressure, re-check the mix |
Rows three and four are the misdiagnoses to watch for. A spitting pattern is not webbing, and a grainy coat is close to the opposite problem. Quick test: empty the cup, spray clean thinner or water, and if that sprays fine, the airbrush is working and the fault is in the mix.
Fixing The Airborne Threads
Start with the paint and needle, because airborne strands do not identify one universal cause. Check the paint maker's mixing instructions, look for skin or lumps in the cup, and inspect tip buildup. If the batch has skinned over, replace it rather than forcing lumps through the nozzle. Only thin a fresh batch with the reducer approved for that paint, in small steps on scrap.
Then check whether the pressure and nozzle size are within the paint maker's recommended range. Iwata's FAQ notes that working pressure varies with the airbrush and material, so a setting that works for one setup may not suit another. An airborne thread is not proof of any one cause. Finish by cleaning the cup and nozzle according to the airbrush maker's instructions, and follow the cleaning guide's soak limits and permitted parts.
Thinner is not a free fix. Once the mix goes past its workable range, coverage weakens and the coat starts to run; if that happens while the threads disappear, you have gone too far. Add a little paint back and retest.
Fixing Surface Spidering
Surface spidering usually needs less liquid or less force at the surface; adding more thinner can worsen it. Pull the trigger back less, reduce pressure in small steps within the maker's range, or increase distance slightly, changing one factor per scrap test. If the paint was over-reduced, remix a fresh batch to the maker's recommendation instead of guessing at a universal distance or PSI step.
Resist fixing a thin mix with more air. Higher pressure cannot make badly thinned paint behave, and it adds overspray and faster tip drying. Spidering often needs the mix, pressure and distance corrected together, so adjust one variable at a time on a scrap card; move all three at once and you cannot tell which change worked.
A Five-Minute Check Sequence That Ends In A Clean Test Spray
- Test on scrap, not on the model. Keep a card or an old kit part beside the bench and spray there first.
- Test with clean thinner or water. If it sprays evenly, the airbrush is fine and the fault is in the mix; if not, check the nozzle, needle tip and air supply.
- Judge the mix against the product instructions. Different acrylic, lacquer and enamel paints have different working viscosities; do not use a "milk" analogy as a universal ratio.
- Check the needle tip for dried paint, and wipe it clean.
- Adjust exactly one variable — thinner, pressure or distance — then spray the scrap again.
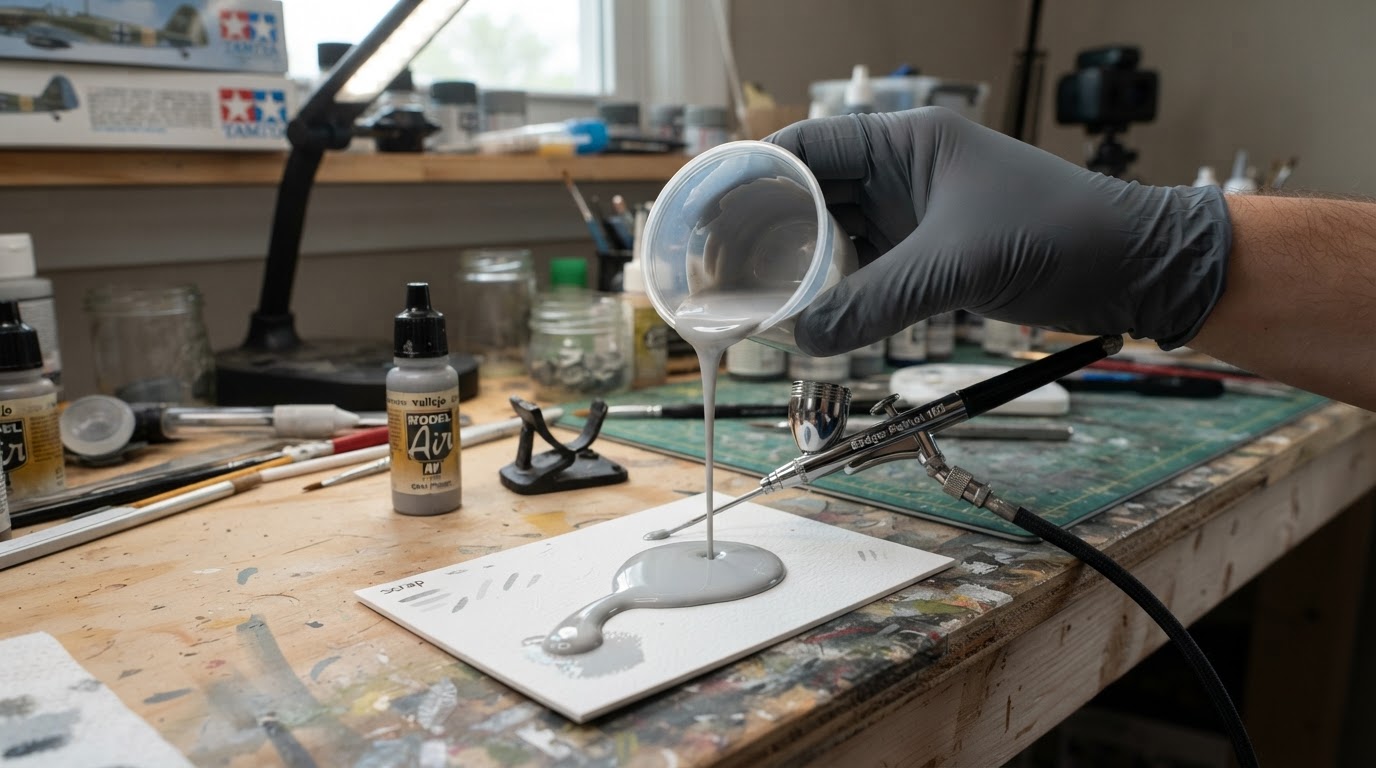
Completion standard: a smooth, even mist at the distance you intend to use, with no threads in the air, no tendrils on the scrap, and a coat that builds in thin passes without pooling. When the scrap passes, move to the model; if it never passes, change the mix further rather than pushing more air through it.
Why There Is No Universal Thinner Or Ratio
No single paint-to-thinner ratio applies to every paint. Brand, colour and pigment, bottle age, nozzle size and room conditions all change how a mix behaves. A one-to-one blend should not be treated as a default unless the exact paint maker recommends it.
Match the thinner to the paint system instead of reaching for one universal liquid. Water-based acrylics usually start safest with their own airbrush thinner, with water only where the maker allows it. Lacquers need a compatible reducer or lacquer thinner, enamels need enamel thinner, and primers and clear coats should follow the manufacturer's guidance first. The wrong thinner can make paint gummy, separate it or dry it out, so do not mix thinners from different systems unless you have tested compatibility. Work with ventilation, especially with lacquers, enamels, solvents, primers and clear coats.
FAQ
Is spider webbing always caused by paint that is too thin?
No. The name covers two opposite faults. Airborne filaments usually mean paint that is too thick for the pressure, or pressure too low for the paint. Surface spidering usually means paint that is too thin, pressure too high, or spraying too close.
Should I keep adding thinner every time I see strands?
Only for the airborne branch, and only in small steps. If wet tendrils are radiating across the surface, thinner is the cause rather than the cure: thicken the mix, drop the pressure and move back.
Is there one thinner or ratio that fixes every paint?
No. Acrylics, lacquers and enamels each need their own compatible thinner, and the workable ratio changes with brand, pigment, nozzle and room conditions.
For a wider symptom checklist after the paint-mix test, see this site's airbrush troubleshooting guide.