What Airbrush Tip Dry Actually Is
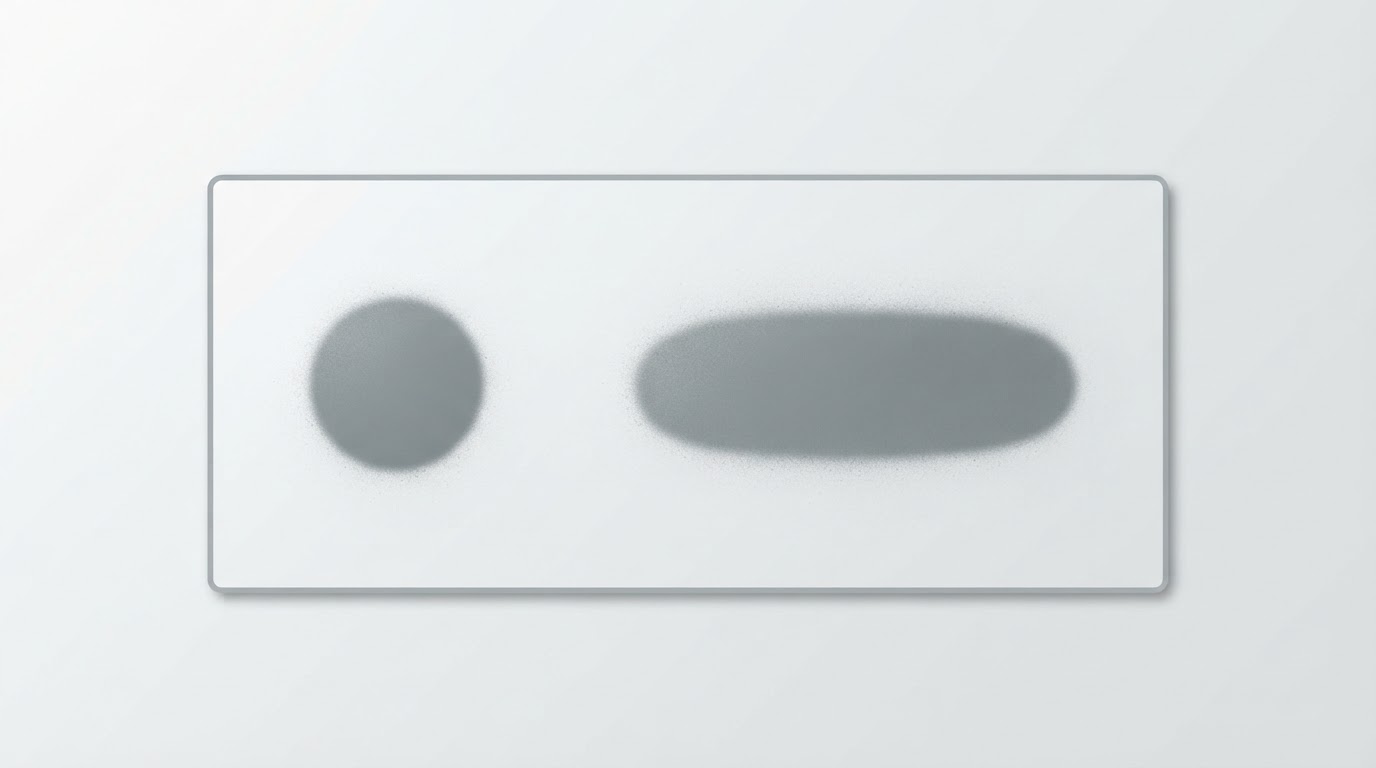
Tip dry is a surface problem, not a supply problem. Paint collects on the exposed needle tip where the air stream sweeps across it, and the carrier — water, alcohol or solvent — evaporates from that thin film far faster than it does in the cup. What is left is pigment and resin, and it hardens into a crust. Once the crust is thick enough, it disturbs the paint as it leaves the nozzle: the pattern weakens first, then spits partially dried particles onto the model.
Fast-drying water-based acrylics are the usual offenders; warm, dry air makes it worse, and a small detail nozzle leaves you less margin before a thin crust starts to matter.
Tip Dry, Nozzle Clog, or Dry Spray?
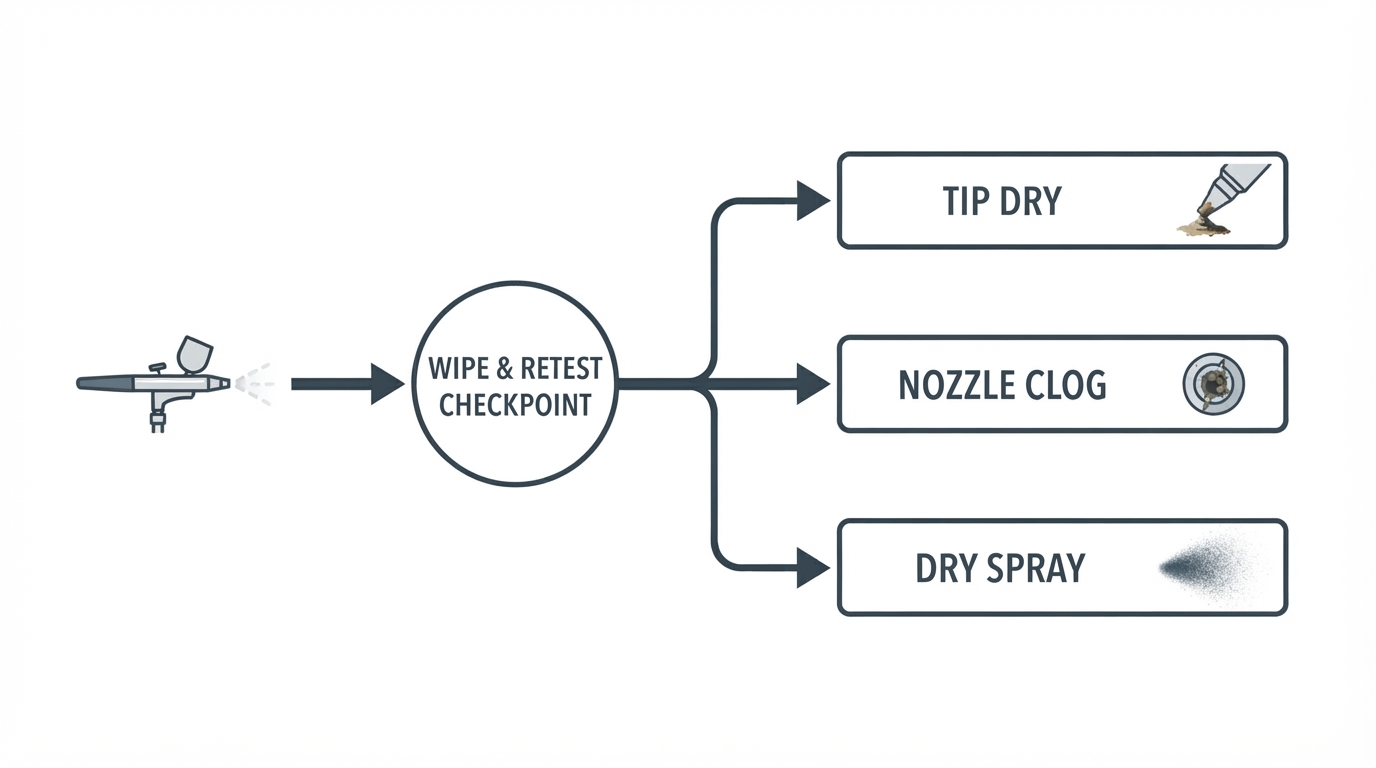
These three symptoms look similar at arm's length, so work through them in order instead of guessing.
What you see | What it usually is | Tell-tale sign | First move |
|---|---|---|---|
Pattern weakens, spatter appears, crust visible on the needle tip | Tip dry | Flow returns as soon as the tip is wiped and re-tested | Wipe the tip, then adjust thinner, flow additive and pressure |
Flow drops or stops; air passes but paint does not | Nozzle clog | Wiping the tip changes nothing | Clean the nozzle and passage exactly as the maker instructs |
Gritty, dusty film on the model | Dry spray and surface build-up | Scrap test looks fine but the model feels like sandpaper | Recheck distance and pressure before touching the mix again |
Start with the wipe-and-retest check. If the pattern comes back, it was tip dry. If nothing changes, treat it as a clog. And if scrap sprays cleanly while the model dries rough, the paint is drying in the air, not on the needle.
Fixing Tip Dry Mid-Session
Wiping the tip is the first move, but the crust returns in a minute or two unless you also slow the paint down.
- Stop spraying the model. Cap or empty the cup, and spray the crust out onto scrap.
- Wipe the exposed needle tip with a swab or lint-free cloth dampened with the thinner or cleaner your paint maker recommends. A dry wipe smears dried resin back towards the nozzle.
- Retract or remove the needle only if the maker's instructions allow it; forcing a needle can damage the brush.
- Re-test on scrap — a piece of sprue or plastic card — before you go back to the model.
- Adjust in drops, not pours. Add the maker's thinner or flow improver a drop or two at a time, stir, and test again.
- If the paint runs freely but still spits, drop the pressure a few psi before adding more thinner.
- Build the wipe into your rhythm, especially with fast acrylics: a few seconds every few minutes beats a wrecked finish.
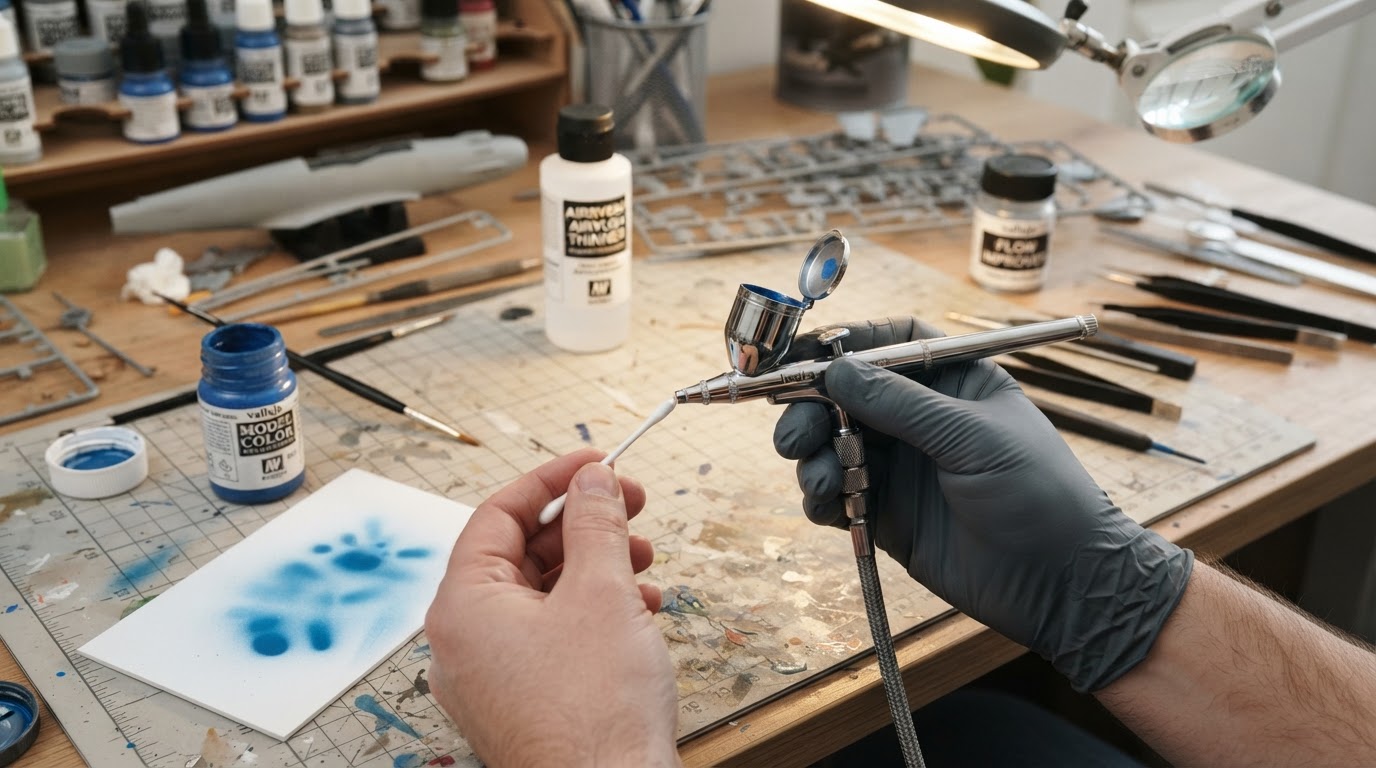
Match Thinner And Pressure To The Paint
There is no universal ratio and no universal psi, and manufacturer data is the proof. Createx lists 4011 Reducer for Wicked Colors at 10% to 30% by volume depending on airbrush tip size, color type and technique — roughly 10% for a 0.5 mm tip — in its Wicked Colors technical data sheet, which also gives Transparent Colors at about 10% for a 0.5 mm tip sprayed at roughly 25–30 psi, with more reduction for smaller tips and lower pressures. The same sheet asks you to let the mix sit for 10 minutes or more after reducing for improved flow.
That spread is why a forum ratio is only a starting guess for your paint, nozzle and weather. Treat published figures as ranges to test inside, and check the maker's guidance before swapping brands.
A Cleaning Rhythm That Fits Your Paint
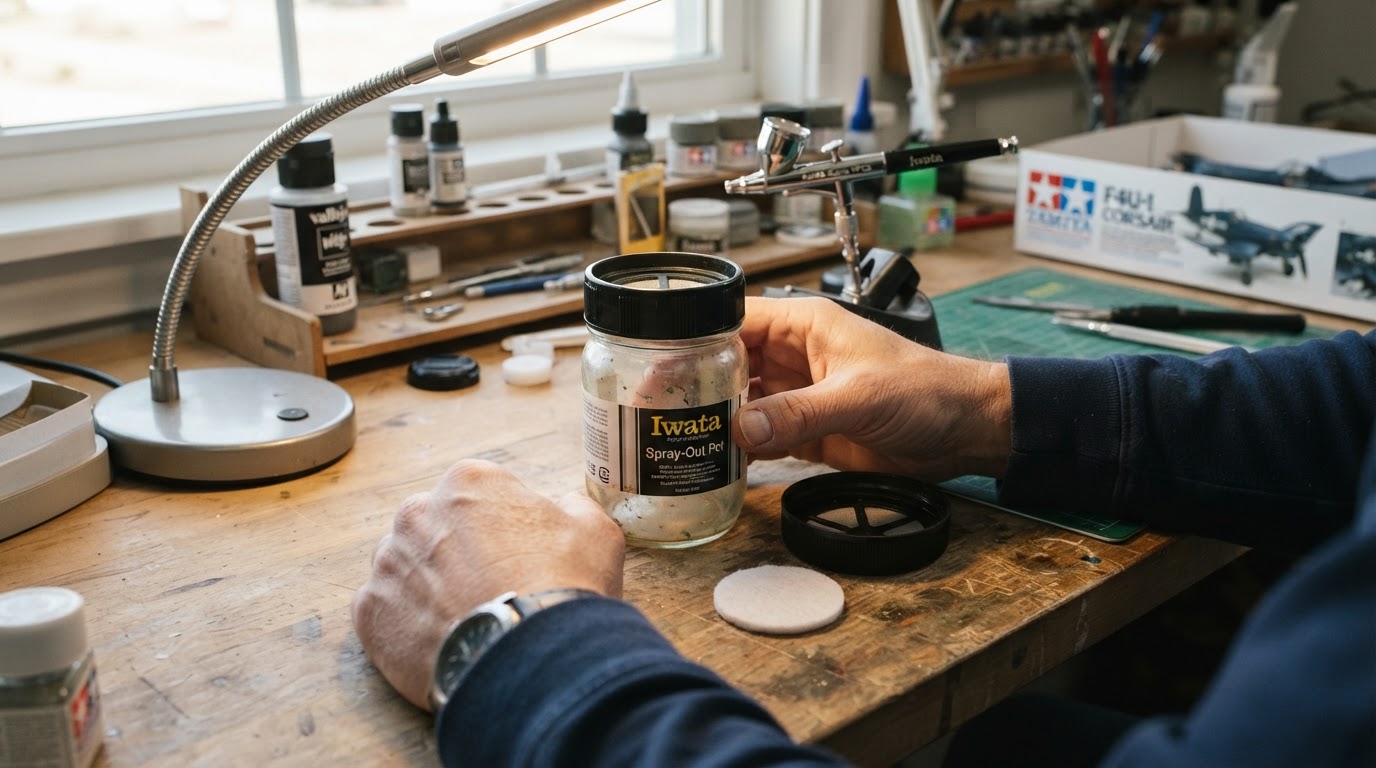
Cleaning frequency is a property of the paint, not a fixed schedule. Fast-drying acrylics can crust within a couple of minutes; slower paints may run for an hour without trouble. Wipe the needle tip between colour passes whether or not you see spatter, and flush between colours so pigment from one coat cannot dry inside the nozzle. A 0.2 mm detail nozzle hands you less working time than a 0.5 mm, so shorten the interval whenever you move to a smaller tip. Finish each session with the cleaner your maker recommends, and clean before you load a brush that sat unused; last week's paint behaves like a clot that appears minutes into today's job.
Where The Advice Stops Being Useful
It is easy to turn every symptom into "add thinner", and that is where ruined paint jobs begin. Over-thinning costs opacity, lets paint pool in panel lines, and can weaken adhesion because you diluted the binder along with the pigment. If wiping the tip and re-testing no longer holds a clean pattern, stop adjusting the mix. The problem is now a clog, a worn or bent needle tip, or dried paint inside the nozzle. Clean and inspect instead, follow the maker's instructions for removing the nozzle, never force the needle or poke wire into the nozzle, and test on scrap after reassembly before you commit the model.
For bubbles, a non-moving needle or a damaged nozzle, follow this site's broader airbrush troubleshooting guide rather than assuming every spray defect is tip dry.
FAQ
Is tip dry the same as a clogged airbrush?
No. Tip dry is a crust on the exposed needle tip, and it clears when you wipe the tip and re-test. A clog is a blockage inside the nozzle or passage: flow drops or stops, and wiping the tip changes nothing. They often appear together, because a crust can be pushed back into the nozzle, so wipe first and diagnose second.
Does more thinner always stop tip dry?
No. Thinner changes drying speed, but so do pressure, distance, airflow across the tip and the paint's own formulation. Pushing past the maker's range buys you runs, weak coverage and longer waits between coats instead of a clean pattern. Thin within the range, then cut pressure, move closer, or wipe more often.
How often should I clean the airbrush tip?
Wipe it whenever the pattern starts to change, and between colour passes even when nothing looks wrong. Fast-drying acrylics in a warm, dry room may need a wipe every few minutes, while slower paints can go much longer. Flush between colours, do a full clean at the end of the session, and check the tip again before you start the next one.