Match the needle and nozzle codes to your exact model first
Airbrush needles are shaped for one family of bodies, nozzle seats, and caps. Length, taper, and the way the tip meets the nozzle differ between makers and even between revisions of the same model, so a needle that measures the same across the shank is not proof that it fits.
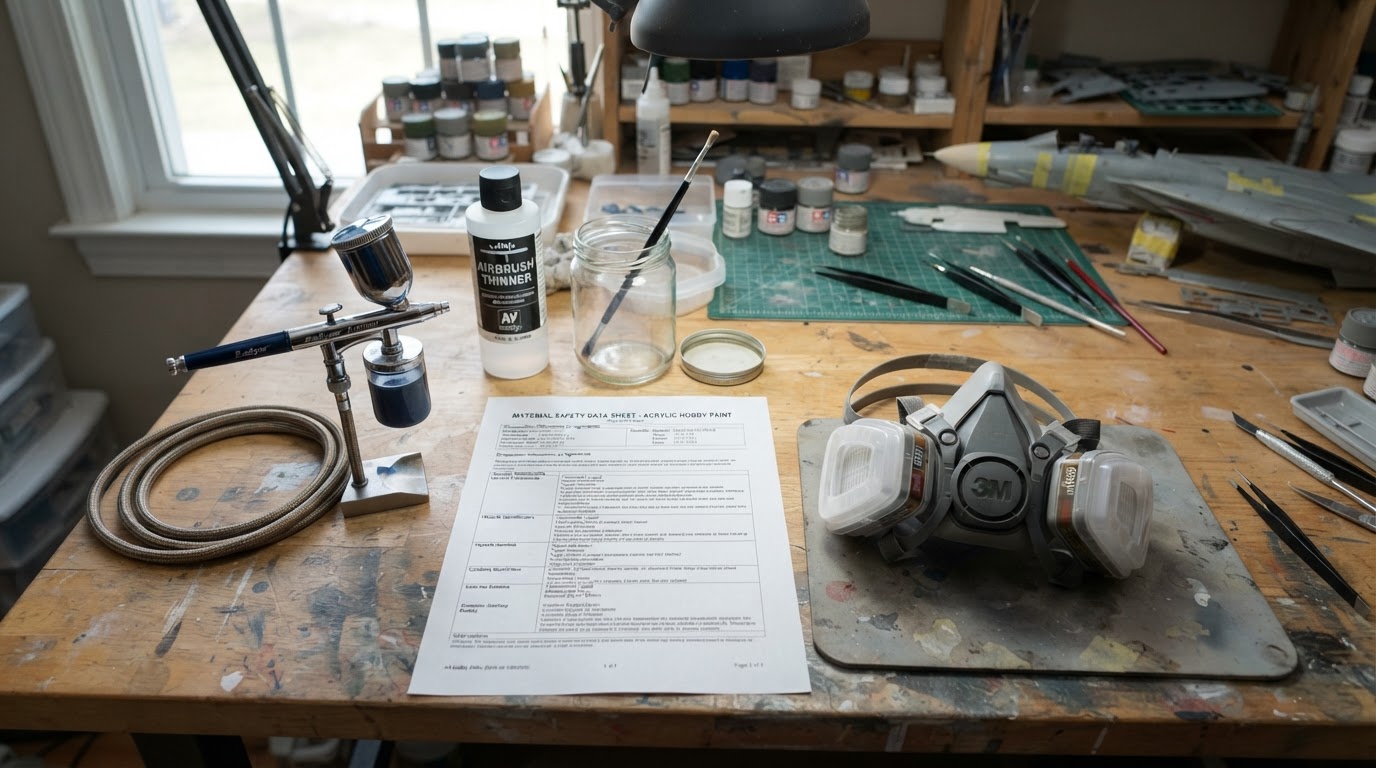
Before you unscrew anything, find the model number on the body or in the manual and look up its needle and nozzle part codes. On many airbrushes the needle and nozzle are sold as a matched set, and some makers recommend changing both together because they wear against each other. If your manual lists more than one head size, the codes for those conversions are not interchangeable.
Write the codes down and check them against the replacement packaging before the old part comes out. If the maker's own parts list does not clearly name your revision, ask the maker or a specialist dealer for the confirmed code rather than accepting a "fits most" listing. That single check prevents most of the damage attributed to needle replacement.
Depressurize, empty, and clean before the airbrush comes apart
A pressurized airbrush can spit paint and launch small parts. Disconnect the air hose or bleed the system until the gauge reads zero, then empty the color cup into a waste container and wipe the bowl.
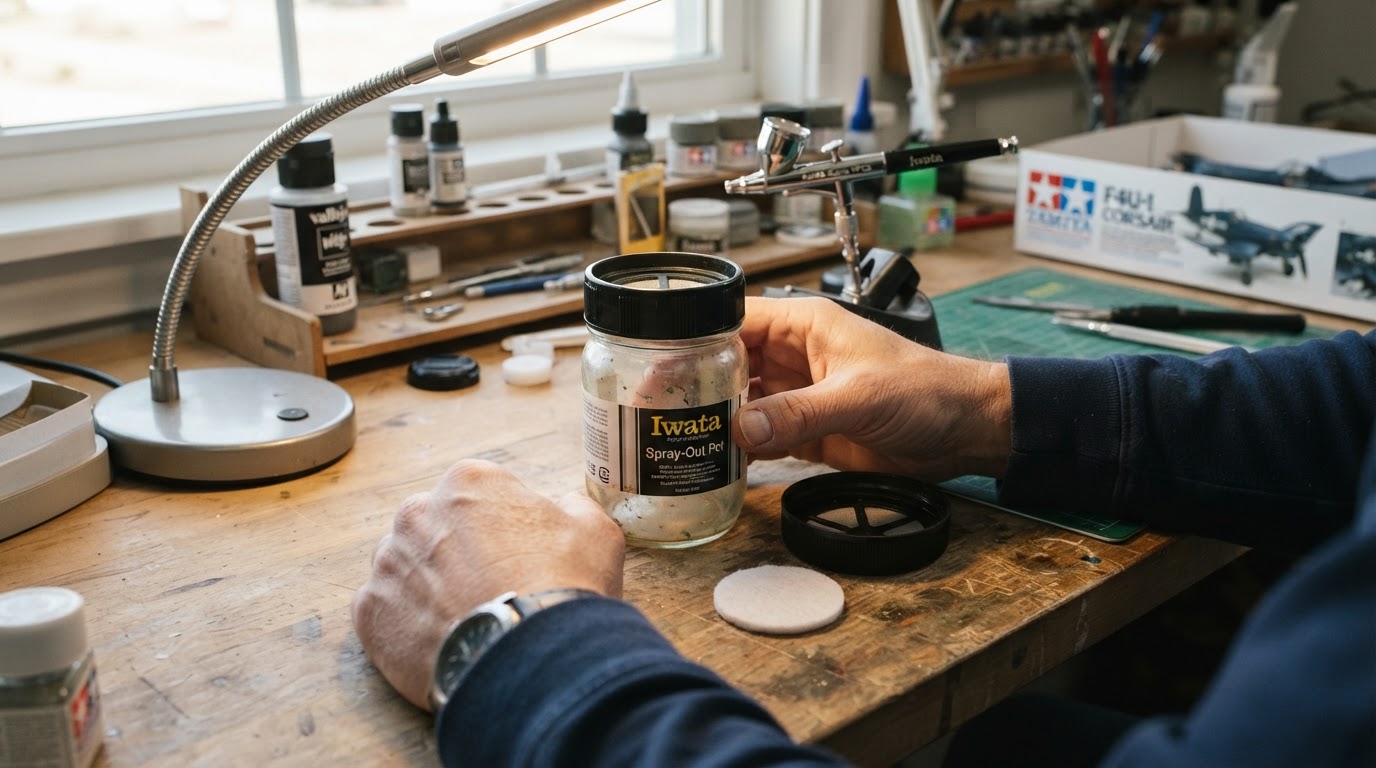
Flush the fluid path with the thinner or cleaner that matches the paint you were spraying, and clean around the nozzle and cup threads while the airbrush is still assembled. This is not cosmetic: dried paint in the fluid path can grip the needle and make a straight withdrawal feel like a stuck part, which is how needles get bent and nozzles get scratched.
Work over a shallow tray or a light-colored cloth so seals, washers, and the tiny head parts do not roll away. Keep a parts order in your head: handle and rear casing first, then the chucking nut, then the needle, and only then the nozzle or head assembly if your model puts it at the front.
Remove the old needle straight, and stop at the first drag
Take off the handle or rear casing to reach the needle chucking nut at the tail. Loosen that nut two or three turns, until the needle slides freely. On most models you do not remove the nut. Some manuals ask you to hold the trigger down while the needle passes through the lever, because the lever can catch the needle on the way out; follow your model's instruction if it says so.
Then pull the needle straight out through the back of the airbrush, if that is the removal direction specified for your model. Keep the pull in line with the body; a sideways yank can scrape the taper across the nozzle seat.
What is not fine is continuing when the needle suddenly drags. Stop, look at the tip and the nozzle seat, and decide from what you see rather than from how hard you can pull.
If the tip is visibly bent or hooked, pulling it through the body risks damaging the nozzle or packing. Stop and follow the manufacturer's model-specific service procedure, or ask a qualified technician; do not improvise a front-extraction route. Do not straighten a bent needle by hand and put it back into service.
Inspect the needle and nozzle before anything goes back in
Hold the needle by its shank, never the tip, and look along the taper against a bright background. A usable needle is straight through the shank and taper, with an intact point. A blunted, hooked, or waisted tip will not seat cleanly and can split the nozzle the next time the chuck is tightened.
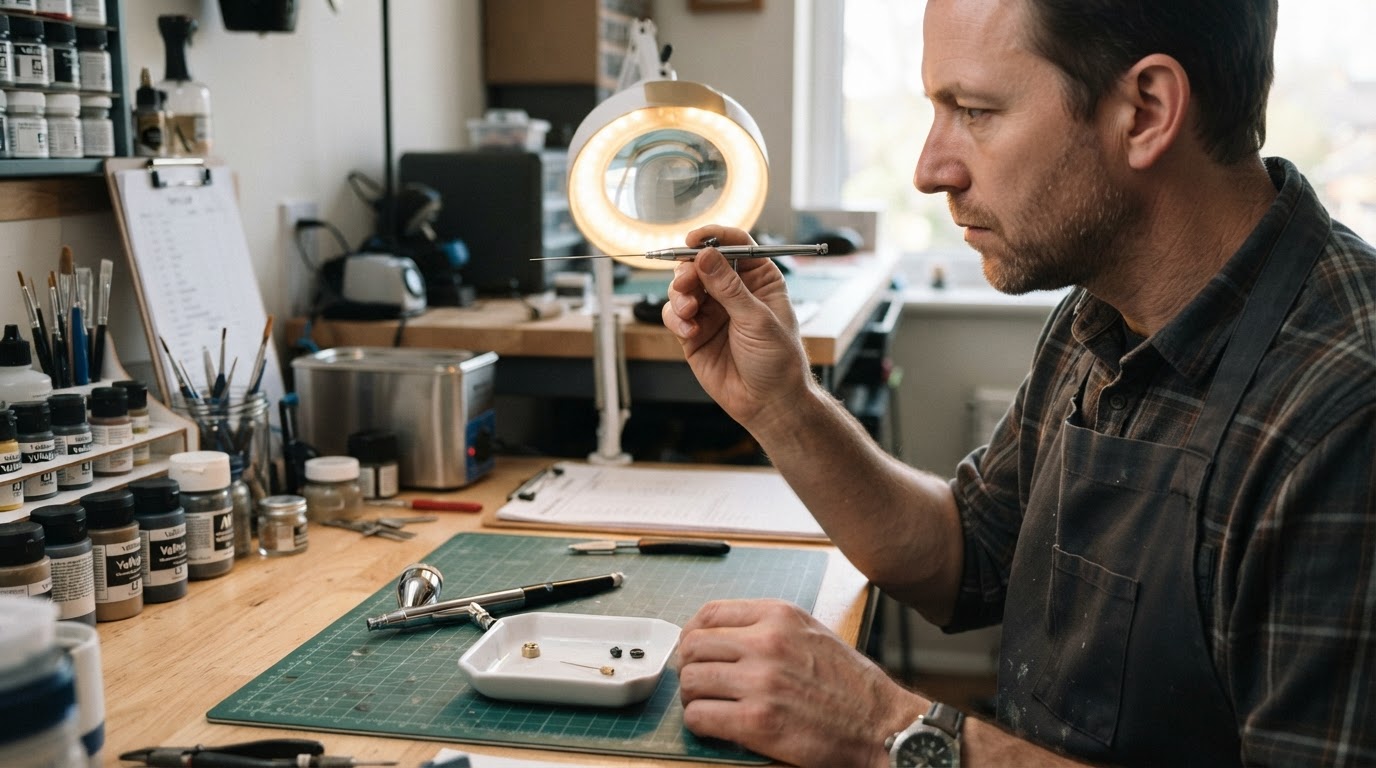
Then inspect the nozzle or head assembly from the front. Look for cracks, chips, a polished or out-of-round seat, and for the seal or washer that sits behind it. A nozzle that has been run with a bent needle commonly shows a matching flaw, which is the practical reason many makers pair the two parts.
Use the table below as a decision aid, not as a substitute for the model's parts list.
What you see | What it usually means | What to do |
|---|---|---|
Needle tip bent, hooked, or blunted | The tip cannot seat or meter cleanly, and it can damage the nozzle | Replace the needle; do not hand-bend it back into service |
Nozzle cracked, chipped, or visibly out of round | The seat cannot seal, so air or paint leaks and flow sputters | Replace the nozzle; change the needle with it when the maker pairs them |
Needle straight and nozzle clean, but flow is erratic | The fault is probably paint, air, or trigger related | Diagnose that separately before buying parts |
Color change or end-of-session wipe-down | Normal maintenance, not wear | Remove the needle only to clean it; no new parts needed |
Reseat the new needle gently and let the seat tell you when to stop
Loosen the chucking nut, then feed the new needle in from the tail, point first, in line with the body. Turn it slowly as you push so it follows the bore instead of scraping it, and let it settle into the nozzle seat under its own alignment. Push until it seats; do not push until it hurts. Forcing the needle changes how the tapered tip meets the seat and can distort the nozzle tip.
When the needle is seated, hold the trigger down if your manual calls for it, and tighten the chucking nut as the manual instructs. Avoid forcing a stuck nut or needle.
Before the handle goes back on, pull the trigger back and let it return a few times. The needle should move with the trigger and return smoothly. If it binds, loosen the chuck a touch and check that the needle is sitting in the lever as the manual shows. This is also a good moment to confirm that the nozzle or head assembly is snug but not over-torqued.
Reassemble in order, then water-test before you load paint
Reassemble the parts in the reverse of removal: nozzle or head assembly in the model's specified position and lightly snug with the maker's wrench if one is supplied, needle seated, chucking nut snug, rear casing and handle back on. Keep the trigger clear of the needle's path while the casing slides into place.
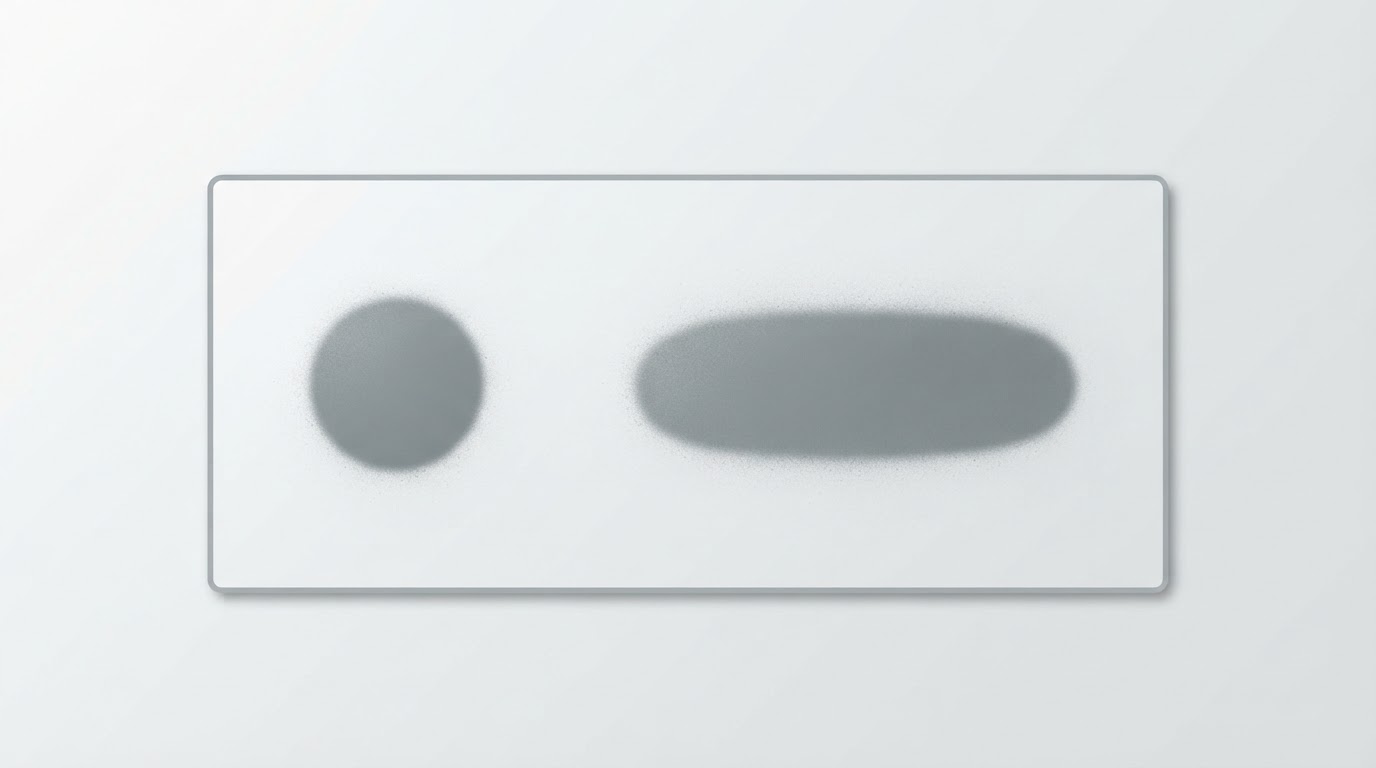
Fill the cup with clean water or the appropriate cleaning fluid and spray on scrap card or paper at your working pressure. The completion standard is simple and observable: one continuous line with no spitting, no bubbles rising in the cup, no air or fluid leaking at the head, and no change in pattern when you stop and restart. If any of those checks fail, stop and re-check the nozzle seating and the needle position rather than chasing the fault with more pressure or thicker paint.
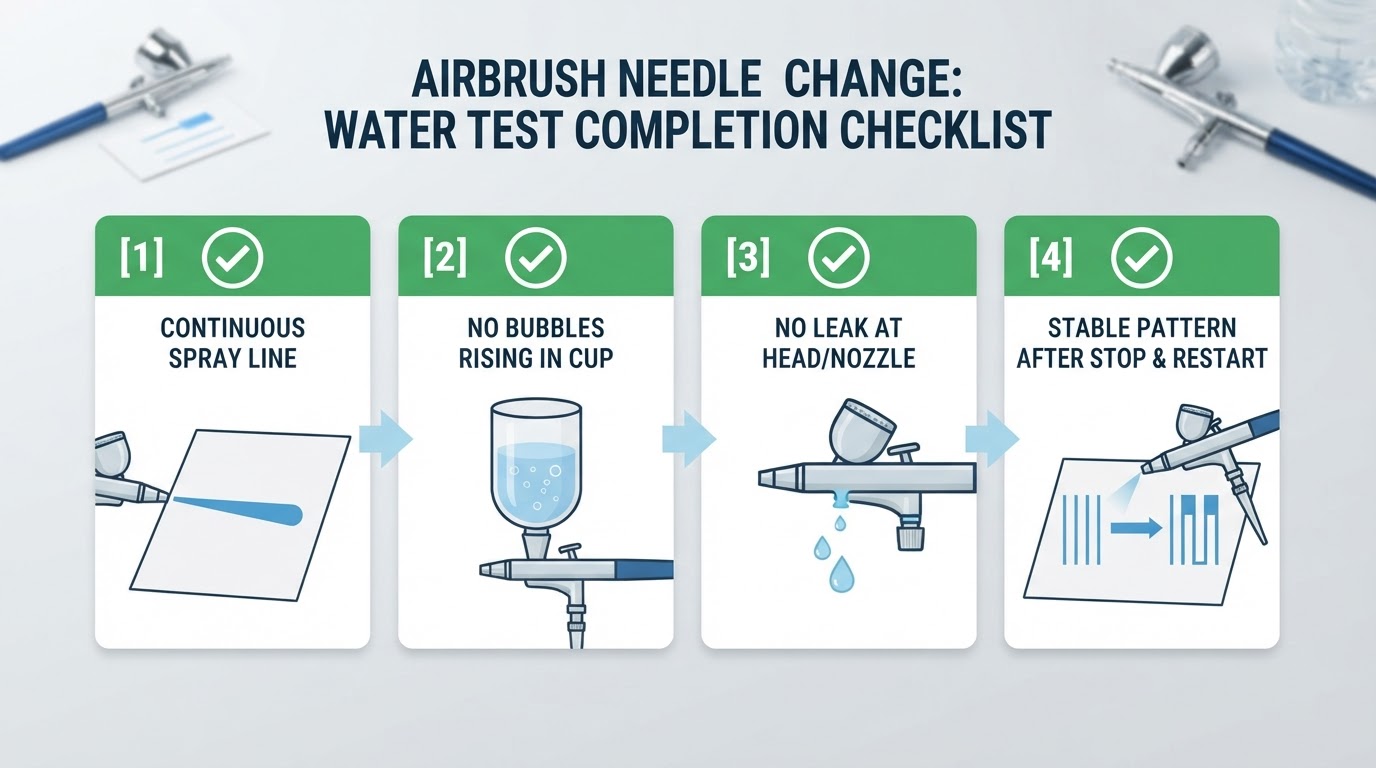
Then empty the water, dry the fluid path, and load your color. Because the water test uses a fluid with no pigment, it flushes anything the cleaning step left behind before a fresh batch of paint can push it into the nozzle.
What this job is not
Needle replacement is a parts job, and it is worth keeping it separate from two neighboring tasks.
Bent-needle diagnosis is the symptom work. A hook at the tip may show up as a deflected spray pattern, a scratchy feel in the trigger, or paint spitting. If the tip looks straight and the nozzle seat is clean, replacing the needle will not explain the symptom, so check paint, pressure, and trigger travel first. Distinguishing "this needle is damaged" from "this airbrush is behaving oddly" is what keeps parts changes honest.
Routine cleaning removal is the maintenance version of the same motion. You loosen the chuck, withdraw the needle, wipe it, and reseat it without changing any part. The steps vary by model, which is why the maker's manual comes first; Iwata's cleaning guide shows one such procedure. For symptom diagnosis, see our airbrush troubleshooting guide; for routine maintenance, see how to clean an airbrush.
For the reassembly habit itself, the goal is a needle change that leaves no trace: parts in order, light torque, and water before paint.