The direct answer: choose the stage you can still control
Pre-shading sprays the shadow pattern on the primed surface, then builds thin color coats until only a hint remains. Post-shading reverses the order: base color first, then thinned highlight and shadow over the dried color. It need not wait for the final varnish; it can start as soon as the base coat is ready for more paint.
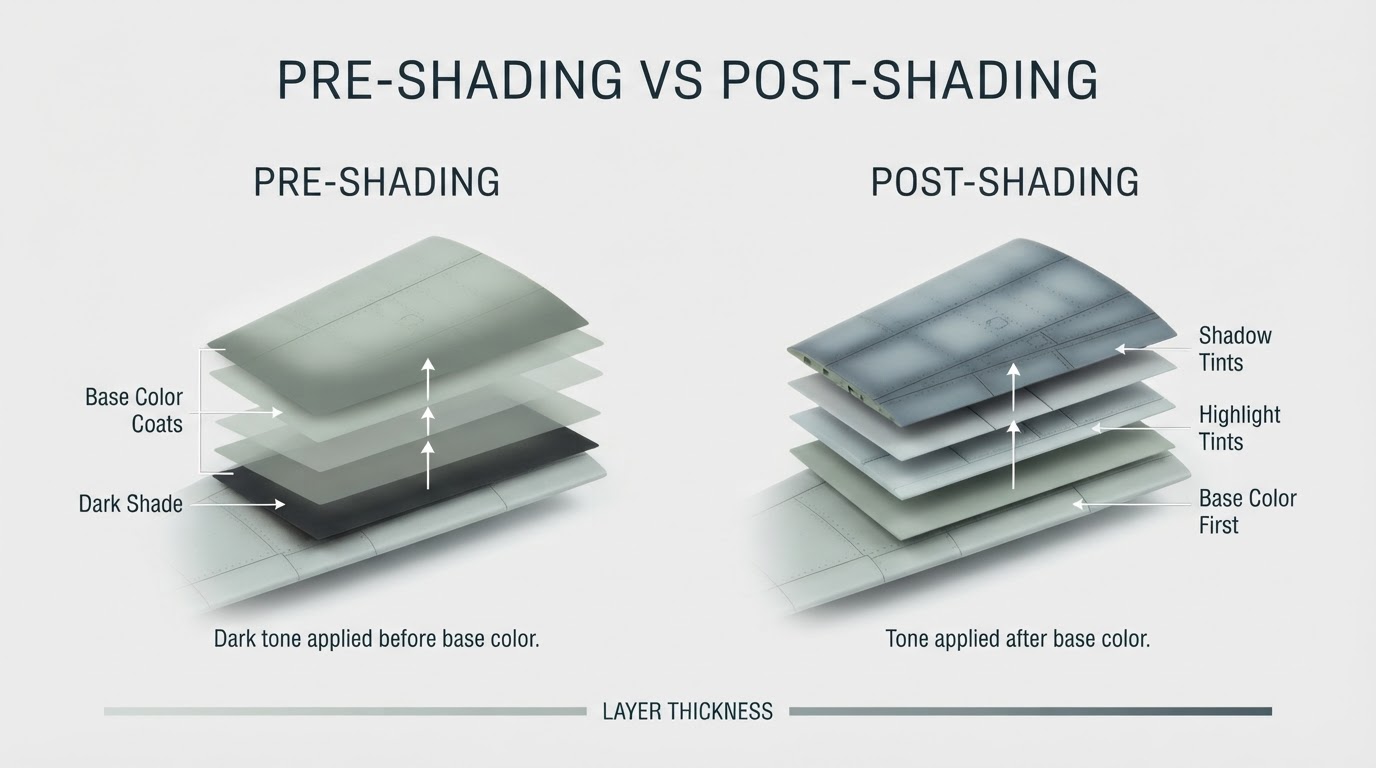
The earlier you shade, the more the color stage can cover your work. The later you shade, the more directly you can judge the result, and the less forgiving a heavy pass becomes.
What pre-shading asks of you
Pre-shading is a planning method: commit to a light direction before the base color exists, then protect that decision through the color stage. Every color coat adds opacity, so the effect fades as the finish builds: on a single-color scheme you can watch that fade and stop at the right point; on multi-color camouflage, several colors may pass over the same panels.
Decide up front how much pattern you can afford to lose; with thin, controlled color coats, the shading survives as a subtle depth cue.
What post-shading asks of you
Post-shading works over the base color, so a bad pass lands on paint already laid down, not on a hidden layer. A 2012 FineScale Modeler tip from contributor Fernando Moreno Villa calls post-shading more demanding and warns that careless airbrushing can ruin the paint job (FineScale Modeler tip). It also notes that pre-shading can be lost under multiple camouflage coats, the honest trade between the two.
Treat that as a modeller's observation, not a controlled test. It also explains why post-shading rewards a transparent mix and a light touch: you are tinting the color beneath, not replacing it.
If a pass comes out too heavy, adding more dark tone is not the fix. Stop, let the paint dry per its system, reassess in the same light, and test a compatible base-tone correction on scrap before touching the model.
Compare stage, opacity and correction
Use the table to plan a scrap test, not as a substitute for the maker's instructions.
Decision point | Pre-shading | Post-shading |
|---|---|---|
When it happens | On the primer, before the base color | After the base color is dry |
What controls the effect | How much color you add over it | How much tone you add on top |
What can erase it | Additional color or camouflage coats | An over-heavy pass of the shading mix |
How you fix a mistake | Add color to bury the pattern and accept a flatter tone | Stop, dry per the paint system, then test base-tone correction on scrap |
Main risk | Losing the effect under opaque coverage | Marking color you have already laid down |
Honest fit | Schemes where you control how many coats cross each panel | When you want to judge tone against the final color |
Keep panel line washes separate from airbrush shading
A panel line wash is thin fluid pulled by capillary action along a recessed line. Airbrush shading changes tone across a panel, surface, or run of raised detail. They can appear together, and a wash can follow either shading stage, but they are not interchangeable: a thin dark line sprayed with the airbrush is tone on the surface, not a wash settling into the recess.
Set up one scrap test before the model
Spray the same primer, color and shading mix on scrap of the same material. Build the color coats you plan to use, then check it under the lighting you will use on the model. That shows whether pre-shading survives and how quickly post-shading gets too strong. If your trigger control is still uneven, work through a few airbrush exercises on paper first.
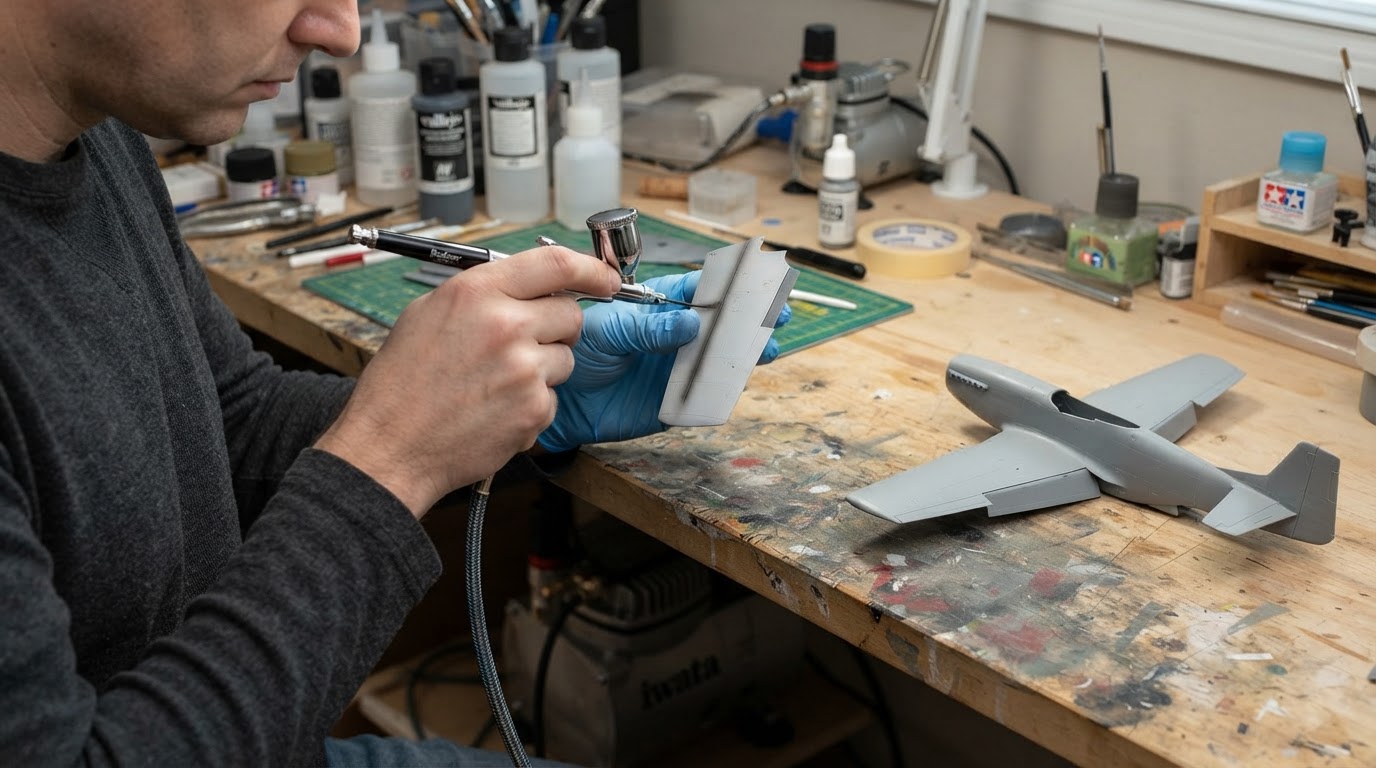
Match thinner to the maker's paint system rather than borrowing a forum ratio; the guide to thinning paint for airbrush work covers consistency and mixing without making one recipe a rule. Follow the label for ventilation and for recoat and cure windows between stages. Those windows set the schedule, not a requirement that every coat be fully cured before the next. A forced pass on a coat still off-gassing can lift or mark it. The FineScale tip's mix and pass count are the author's starting point, not a universal recipe. There is no universal PSI, dilution ratio or pass count to copy.
Choose by failure mode, not by reputation
If losing the effect is unacceptable, shade after the color and keep passes thin. If marking a colored surface is unacceptable, shade before the color and control the opacity of later coats. Either way you choose which mistake to manage. Test on scrap, then commit.